I don’t know about anyone else, but for me, sometimes I get lots of things all going at the same time and when I take just a second to breathe its all a bit overwhelming. When I’m focused in on a single project then its easy to just keep right on going, like some puzzle where you just put in one more piece… “just one more block” so you can finally realize the big picture.
So on the one hand, when you have multiple projects going, doing a Quilt-A-Long(QAL) is a bit helpful, since you can focus on just one block and then you know that the object is to just do one a month so you’d best stop. Leaving the next block for next month is what you are supposed to do, and not just sitting there taunting you.
So first up… my QAL block for April is Luigi.
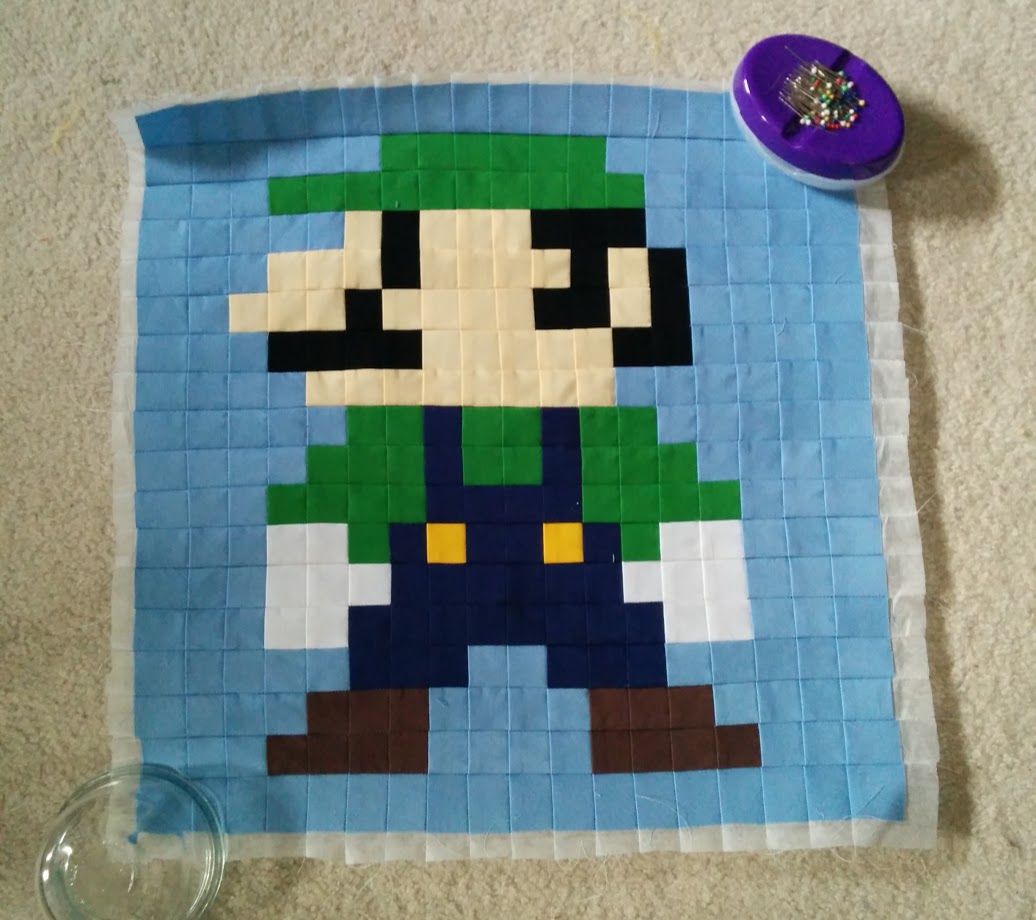
Issa’ Luigi!
I personally like Luigi better than Mario. I don’t know why… maybe its second child/second player related… but if you make me choose, I want Luigi. So my quilt means… Luigi gets completed first. I did assemble him facing left, whereas the original pattern has him facing right. But I like the variety of not having all my characters facing one direction.
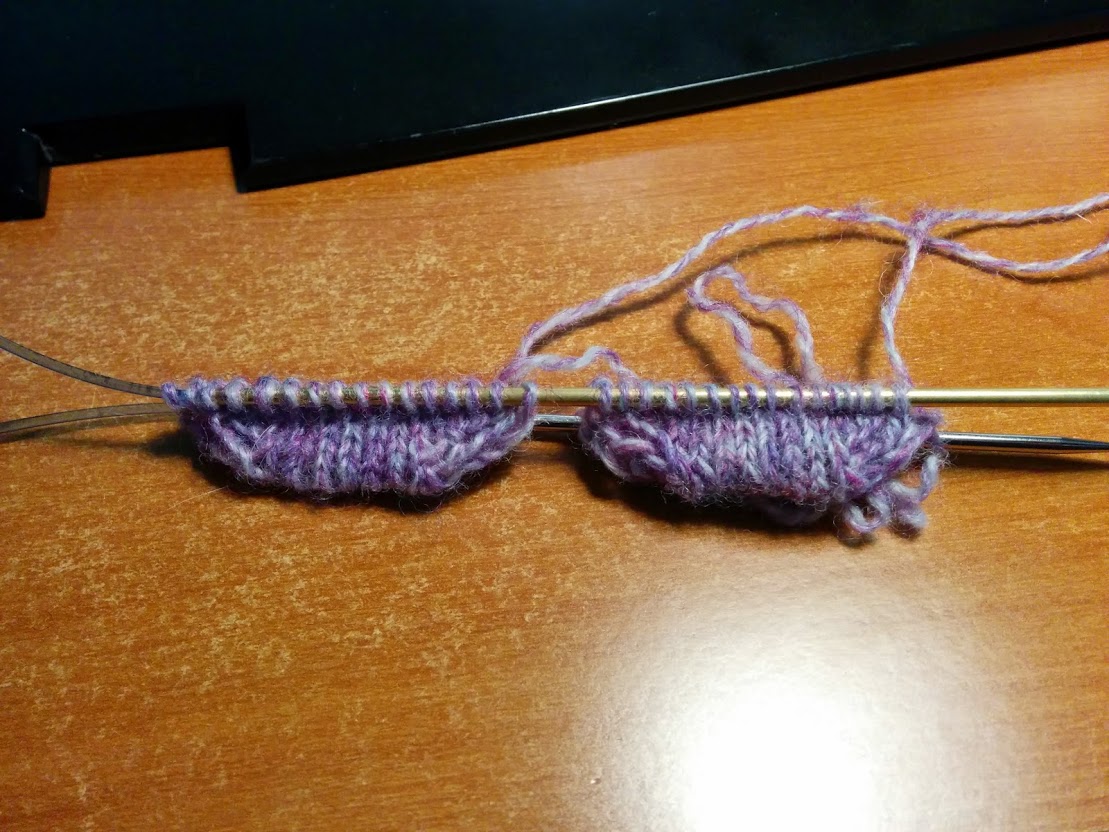
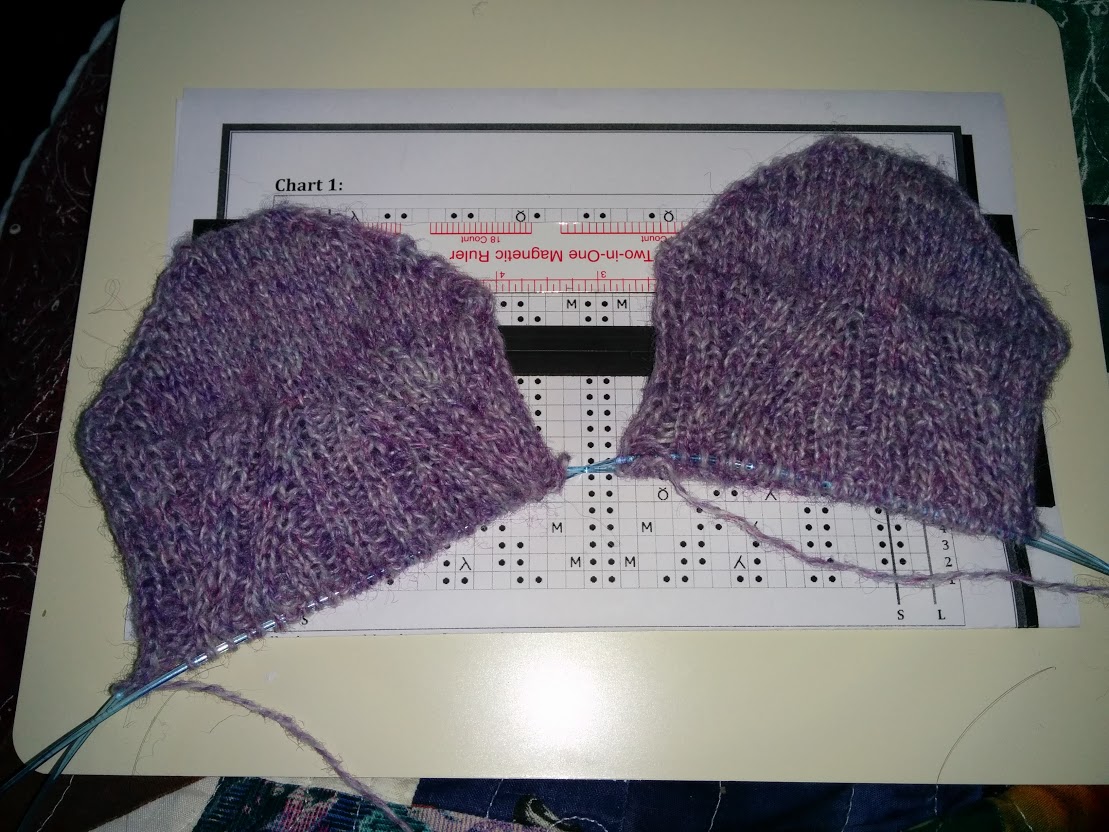
I have also managed to push out more star blocks, and am now up to 33 stars.


This does mean I’ve managed to complete one of every different fabric type. I’ve started to make them a bit more assembly line style, which does help with feeling productive and actually getting them done. I tend to make from four to six all at the same time. Hopefully I can keep on track and get all my stars complete this year.
Lastly…. I made a small test block for someone online, and they gifted me with a charm pack of beautiful autumn colored batiks. (A Charm pack is 40 5 inch by 5 inch squares) When I saw it my first thought was autumn leaves, so I set out to find a quilt block. I finally settled on a Tree of Life Block with each of my batiks as leaves on my trees. So I fiddled about with my paper and pen until I arrived at what I think is a solution. Then the next time I was out, I bought some background and Tree trunks to go with my leaves and now I have it all ready and waiting for the first cut.
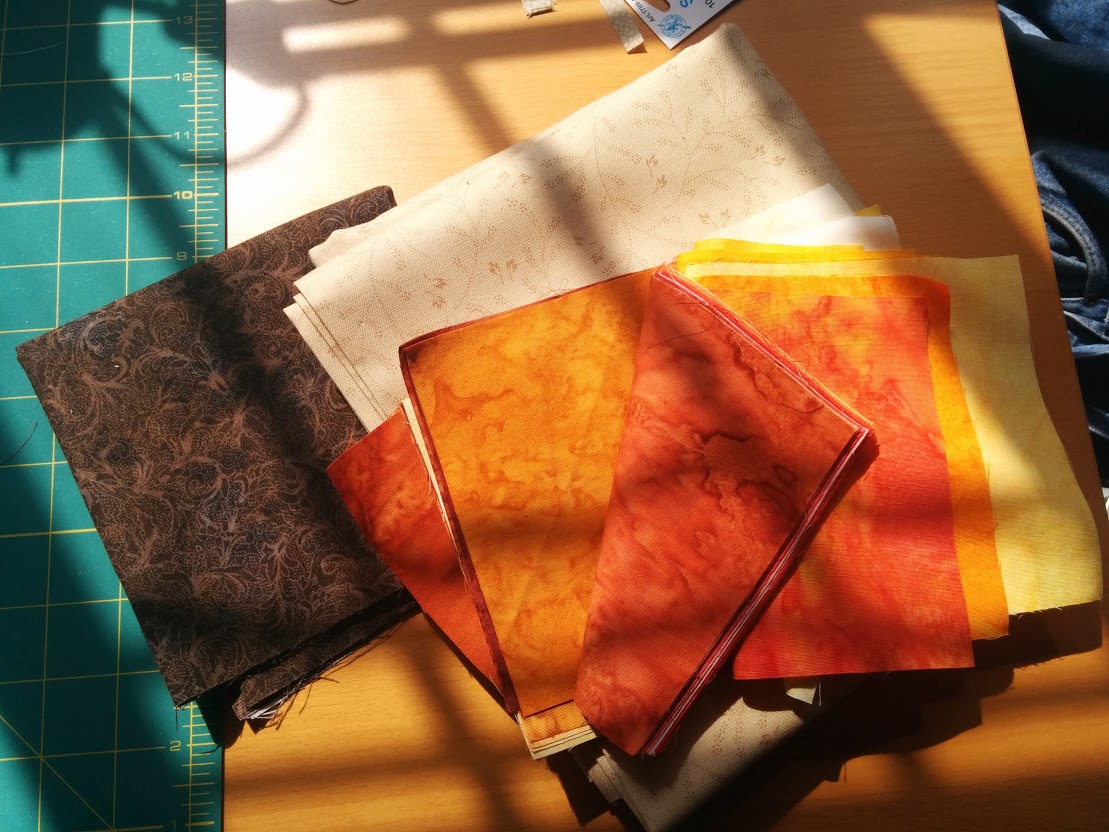
Spring Sunshine on an Autumn Quilt.
Not shown here today is my movie strip quilt that is hibernating awaiting more photos, my Christmas Cathedral Window I want to use up Christmas Fabric Scraps on, the Kandinsky Art Quilt I’m still working on plotting circles for, or the Star Trek Disappearing (Space) Nine Patch that I need to buy the solids to go with my prints.
Ah well… they will all get finished eventually, right?