A Frugal Sweater to Fall For

Wool yarn is generally not inexpensive.  This makes sweaters on the more expensive end of wearable crafts, and a bit of a hurdle for some new knitters.  One option when you are scouring sales racks and finding your way through the options are thrift sales.  If you are a little bit cautious and a little bit adventurous you can find a good deal.

I say cautious because it can be easy to see a brand name and some people will bid up to near retail price without considering any shipping or handling costs.  One of the main dangers with thrifted yarn is you don’t know how the last person kept their stash and paying near retail (or above if you forgot about the additional fees) only to discover you have a moth nest is going to be a bad time.

But also adventurous.  Take a chance on a wool brand you aren’t quite sure about.  Find one of those swooned about skeins in your price range.

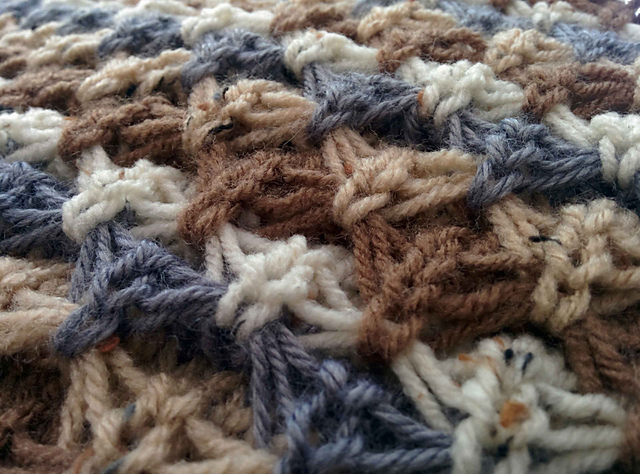
It was this spirit of frugal adventure that ended in a purchase of 12 skeins of Christopher Sheep Wool for $21.99 or the equivalent of $1.75 a skein.  (7 in Barley, 4 in Chris Robin, 1 in unlabeled dark brown)

Now I can say that based on the Ravelry stashes and the color options seen on their website that my finds were from a much earlier period and in colors they no longer produce.  When I wound it into the balls I can say that the stash keeper before me had some issues with pests and so several of the Barley colored skeins were not unbroken.

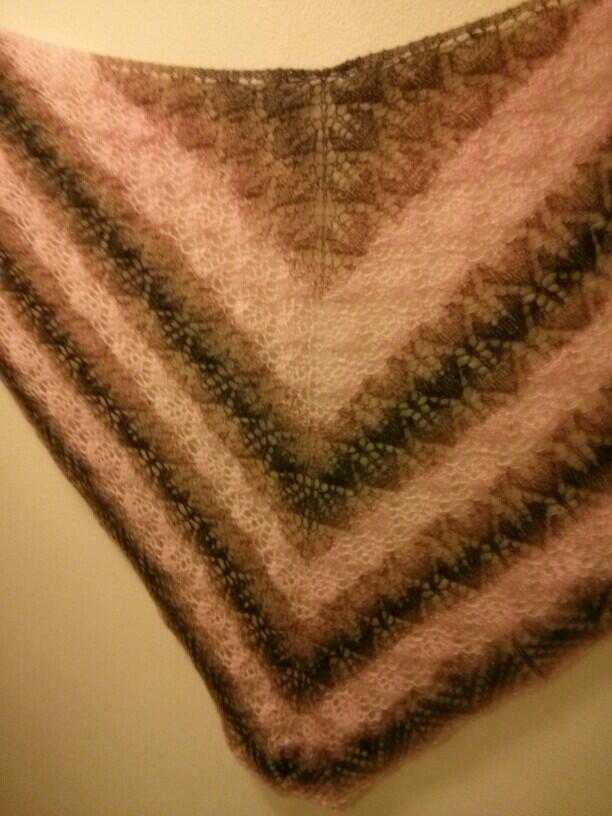
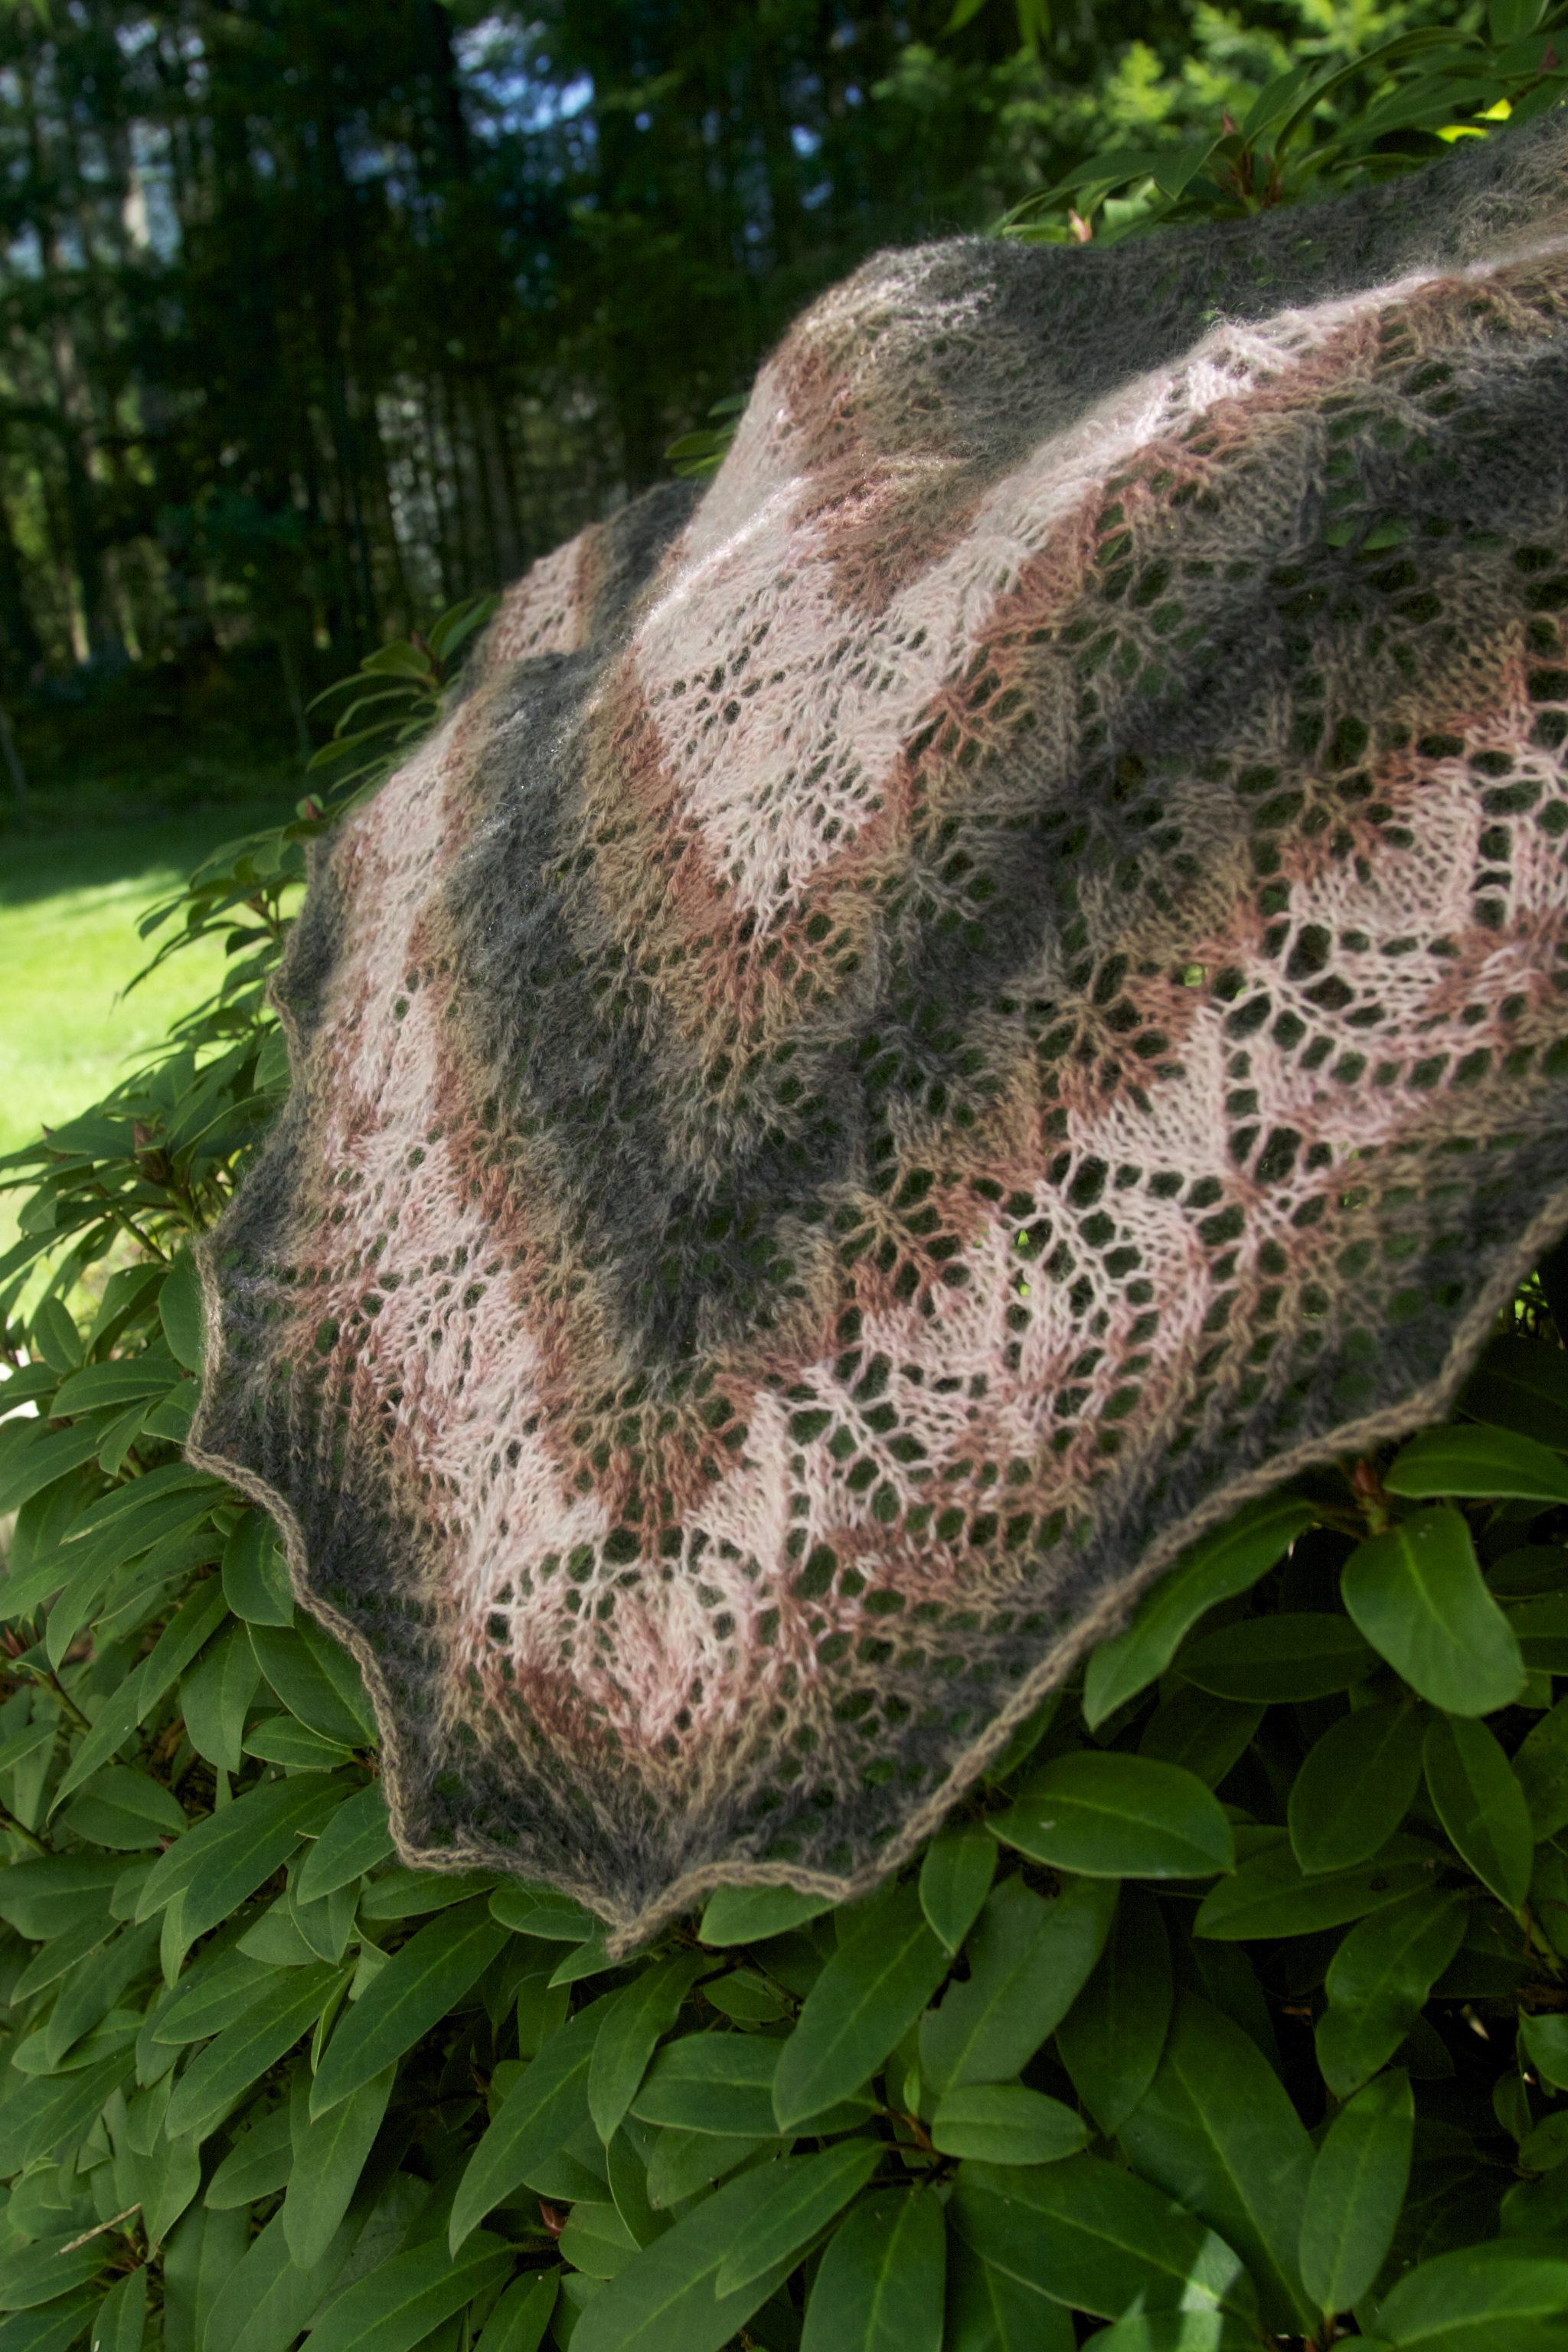
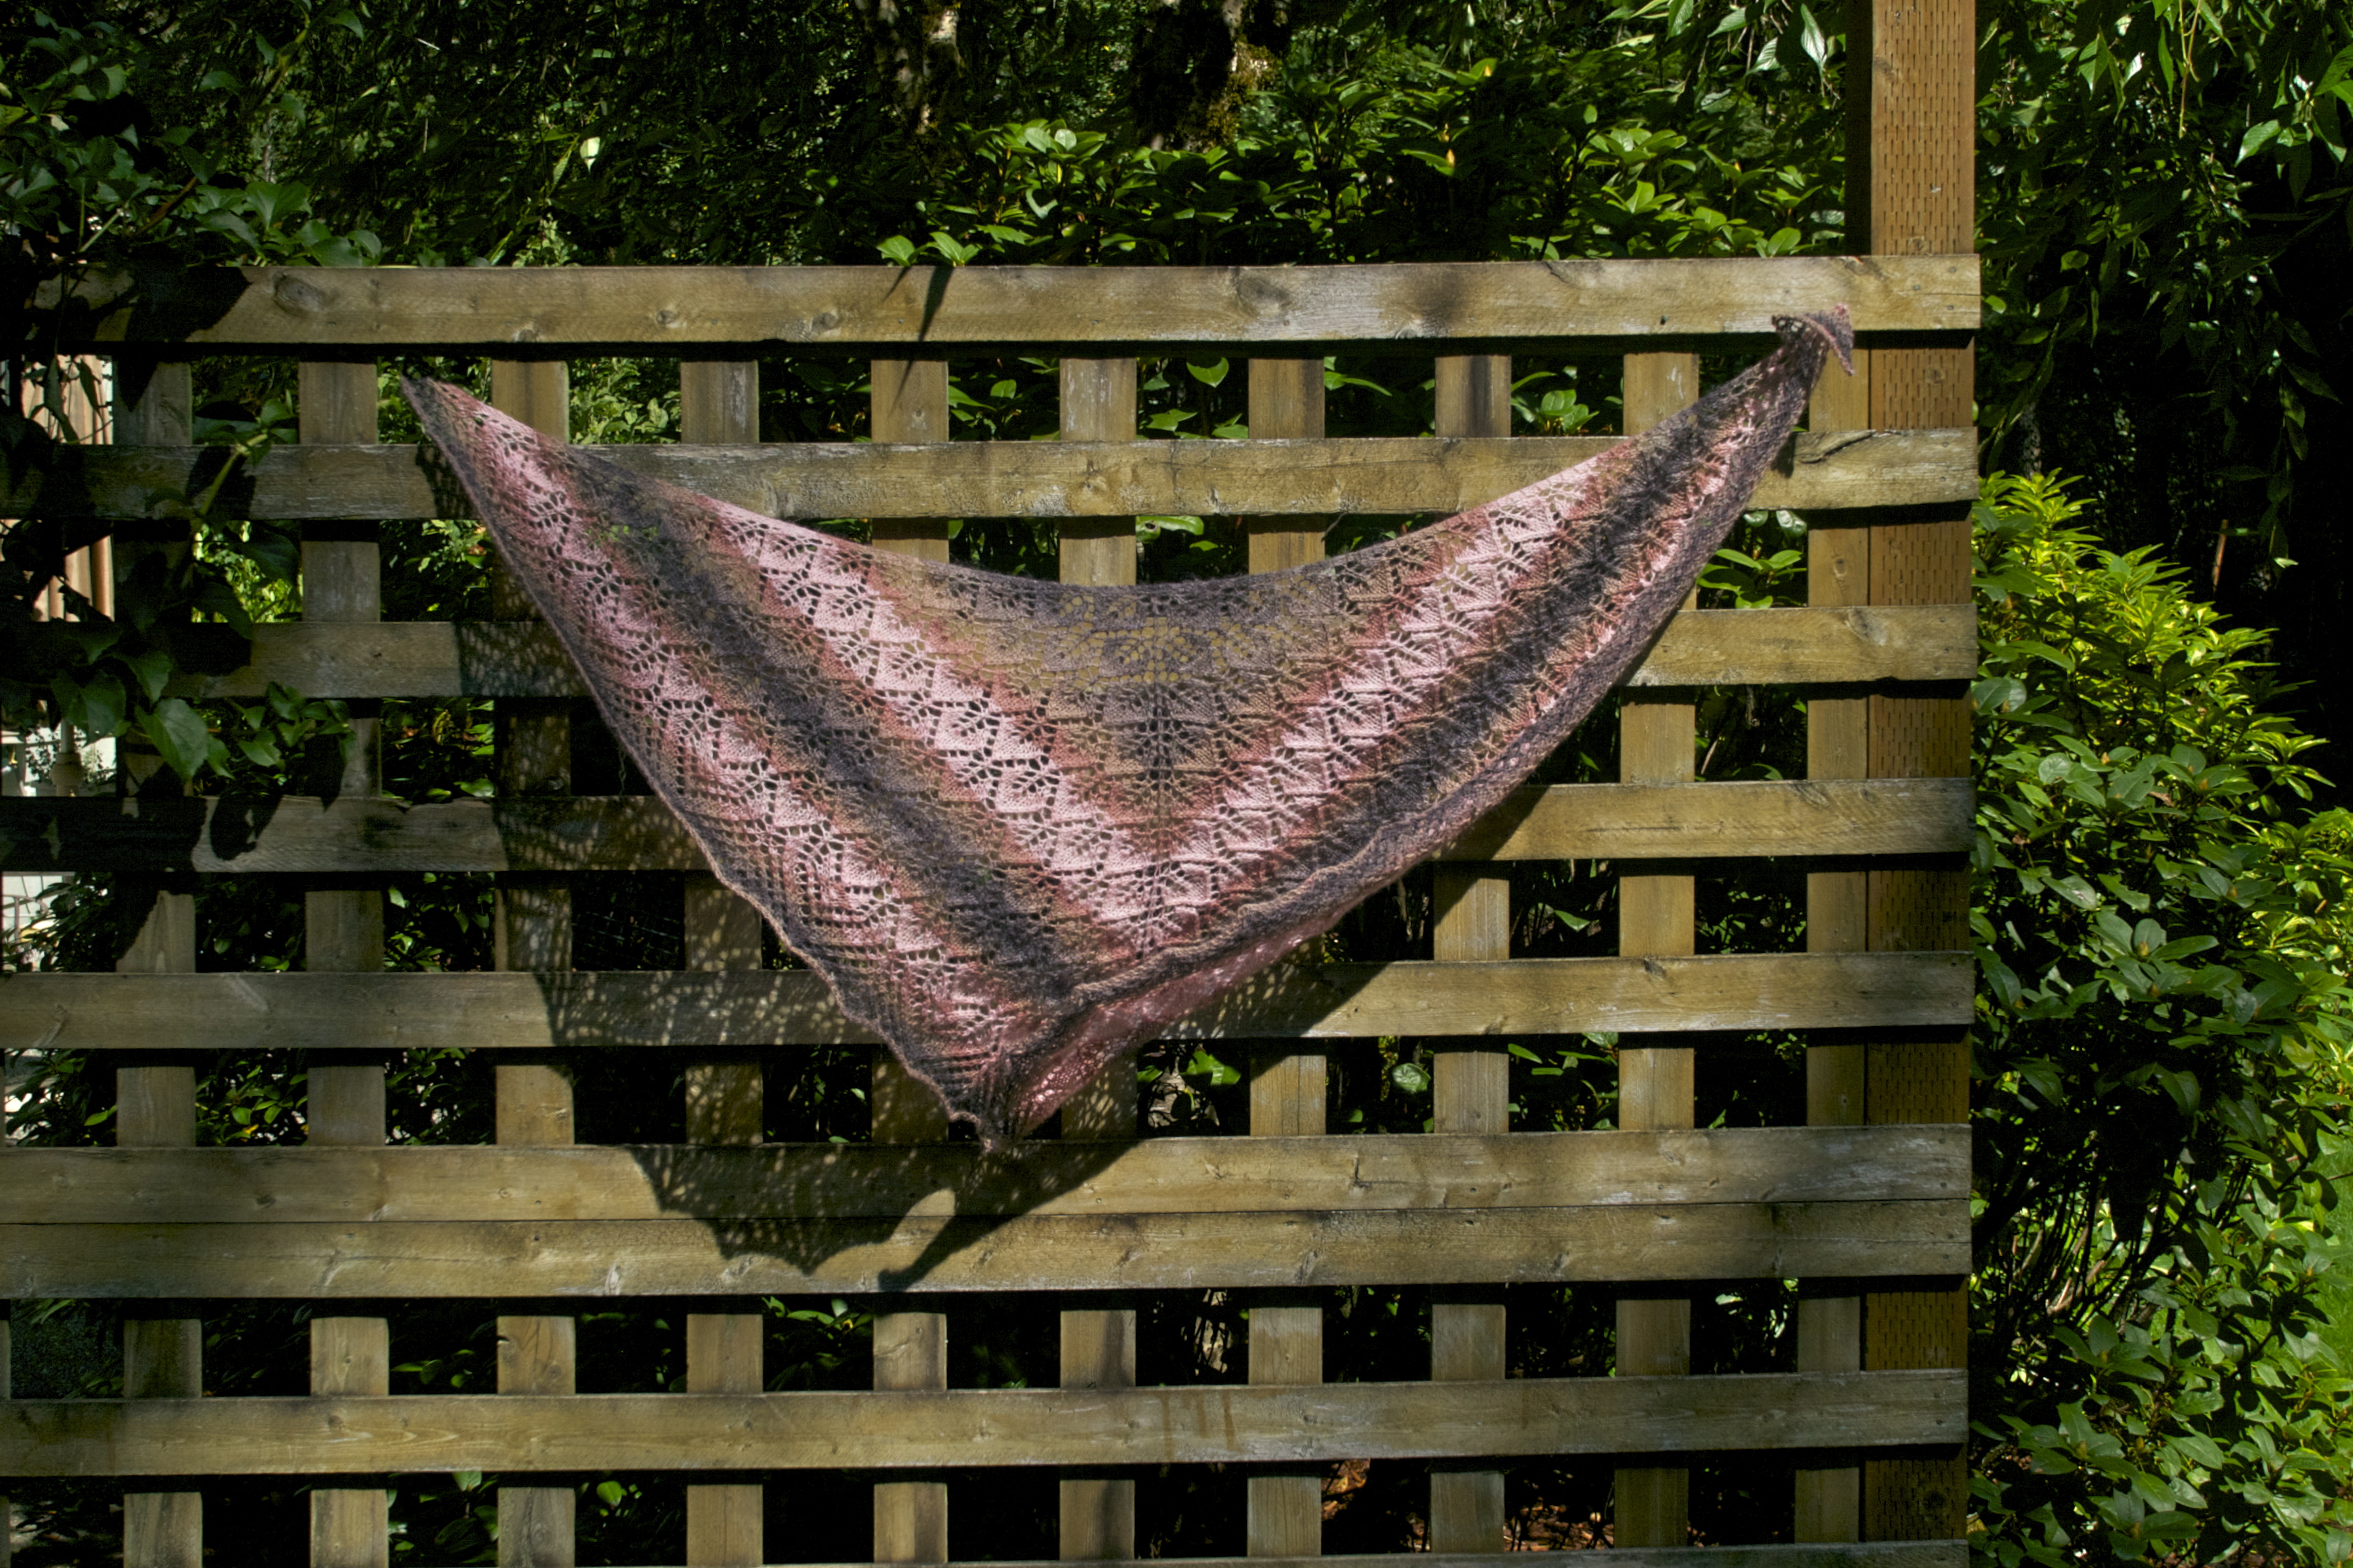
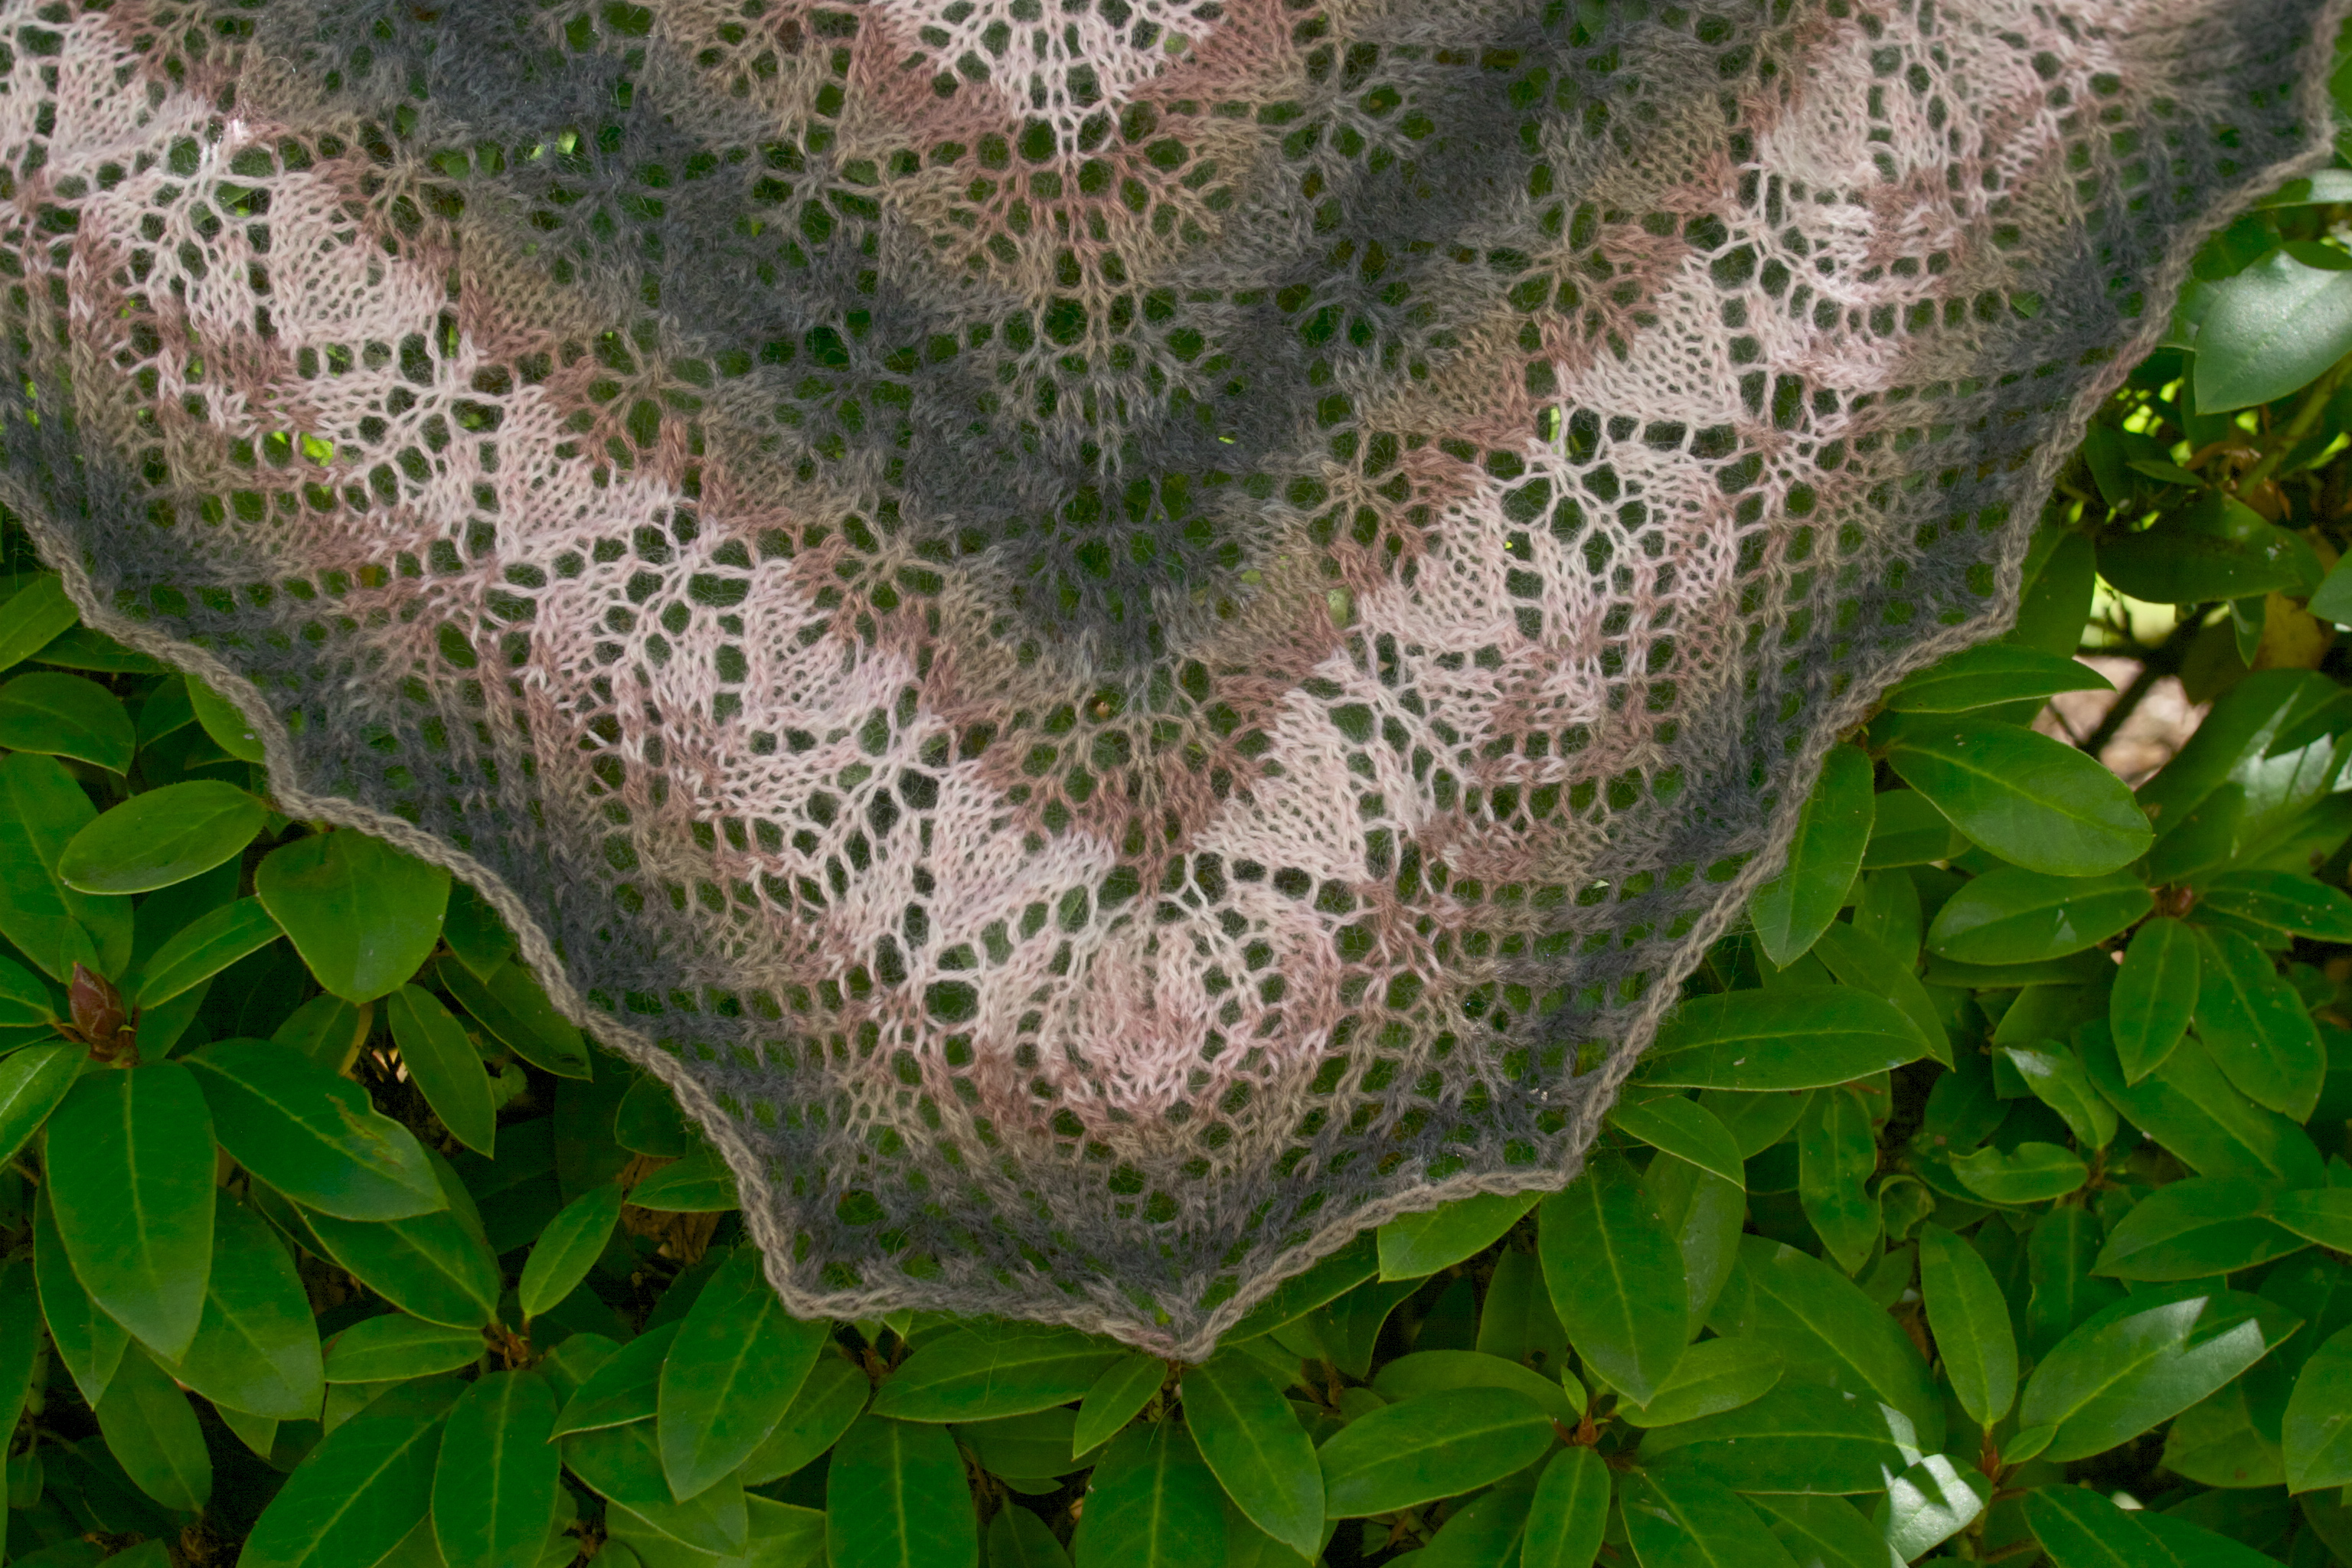
Nevertheless, in the spirit of stash busting cold sheeping I decided to have a go at making it into a garment.  And because its a bit more of a rough texture yarn I wanted to use it as an outer layer style garment.  Enter Sylvi.  I loved the design on the back, and even more so the idea of making it pop out a bit with some color work, as a few knitters before me had done.  What I didn’t care about was the hood and that there were no pockets.  But with only $20 on the line… time to test out the ability to make modifications.

My modifications included Intarsia Cables and bud/leaves, an alternate cuff in the Celtic Vines pattern, Two front pockets, a separate button placket, and a shawl style collar. I found some coconut shell leaf buttons to finish it off. The front vine/flower was added as an afterthought i-cord design.  It fits well enough I wore it out to fall cider and apple fritters.  I just forgot to get any photos.  (And my other photos are late night cell phone shots which leave a bit to be desired)

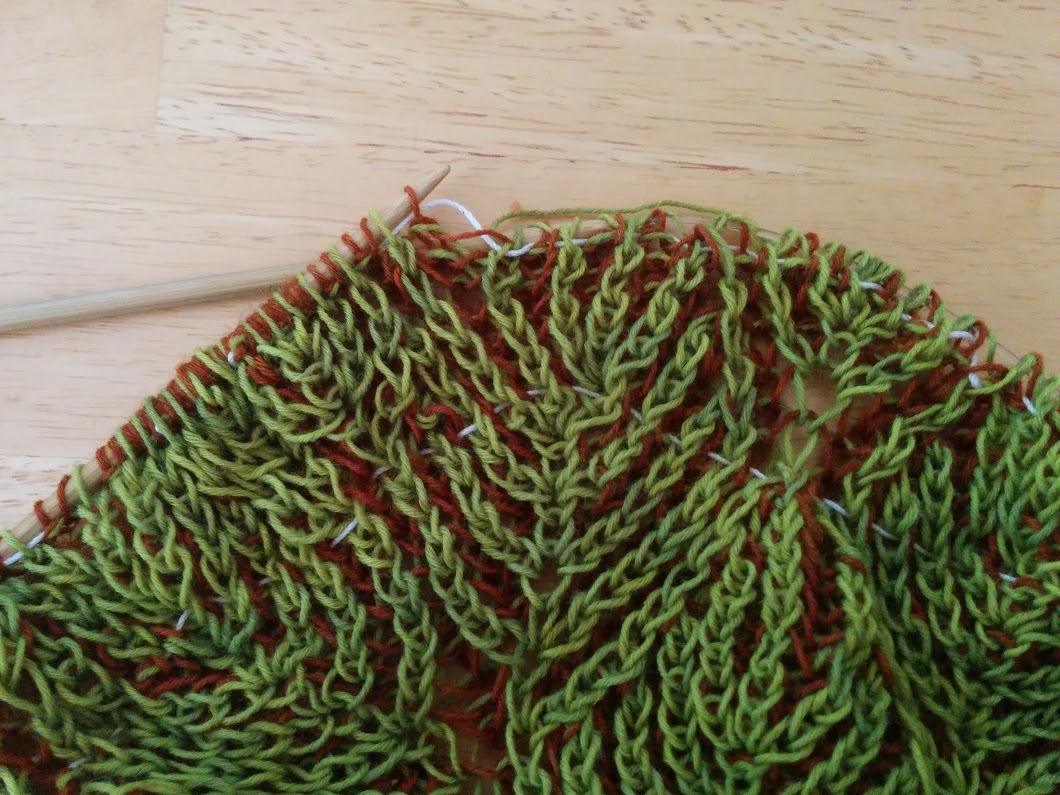
And now something for the curious knitter…. what the interior of it looks like.

sylvi interior

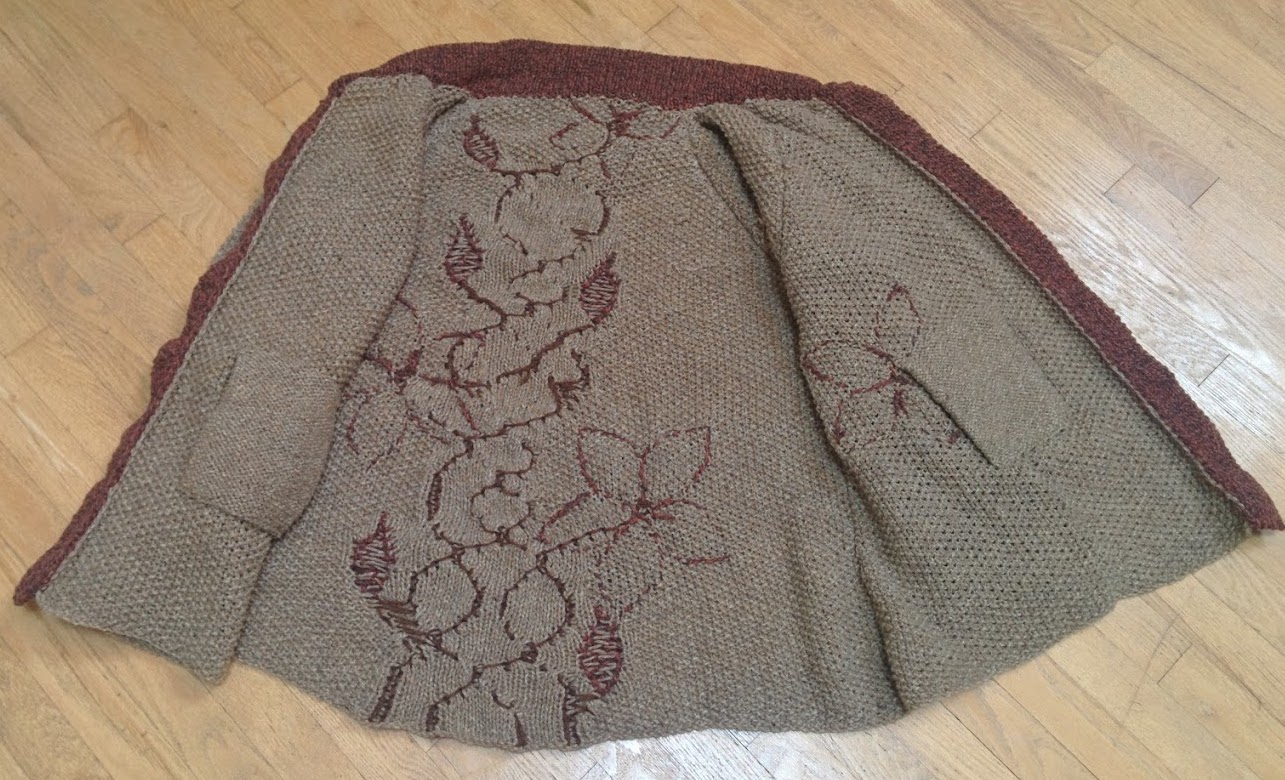
I personally don’t think I am the best at weaving in ends, but to me this looks fine enough I don’t think I would line it.

Now as to the stash busting and how that is going…. I still have a couple more sweaters-worth of thrifted yarn.  One in a fingering weight black and another in a worsted weight beige that I am hoping to dye a more suited shade.  And then the latest yarn swap came in…. so 10 skeins out… and it looks like 7 skeins in.

Must… knit… faster

Just keep Knitting

Weddings sure do eat up a bunch of time out of a month!  So alas this time I am a bit light on the finished items, and have lots of Works in Progress to share (WIPs).

First up… I am continuing my stash busting, and tackling some yarn I thrifted a few years ago.  These big hanks take up most of one of the closet stash boxes.  They are slowly becoming a sweater with some modifications to give it a collar and pockets.  I am up to the right front, pockets and the collar to complete.

Well this is rather complex, and a bit bulky, so less transportable… so I started some other project too.  It may be getting out of hand.

There is a baby blanket from some stash acrylic in a modified tree tops style.

ground beneath her feet

And a couple row by row quilt rows:

umbrellas and boots

I’m a bit of a ways from being done with those last few projects.  Hopefully they will show up in a blog post her soon…..ish.

How to Invoke the Fairies, and my Beautiful Brioche Shawl

First of all…. I need to tell you I finished my  Brioche 2 color shawl that I posted the yarn for earlier…. and its so nice I’m going to give it a proper size photo.

Just like my climbing Hydrangea... its wearing the colors of both Spring and Fall leaves.

Just like my climbing Hydrangea… its wearing the colors of both Spring and Fall.

This is a pattern I fell completely in love with when I first saw it called Under Dutch Skies.  I decided that I would need to learn to brioche, just so I could make one of my own.   I started it towards the end of the Ravellnic Games with the hopes I might complete it.  But as the deadline got closer and closer I started to push myself and made more mistakes… primarily with my leaf spine counts.

As you can see here, in rows prior I did my increase in the wrong spine  instead of the center.

As you can see here, in rows prior I did my increase in the wrong right side stitch instead of the center stitch.

Once you’ve made that mistake well… its not one I was able to tick back and then work up correctly so thank goodness for lifelines, but it still meant frogging several rows.  I wasn’t going to make it to seven leaf repeats in time to finish… so it was finally time to take a real break and get the shawl out of my head for awhile.  This also freed me to make an additional leaf repeat.  I was so excited when I got to the binding off.

I realized as I was laying it out to block, that I’d made a mistake earlier on, and I’d just never found it.  Now here’s the thing about knitting mistakes.  They are kind of like looking at yourself.  When you look at yourself and your own knitting you find all the things you wish were better.  Maybe we wish we were thinner, or maybe we wish our hair looked better or that there is less of it in some places and more of it in others, and we can get focused in on all the things that aren’t just right. (My stitches are uneven, I twisted that one stitch wrong, etc) But when you take a step back and you look at the whole picture like someone else does…. both you and your knitting are so much better than you think.

So I’ve given you hints now go right ahead… find my mistake.

Not so obvious until you find it....

Not so obvious until you find it….  Feel free to click on the photo until you get it in a larger size too!

Now the reason for that whole exercise is that sometimes when we gift or sell our handcrafted items we feel this compulsion to point out those mistakes.  There is no need.  Its a gorgeous thing worth of praise WITH its minor imperfections.

Now perhaps you have some eagle eye friends and family or over time they find its special unique “feature” and feel compelled to point them out to you.   You can respond to this in a few ways, but here’s my favorite two.

  1. This is an identification feature.  It proves that this item is unique and should it be lost or stolen you could correctly identify yours, even if someone else made the same item with the same yarn.
  2. Invoke the fairies.


That’s right… invoke the fairies by looking that person straight in the eye and letting them know that you had to leave a mistake in the item.  Fairies like to steal and take things that are perfect, and after all this friend/family member was already so incredible you felt that if you gave them an absolutely perfect knit item, the fairies might feel compelled to take them away.  (Thus making your imperfection into a very high compliment!) 

Double your Pleasure with Double Knitting Fun!

So several ages ago (also known as last December) I decided to learn how to double knit.  This is where both sides look like the stockinette or “v” side of the knitting.  You may recall a post in January or April on this project.

Well I’m pleased to report that I’m finally done!

Green and White is always Right!

Green and White is always Right!

A full nine snowflakes make up this baby!  There are 5 differently patterned flakes.  Two larger and 3 smaller patterns.

Like the force there is a dark side...

Like the force there is a dark side…

And a light side

And a light side

To me double knitting is very beautiful, but it seems like it takes so much more time, basically its like you are doing a 1×1 rib, but you also have to pay attention to the detail of which stitch in the pattern facing you and the edges so that the two sides are hooked together and not open at the edges.

From WIP to FO in 1 batch of extra determination!

From WIP to FO in 1 batch of extra determination!

And that’s one project that can go on the Christmas gifts completed pile!

Speaking of things completed… I also knit up a second Spring Thaw for a friend of mine who was admiring the first. I believe it is now presently touring part of Canada.

A shawl knitted for Sporks, but not on sporks.  (which might be possible but probably insane)

A shawl knitted for Sporks, but not on sporks. (which might be possible but probably insane)


An August Spring Thaw

Did you ever have those moments when you look back and say to yourself, now if only I had done this in a different order…..

Such as… if only I had started with the Spring Thaw Shawl instead of the Gamayun Bird, I’d at least have finished one of them on vacation.  And I totally could have managed it on the plane.

So without further delays… allow me to present a completed Spring Thaw Shawl!

Spring Thaw... just in time for fall chills

Spring Thaw… just in time for fall chills

This pattern is actually pretty easy to follow along, and available in both written and charted if you want to get your toe in the waters of lace so to speak.  I went with 12 leaf repeats down the center spine, primarily because of how my yarn colorway was working I decided I wanted to end as I began.. in the dark smoke.

Perfect for a gentle breeze like the one today!

Perfect for a gentle breeze like the one today!

The yarn I used was Patton’s Lace in Woodrose, and it took me just under a skein from start to finish….. which means I have another skein of it.  To me, the browns and greys make it more interesting than just a simple pale pink.

The mohair in the mix gives it a nice soft fuzz to the pattern.

The mohair in the mix gives it a nice soft fuzz look.

I was rather surprised at how quickly this came together… from cast on to fully blocked and photographed in just 6 days!

Full view

Full view