Someone asked awhile back about how to do a large central image on a quilt, and at the time I wrote a rambling reply about how I would make such a quilt. Well since that time, just that sort of quilt has come along “needing” to be made, so I thought I would document and give a bit of a photo tutorial on hand appliquéing a large central image. (Later I have some machine appliqué planned for the back side, so you can see that method and compare) This might not be the best way and certainly not the only way to do it, its just how I did it this time.
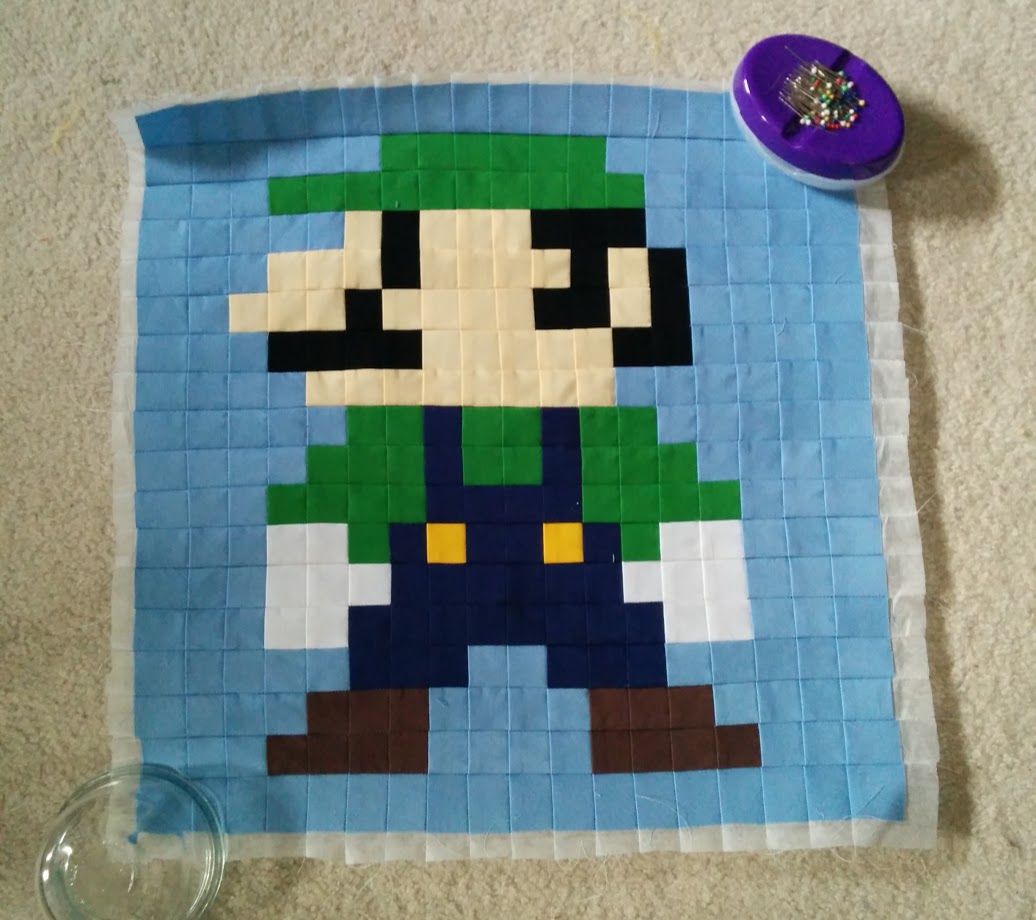
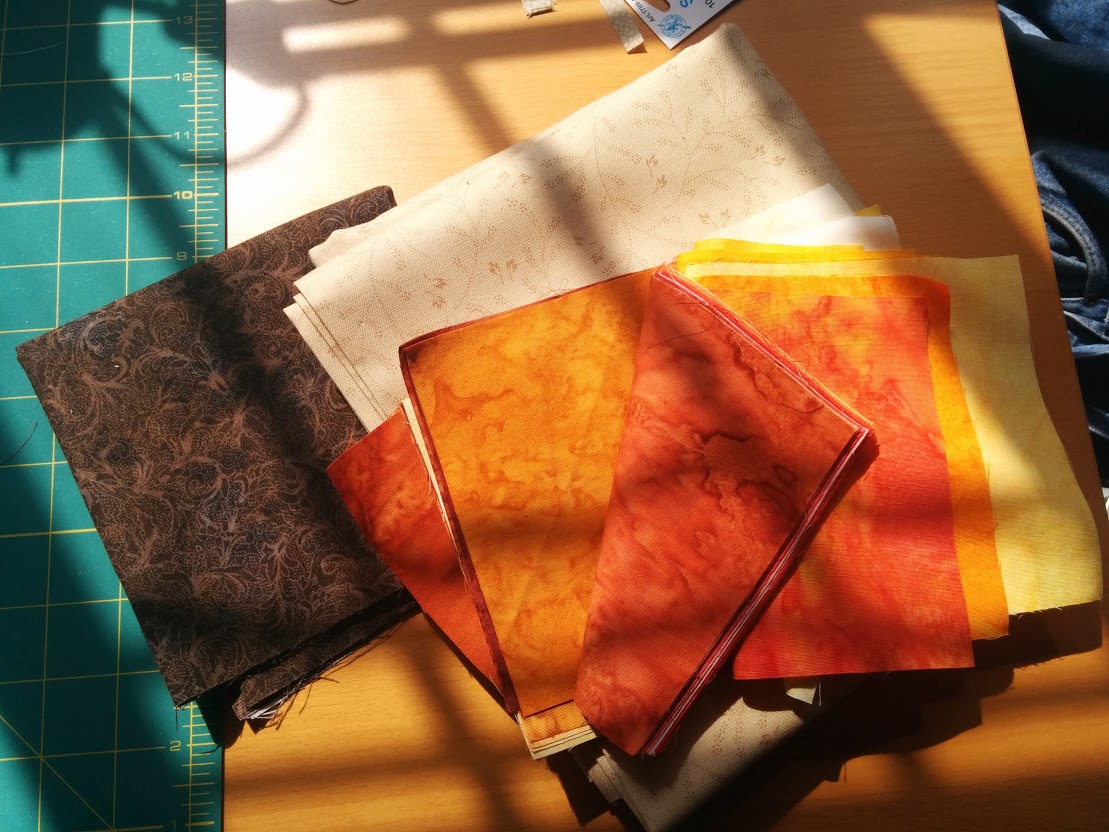
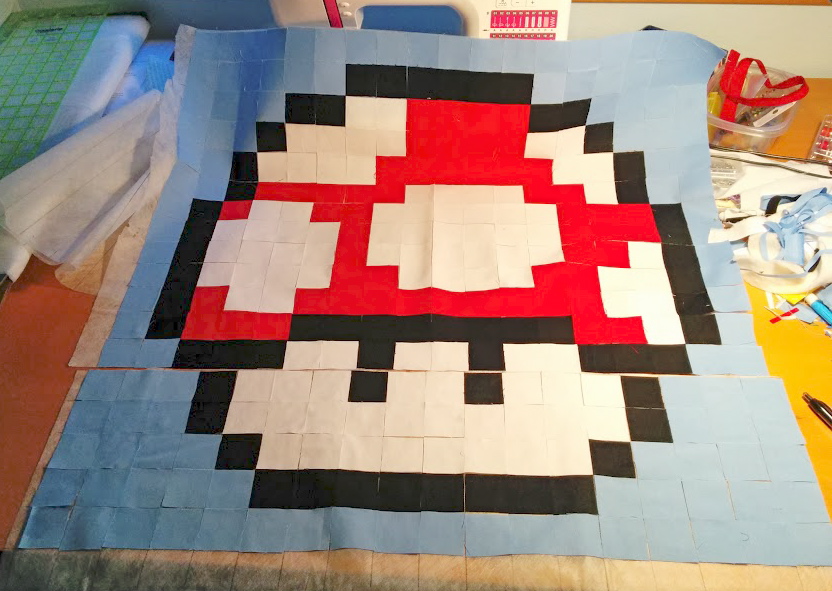
My quilt top in this tutorial/photos is for our new car blanket. (You know.. for taking car trips to quilt and yarn stores in other states. ^_~) For materials you will need your fabric, matching thread, a needle and some iron fusible interfacing (I did one sided this time, I’ll do a double sided example when I do the back, but I had some spare one sided from my Mario Quilt [keep scrolling for an update on that]).
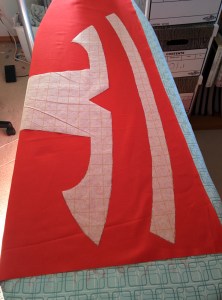
The first thing you will want to do is get an outline of your image. Many office supply stores or printing locations can offer you a large scale print, or you can use an internet source that will scale the image across multiple letter size pages you print at home, such as Blockposters.com which is what I did in this situation. If your image is not symmetrical you will want to either print it flipped horizontally or trace from the back side of the page. After you have your image you want to trace it onto your interfacing on the non-fusible side.

My block print was four letter pages wide.
Once you have your image fully traced onto the interfacing, you will want to cut it out. In my sample its two pieces.

You can check your design by simply flipping the fusible side up. It should look like it is facing the correct way.
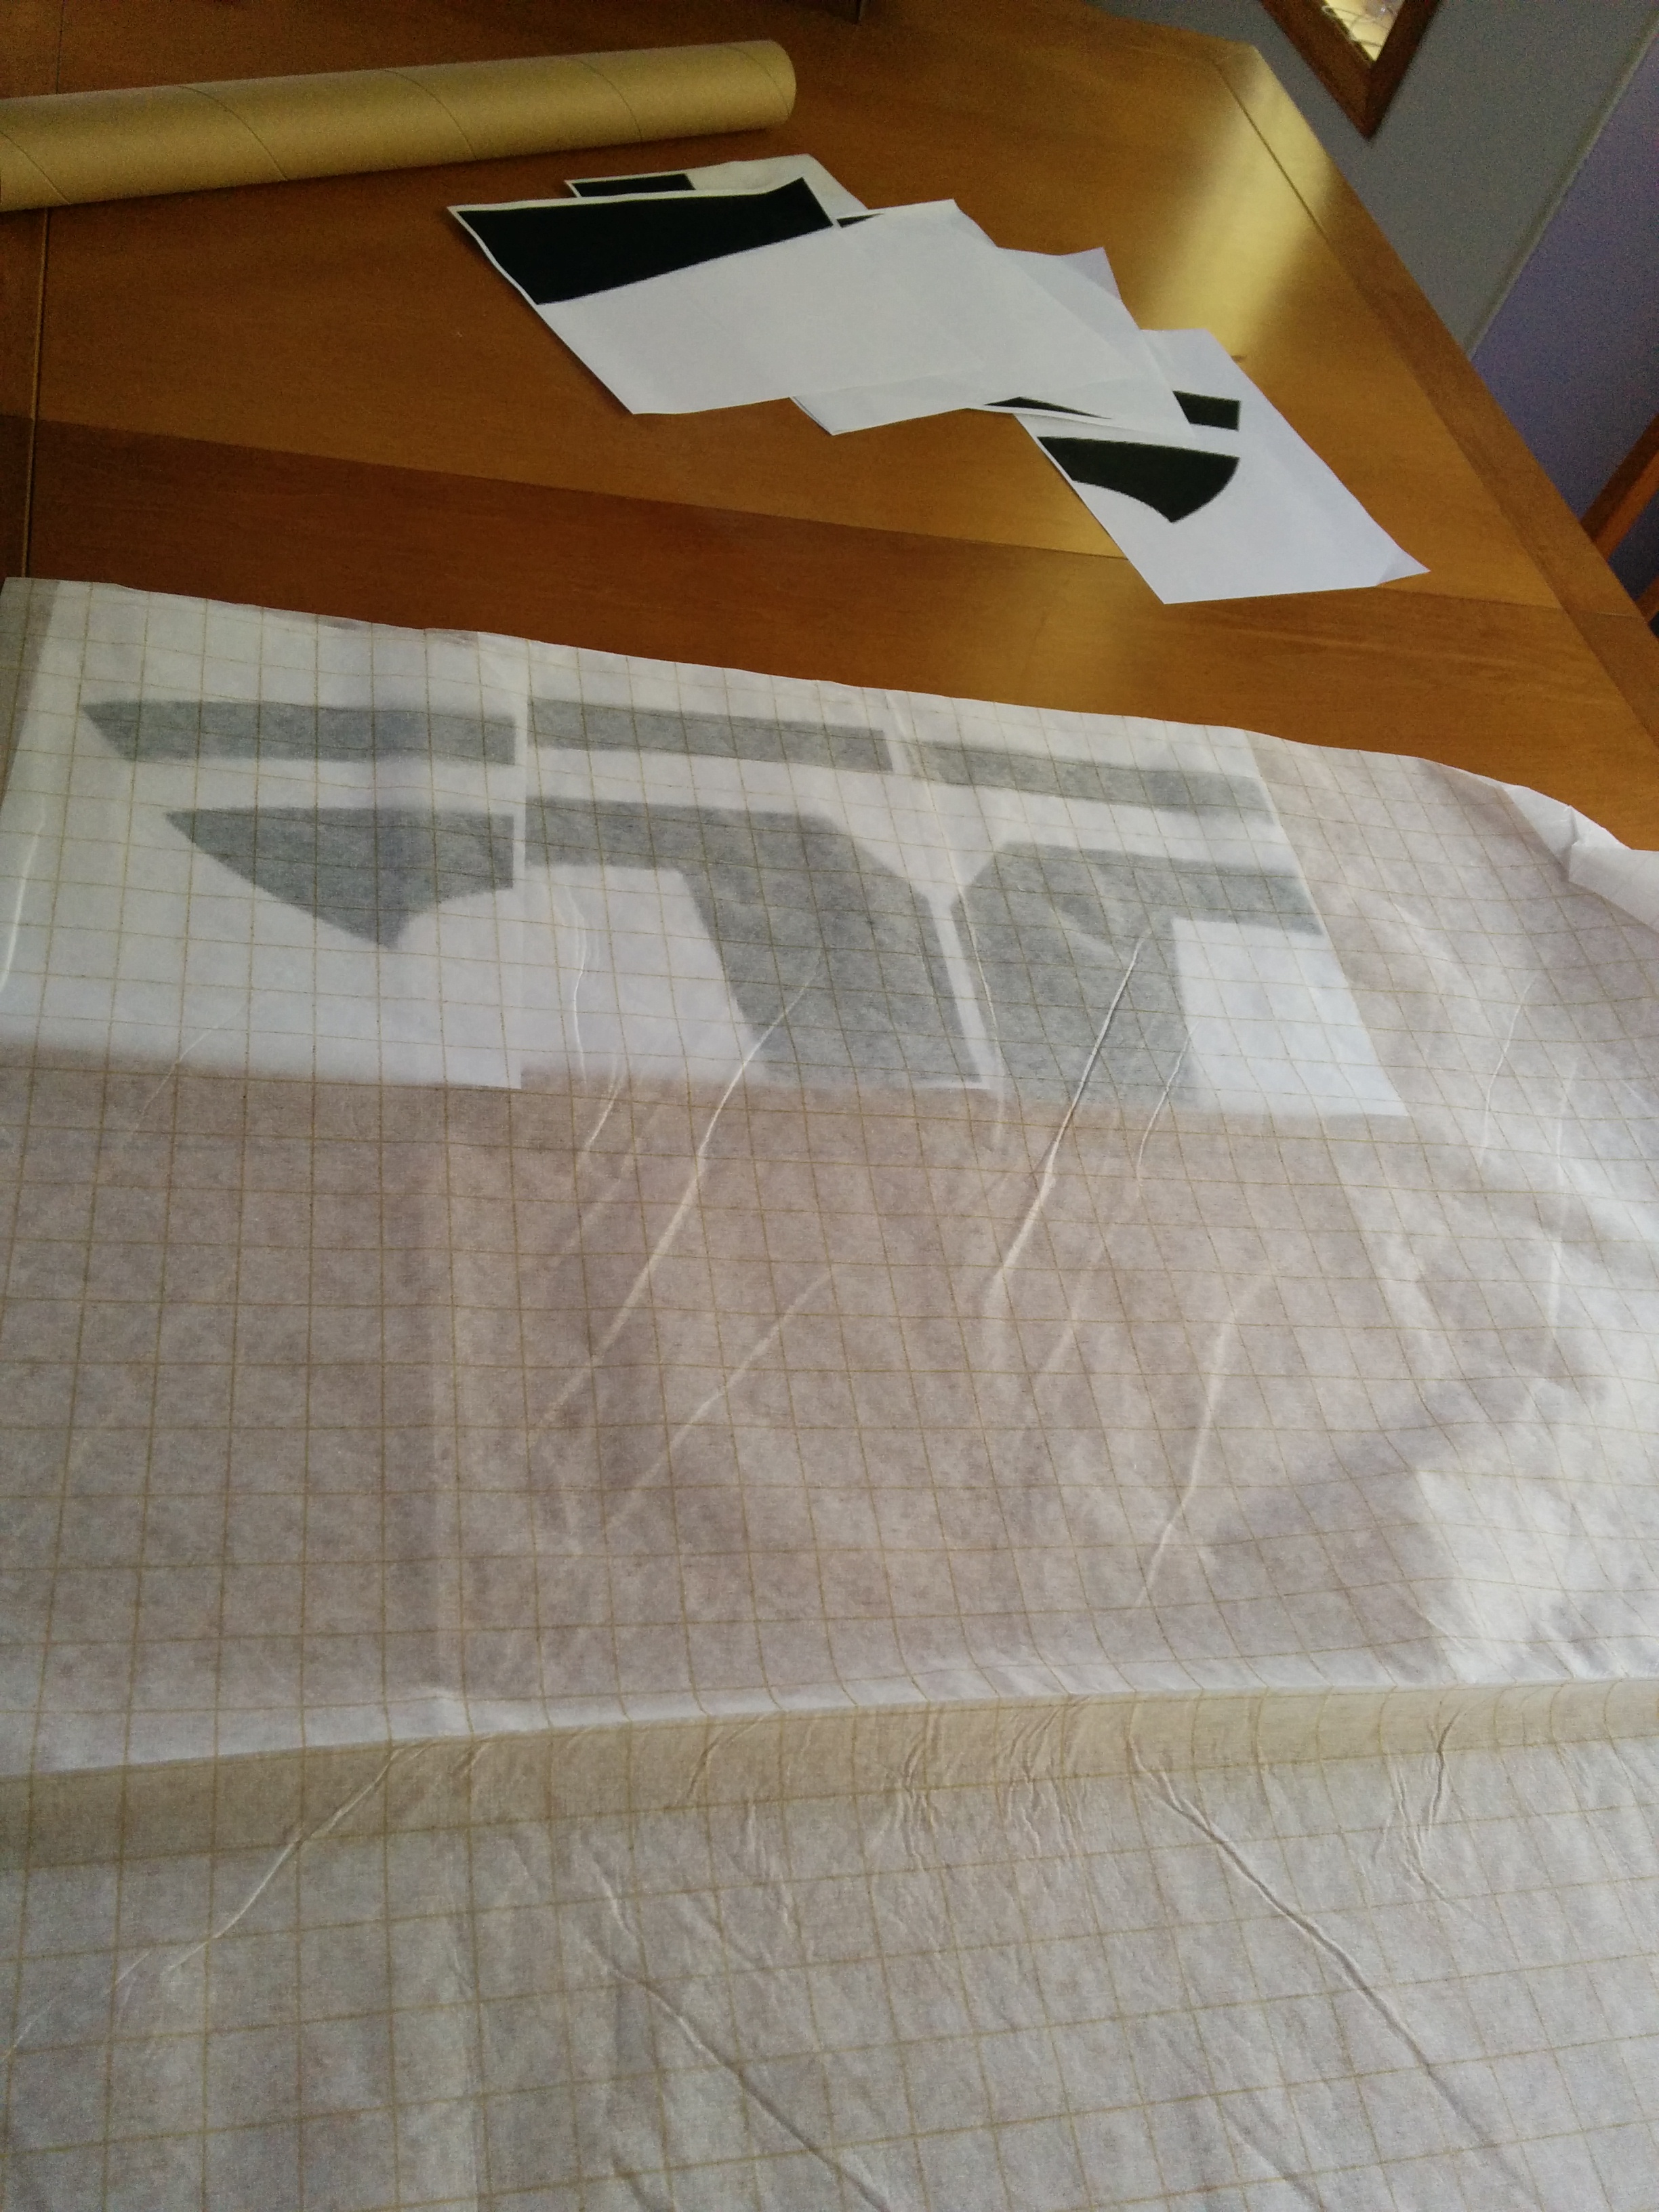
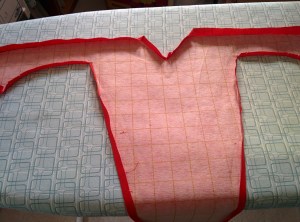
Next you are going to take your fusible pieces and iron them onto your design color fabric. If you have multiple pieces, you can lay them out however best fits your fabric, so long as you maintain at least a 1/4 inch or more buffer around your pieces.
Here’s mine ready to be ironed down.
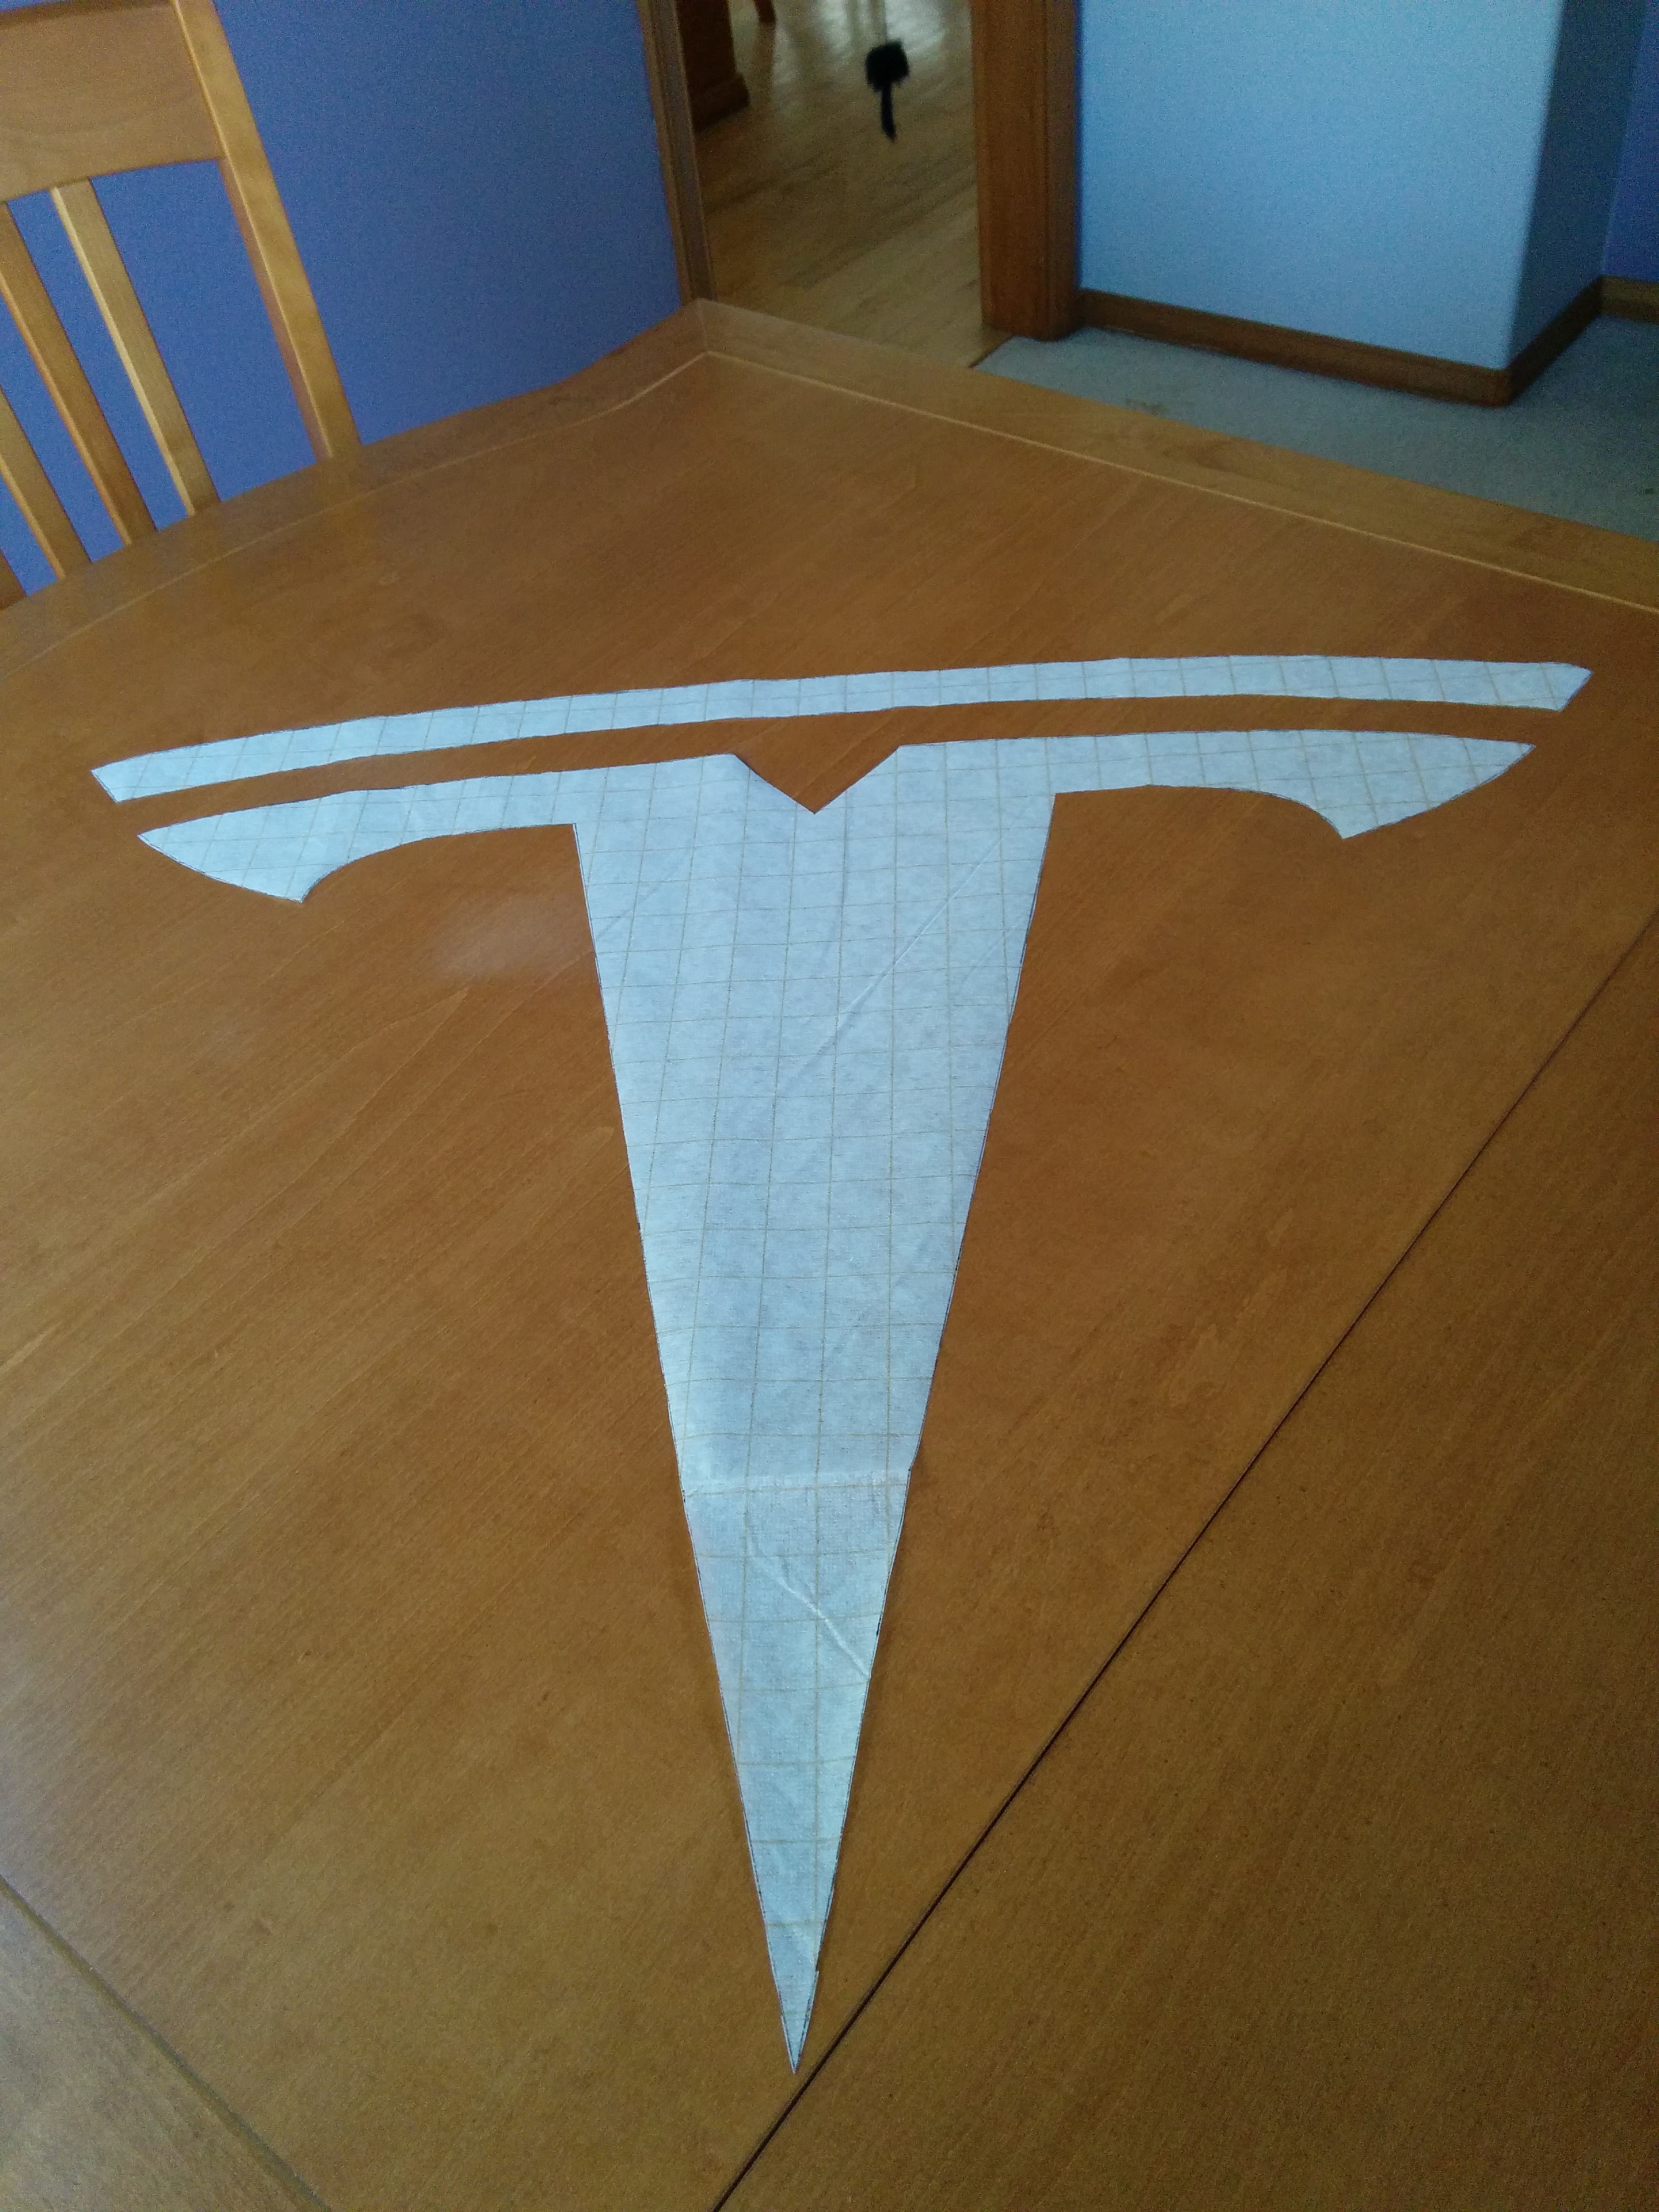
You will then cut your fabric at least 1/4 inch around each of your pieces. You will be folding over that edge onto the non-fusible side of your interfacing and ironing down. You may find that for curves and points you may need to cut into that selvedge a bit in order to get the fabric to follow the lines of your template. What you have done at this point is make your giant image a slightly stiffer patch. The interfacing helping to give you smoother lines.
Ironing in my edges on the big piece.
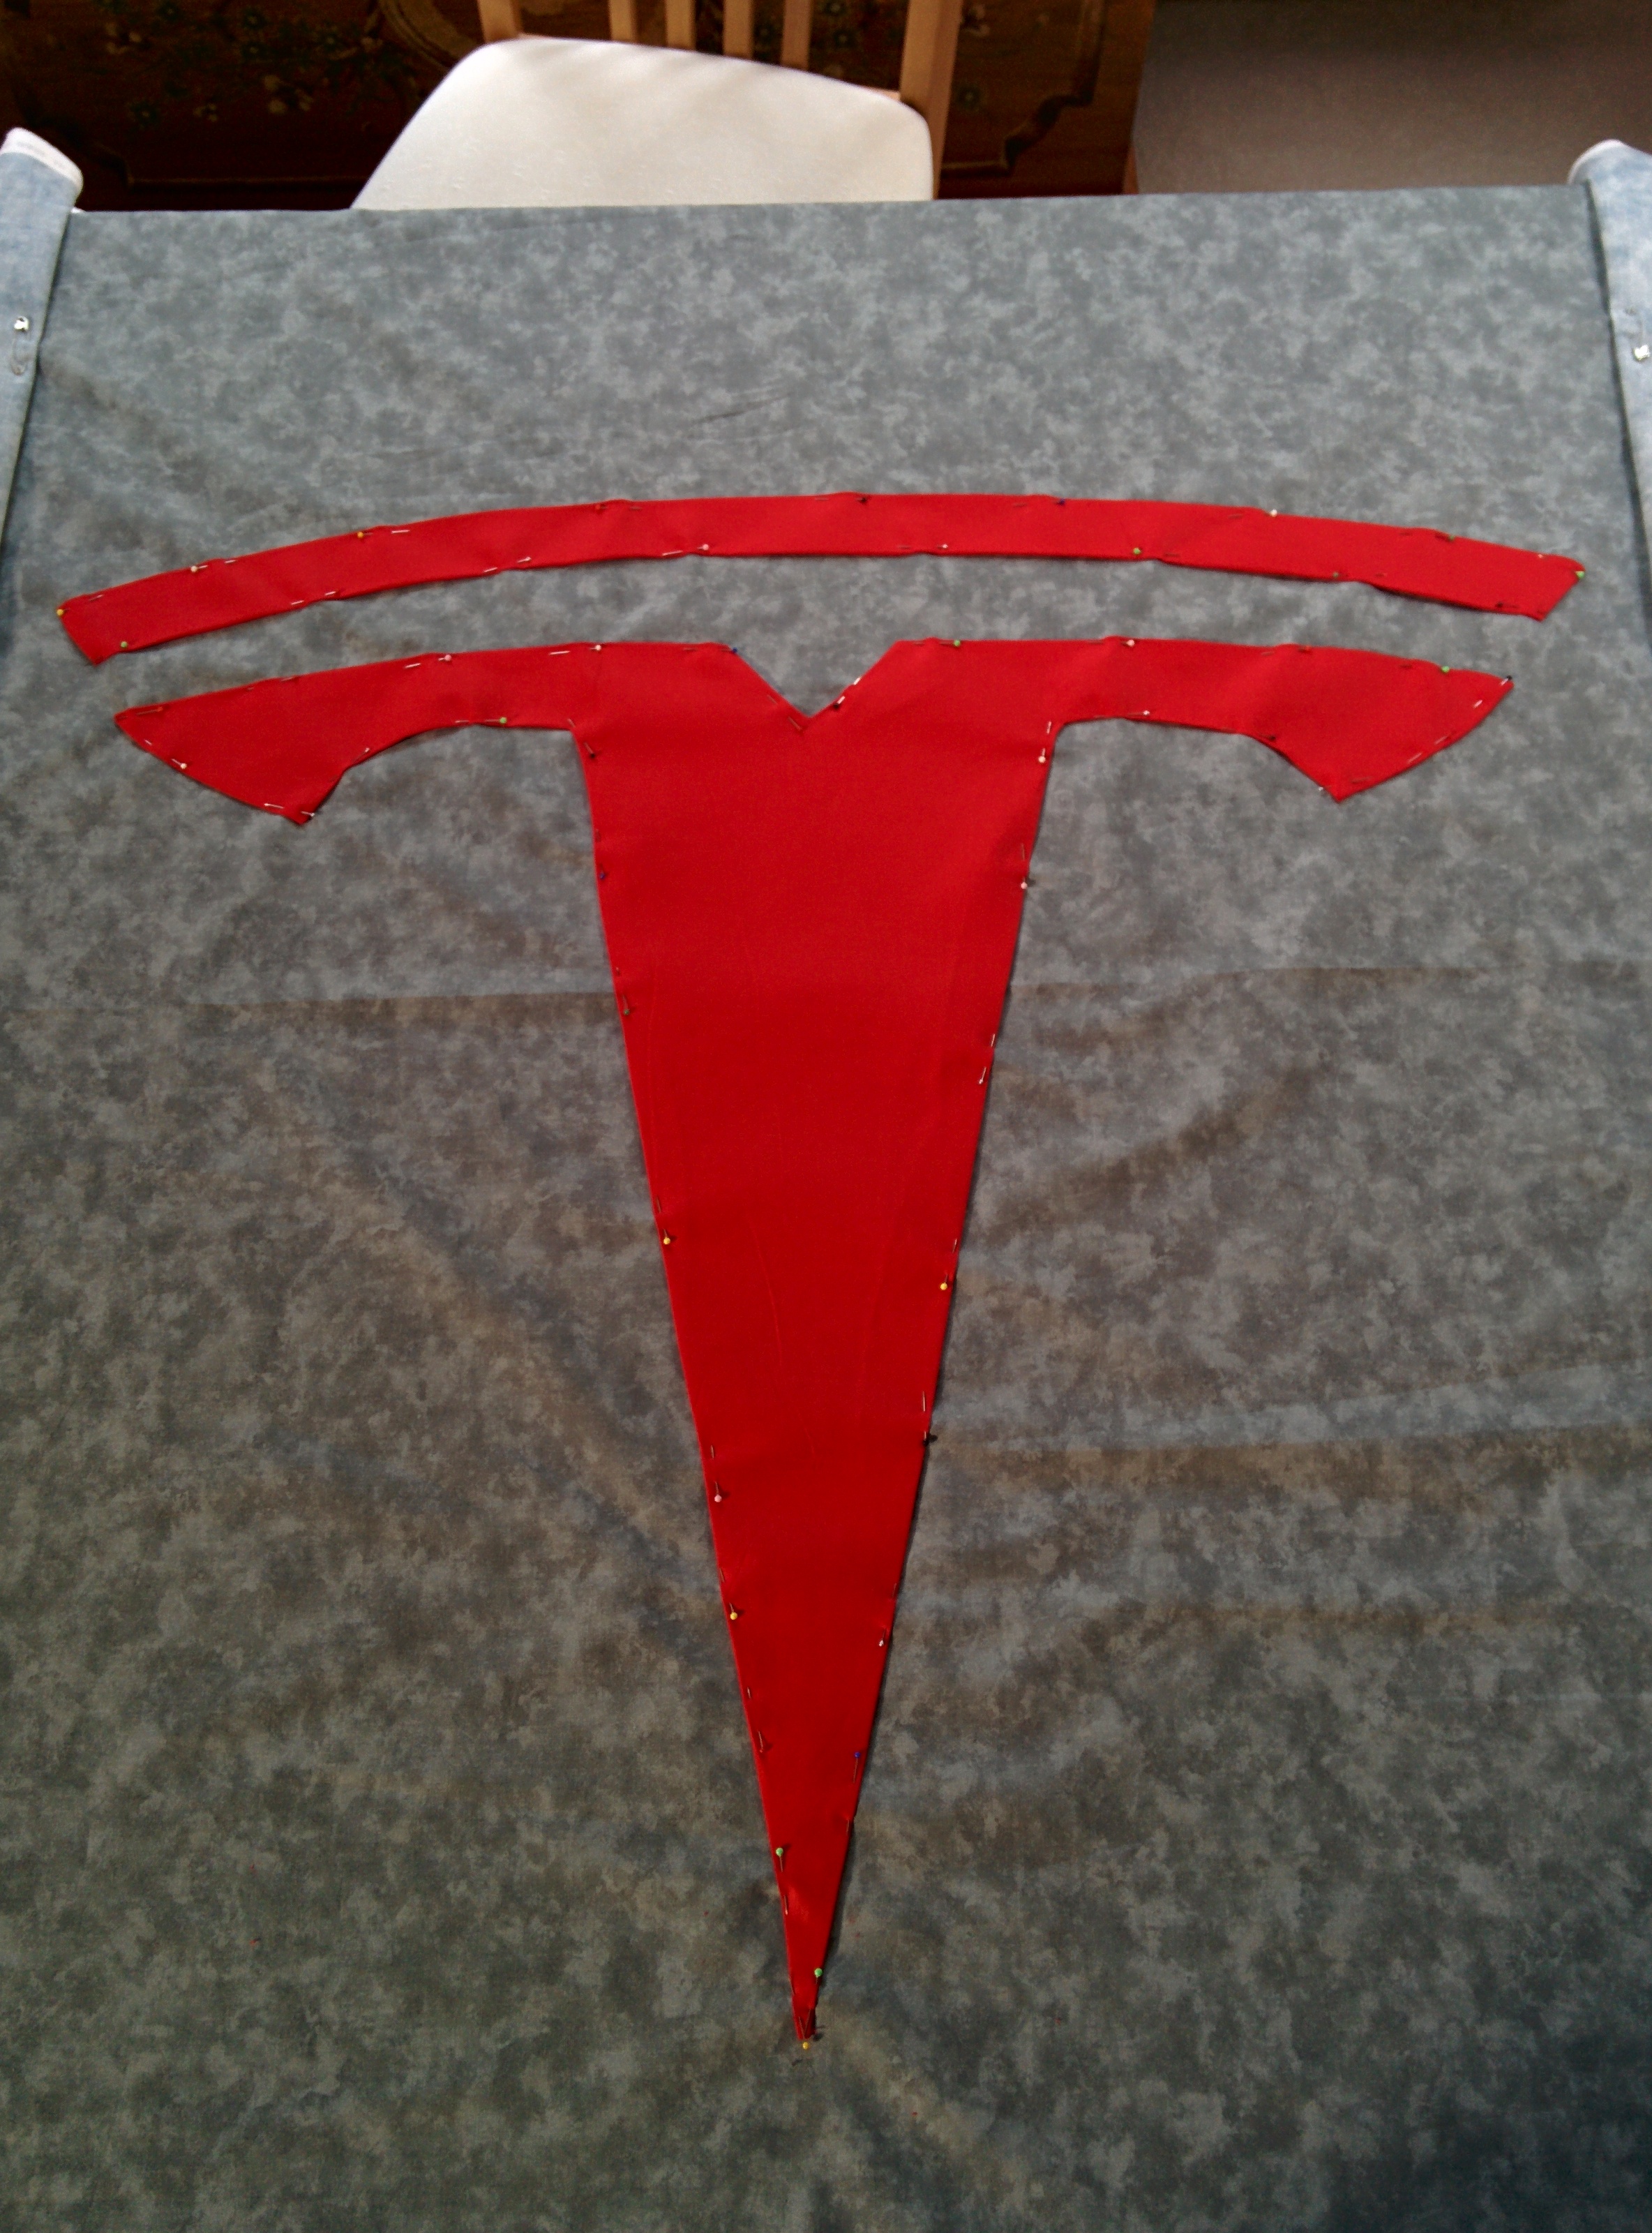
You will then flip your patch over, place and pin to your background.
All pined down
You are then ready to begin stitching your piece onto the background. Now growing up I used to have this step great grandmother that was teaching me about piecing and I am quite certain that no matter how tiny my stitches looked to me, they were just not small enough. She was either right, or just cranky, but at any rate… here’s some tips on how to make tiny stitches.
The travel of the thread should mostly be behind the background fabric. When you place your needle going down into the background, you want to bring the point back up right along the edge of your top piece, use that as your guide. When going into and out of the top patch piece you want the needle to move along the folded edge of your piece and not bring it up through the top of the piece.

Stitches on the bottom, travel under the fabric and parallel to the top piece

Stitches on the top go through the fold
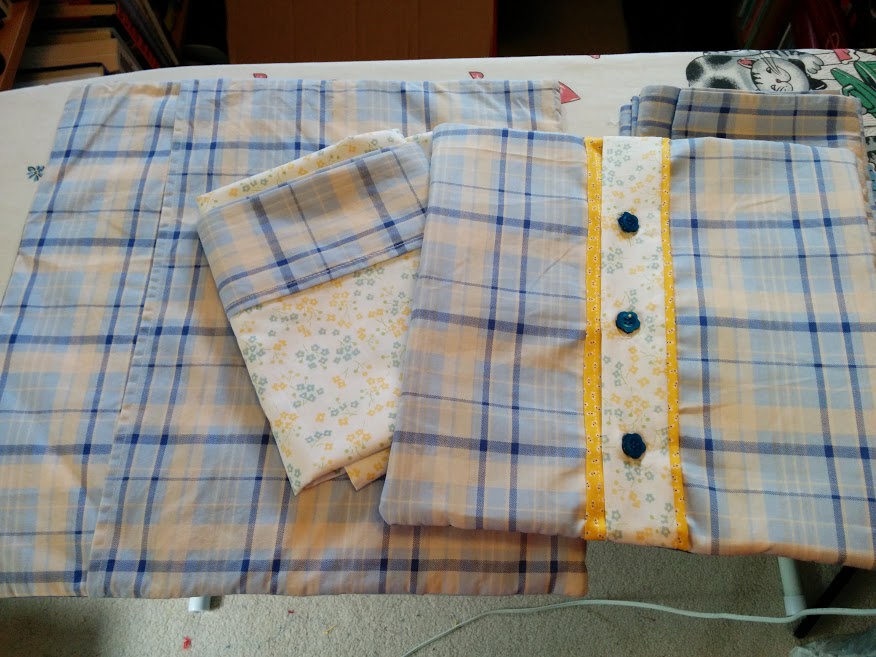
Now before I wrap this tutorial bit up and get onto the list of other things I managed to work on since last month…. I want to take a moment to talk about how you assemble your background fabric. For this quilt I am aiming for a mostly twin size quilt. I am planning to back this quilt with fleece that is a bit over 60 inches wide and a nice slightly larger than 80 inches long. Most quilt fabric is roughly 42-44 inches wide. I could have chosen to use 2 pieces, in which case my image would be right over the central seam, but since I didn’t want a seam there, I chose to split my fabric into 3 pieces, like the illustration below.
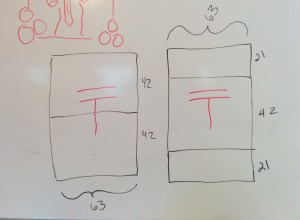
Writing out notes and diagrams can be very useful.
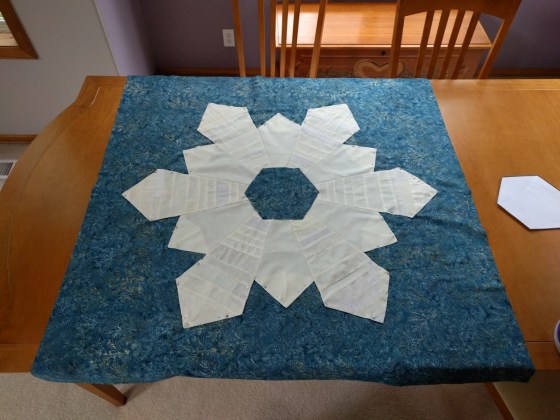
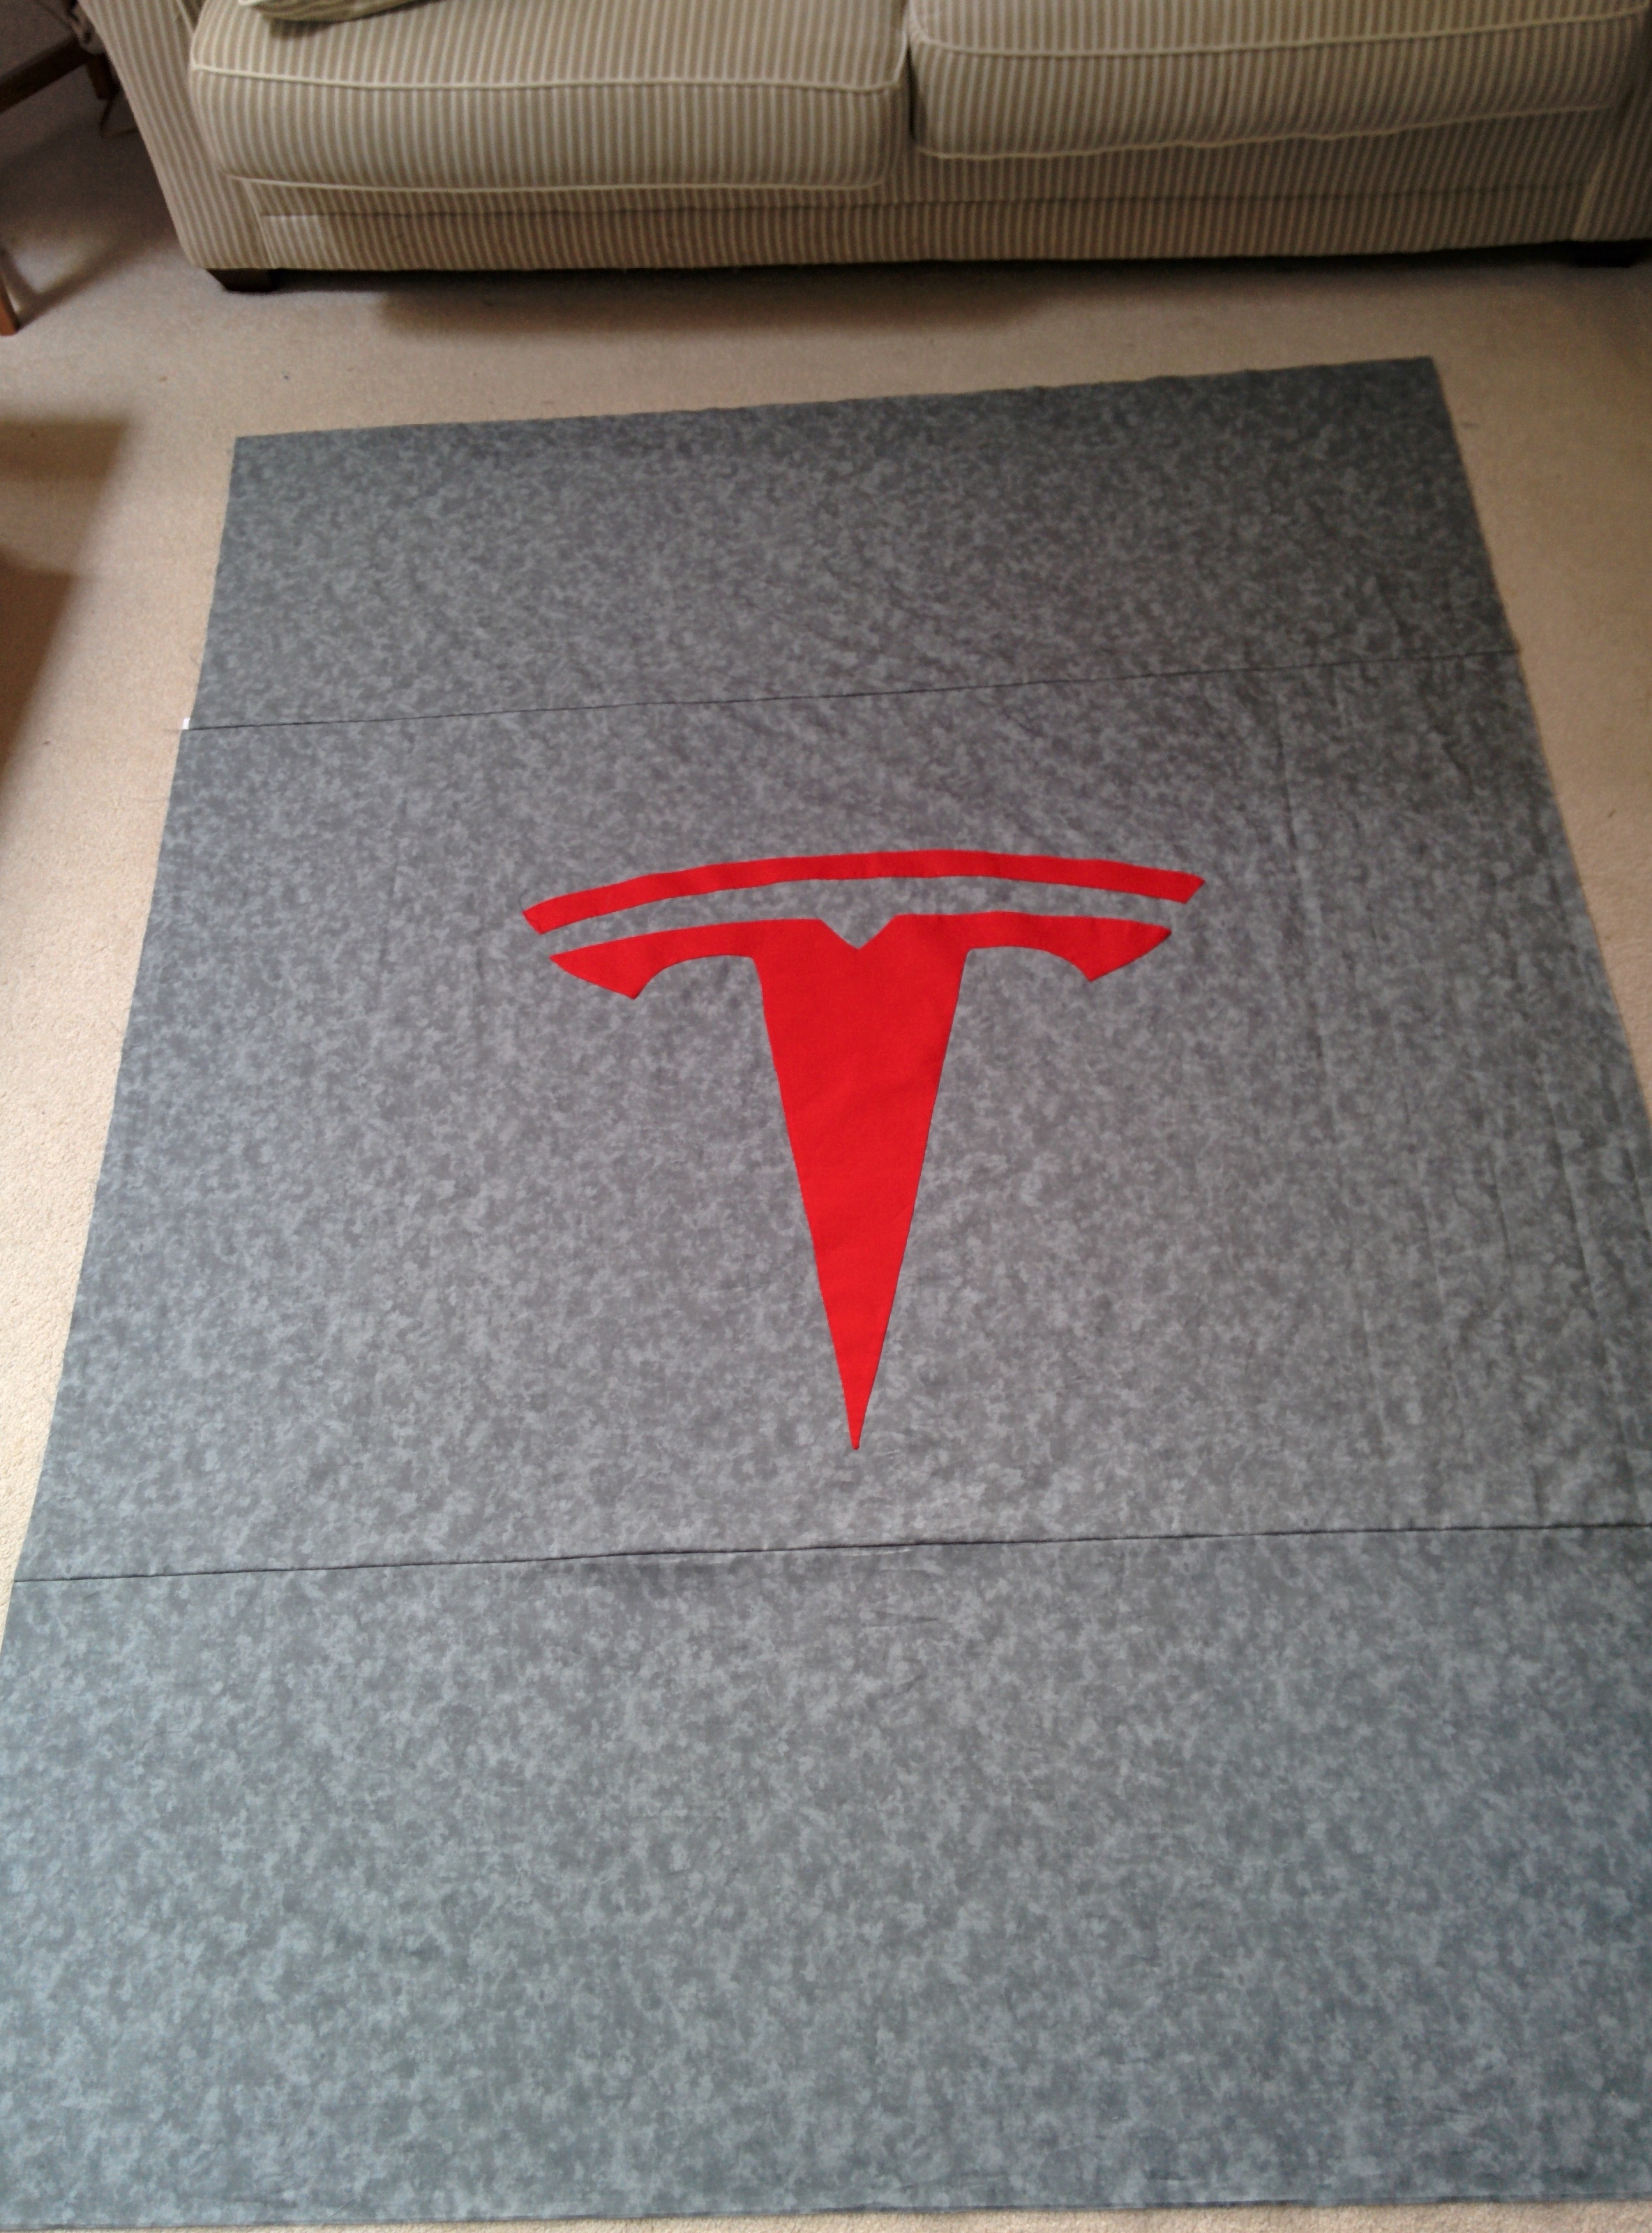
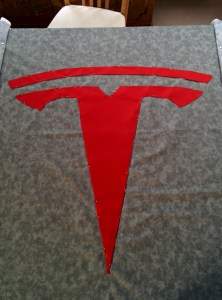
Which brings us to the Tesla Quilt Top! In need of some ironing and then its time to sandwich and quilt!
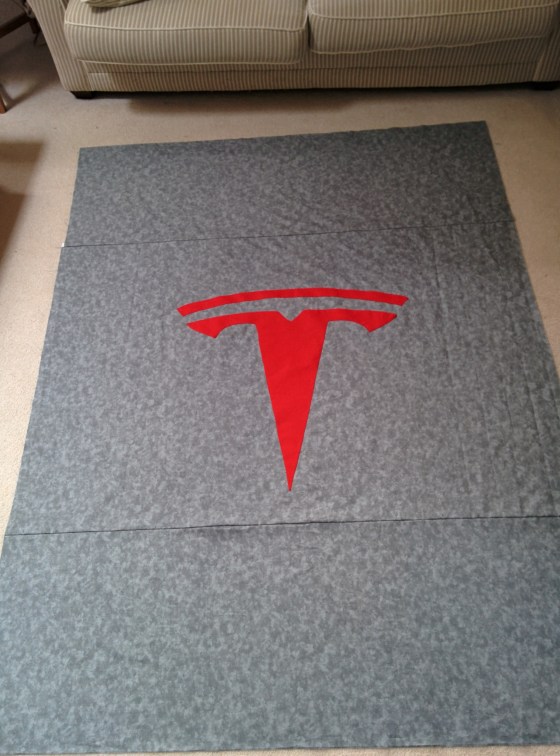
Ta-DA! BTW, if you do a central piece like this, you can wait to seam together the background fabric until after you are done appliquéing the front design, which saves a bit on how much fabric you have to manipulate around.
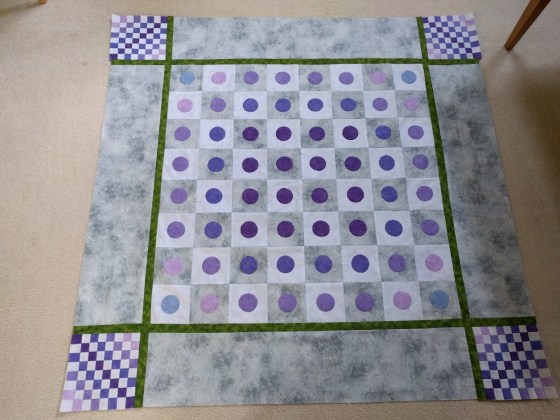
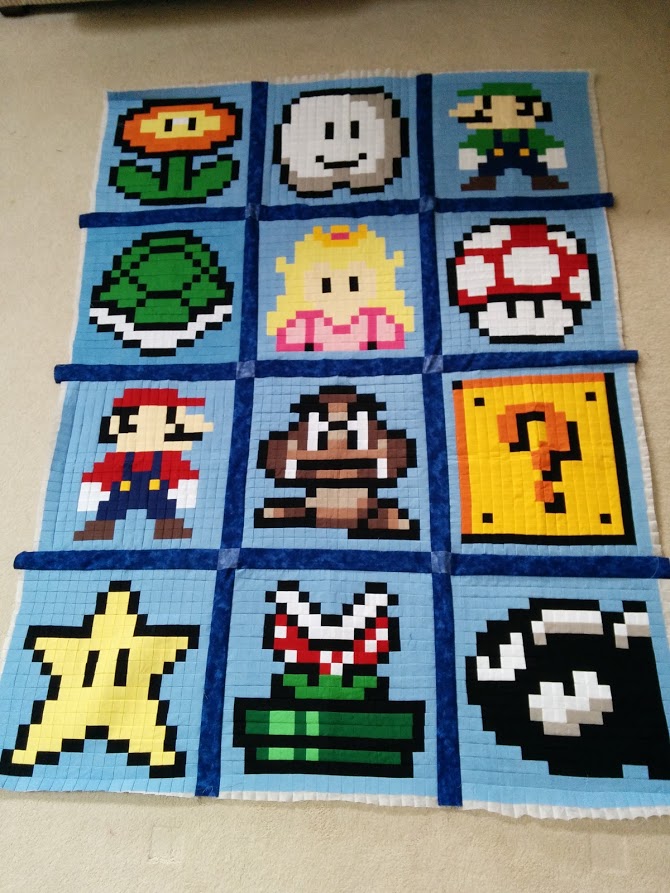
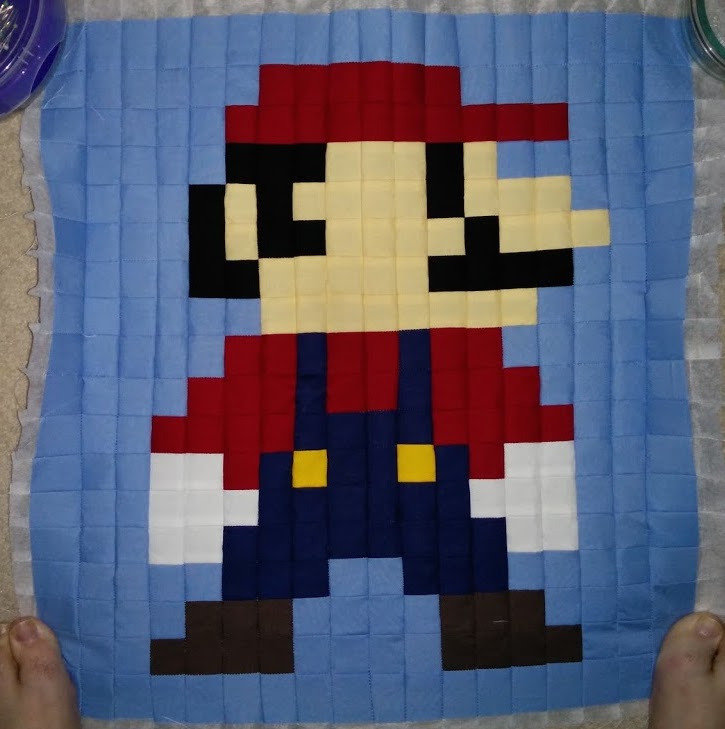
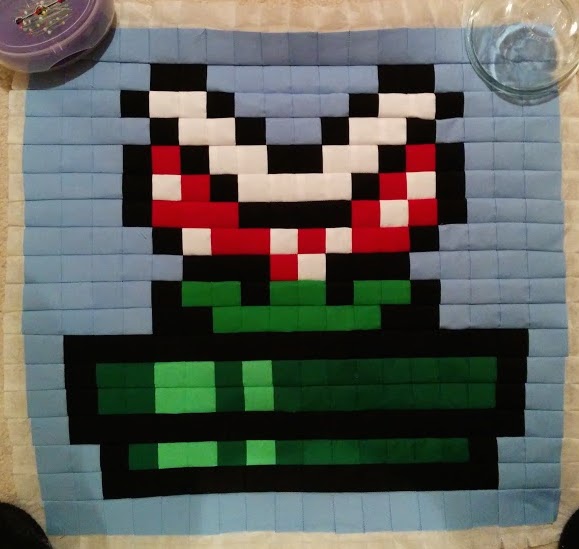
Ok so now that the How To portion is done… I did say Tops (plural!) in the title. So guess who finally finished all her Mario QAL blocks? That’s right.. THIS GAL! I even sashed the top blocks together.
So here’s the progress on that quilt top.

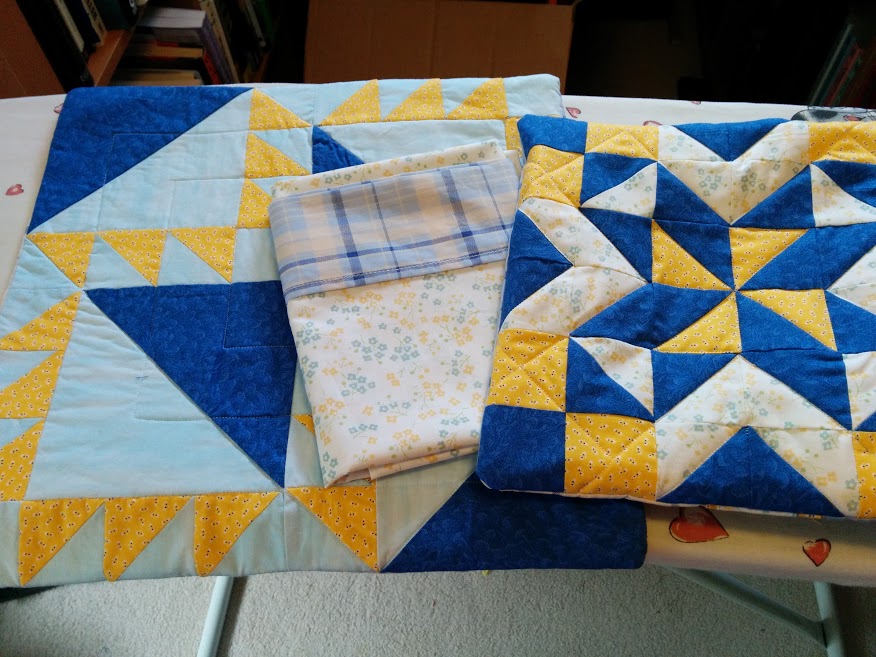
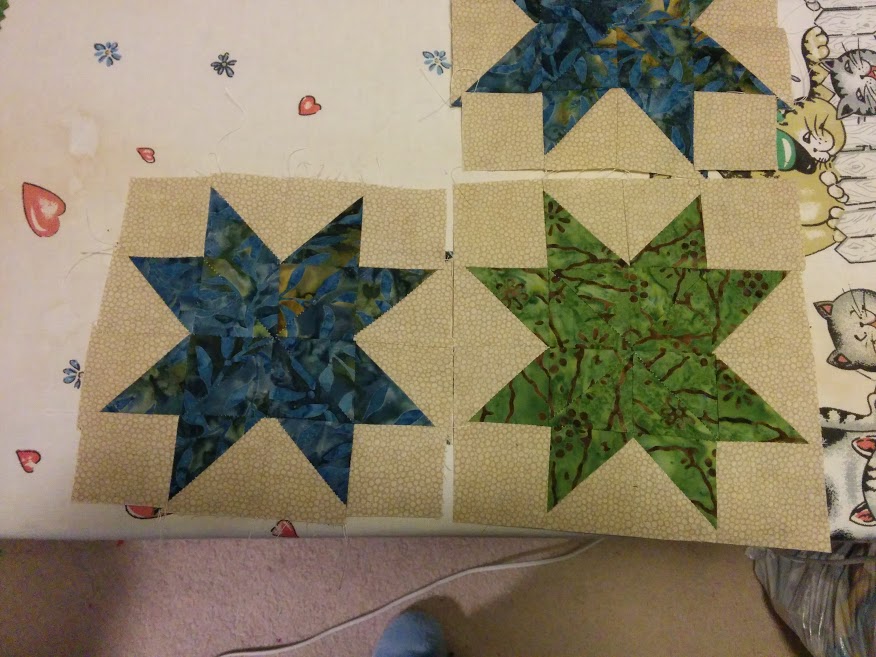
This also needs ironed… but I am planning to do a bit of a border and I needed to lay it out to calculate the math.
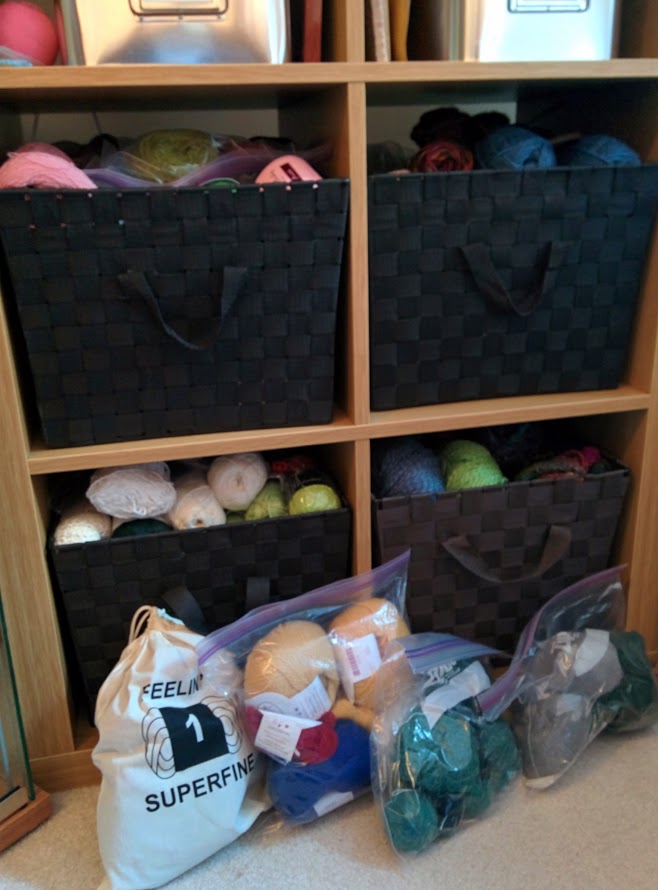
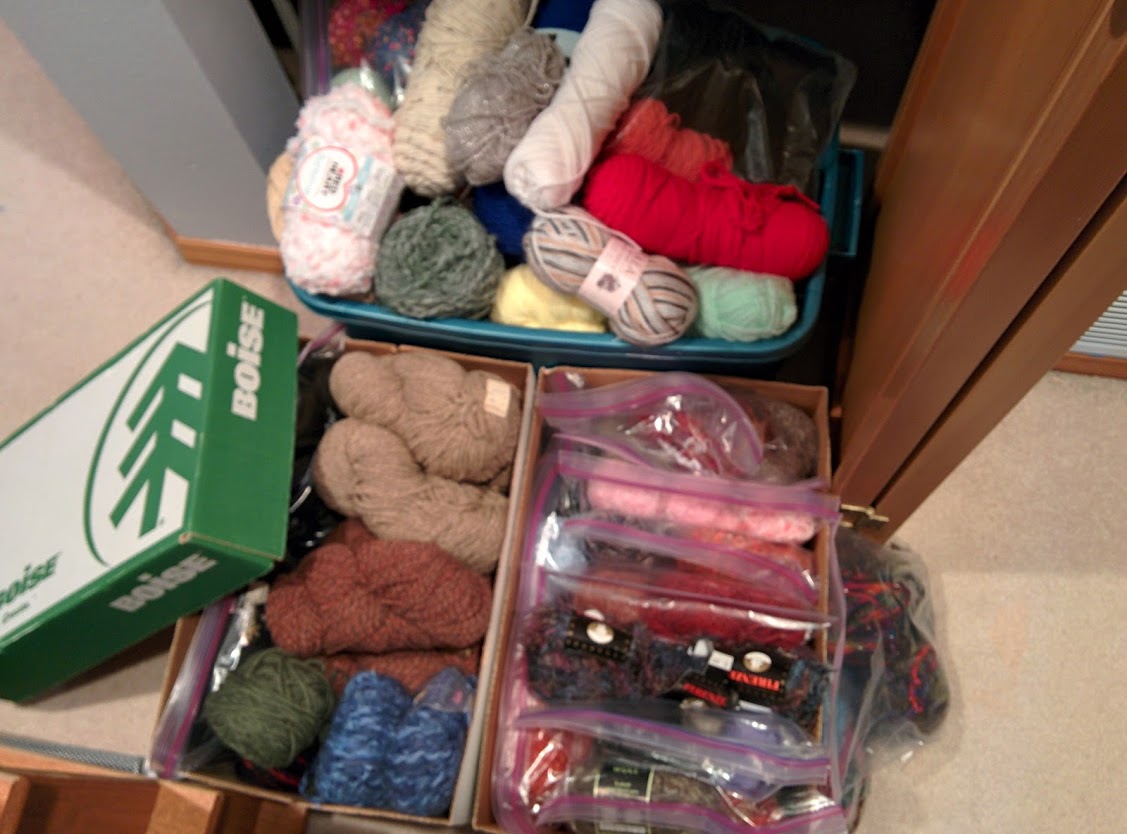
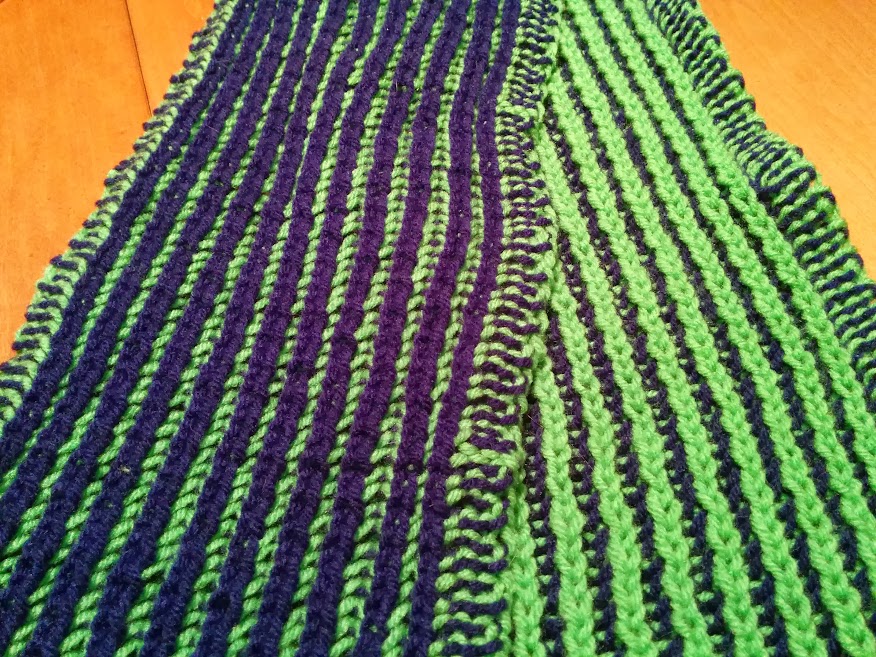
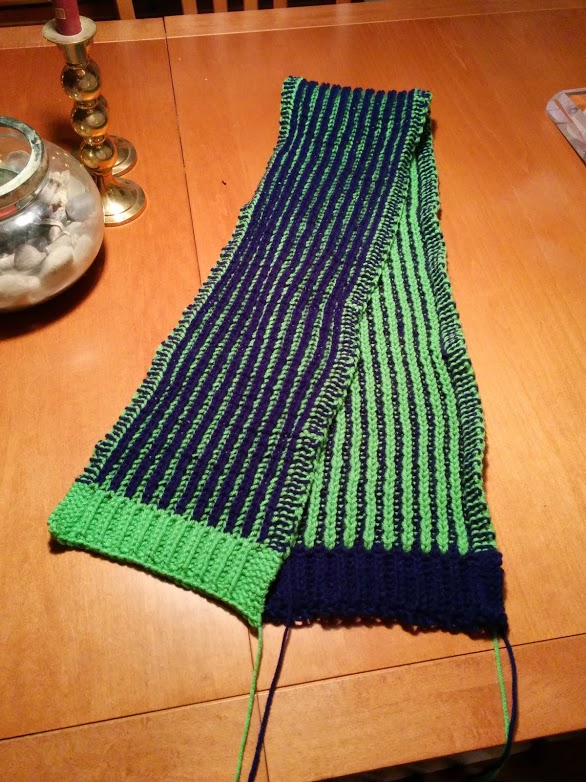
I have also knit up three socks. (Yes I know they usually come in pairs!) I am participating in Sock Madness this year… so you will eventually see all those socks in a later post. Other bits to look forward to would be finishing up these two quilt tops into actual full quilts, and I am yarn swapping and fabric swapping this year.
 Last year was my first year joining Ravelry’s Sock Madness group. I really enjoyed myself, even if I still have not actually finished my last competition round socks. (I got to the first heel and then made a flub and so I was fixing it and just got burned out…sorry!) So its once again February and I’m signed up to give it another go! I have quite a bit of sock yarn set aside in prep and its an amazing way to grow my sock drawer. If you want to KAL with us, the sign ups are open and the competition (which is very friendly) starts in March.