Just in case I am not the only beginner in the room… I thought I’d take a moment to talk about lining up your seams. Now there are people that are quilting perfectionists that can be rather passionate about seams and be a little bit more judgmental about such things; I am not even going to get into that. I will say if you are starting out and you have one of those moments where you just aren’t feeling very perfect, I’ve been there. You will get better.
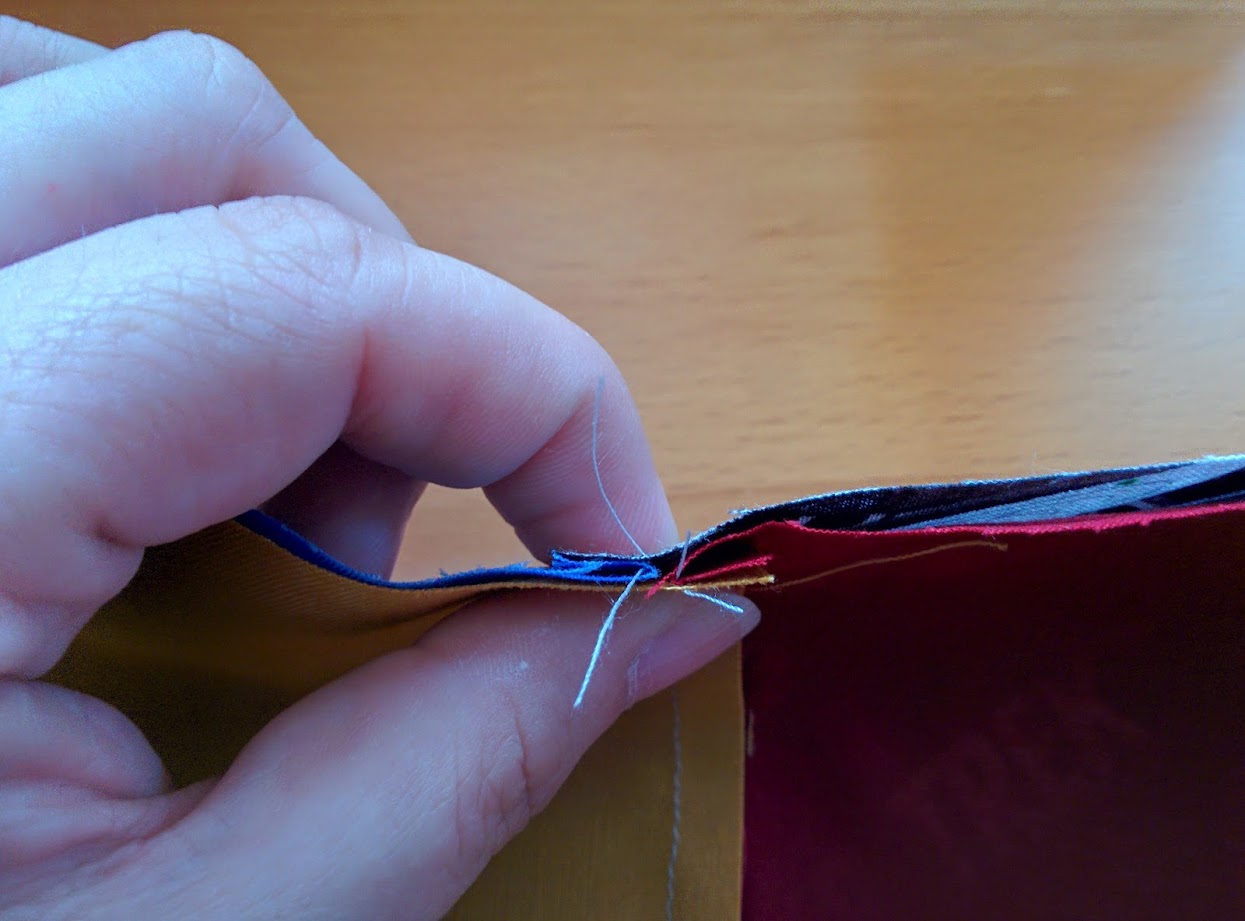
So here’s a tip about how to lineup your seams that works well for me. Its called “Nesting your seams.” When you are ready to join two seamed pieces, you will want to iron one section so the seams lay facing one direction, and the other piece where you want the seams to match up so they are going in the other direction. So that as you line up your pieces, and give them a little finger wiggle, the seams but right up next to each other in a bit of an X formation.
Like so:
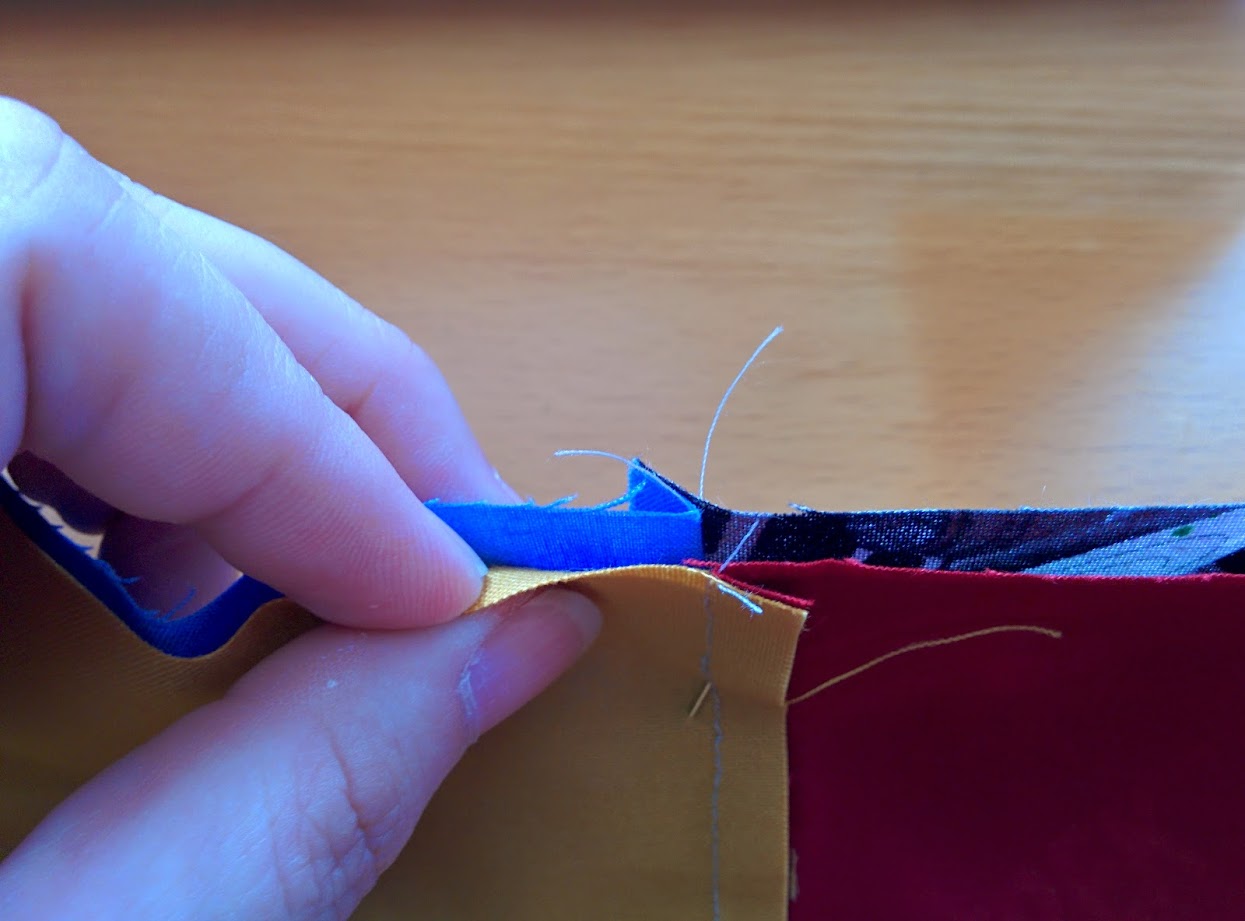
I’m holding the seam a bit open here so you can see how they come together.
And here’s what it looks like when its closed, as it would be going into your machine.
Now for me, the best results come from having the seam that is folded away from your body to be on top as you feed it into the machine, and the seam on the bottom is folded towards you. This way you can guide that top layer under the foot and your machine feed is going in the direction of the fabric. It doesn’t always work out that way, but if you have the option when you are ironing and pinning, aim for that on the more difficult seams you have on your project.
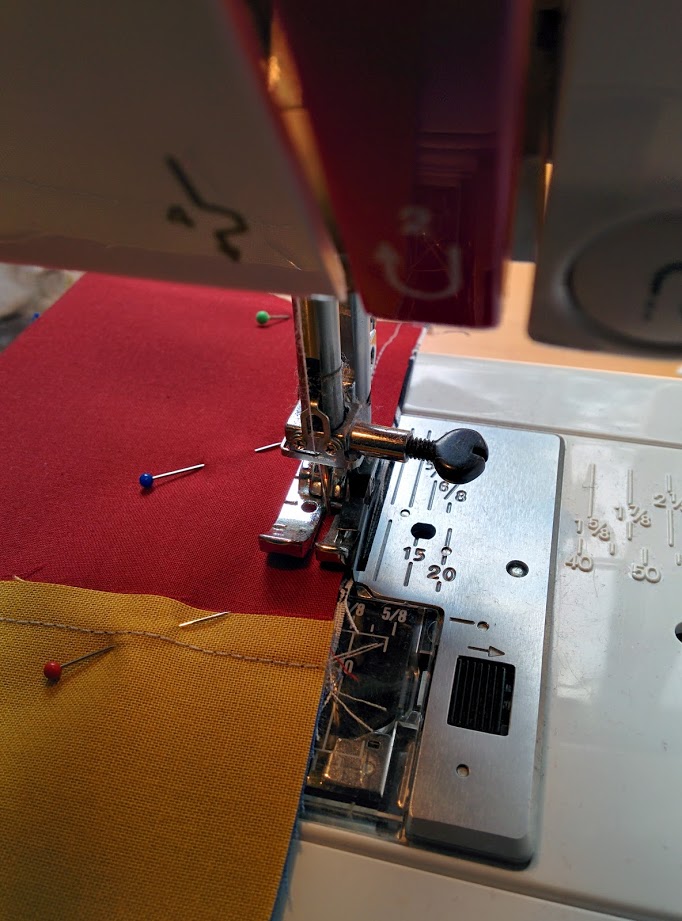
I do tend to pin across my seams. I am a pin person. I see videos of people that do not use pins and they amaze me… but I am not one of those people, and I’m ok with that.
Now when you unpin and unfold your seams they should match up pretty well.
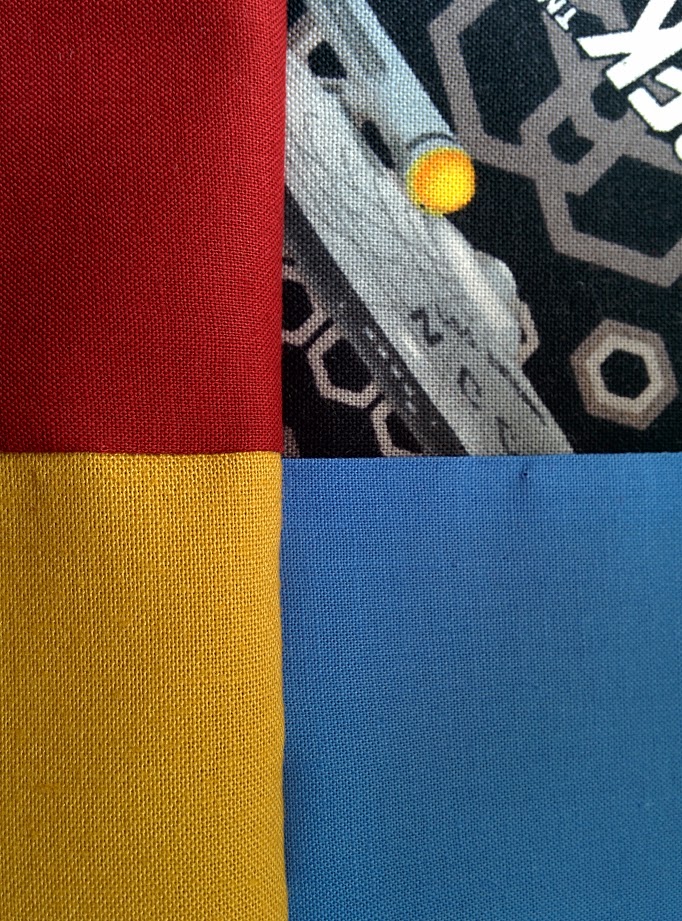
TA-DA!
Now, since I have teased you with a title and reference photos, it seems only fair that I share a photo of the latest Star Trek quilt top! This one is a lap/crib size quilt done in a very large disappearing 9-patch style.
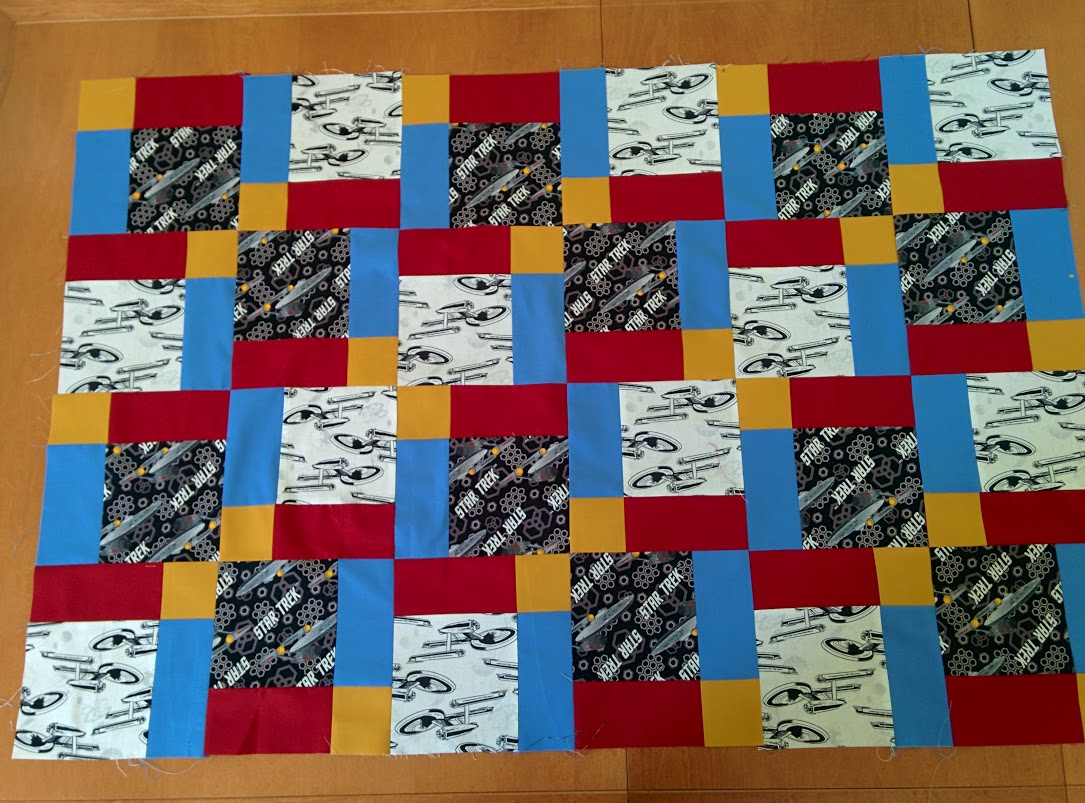
I waste no time in using up some of my Shop Hop fabrics!
Originally this was to be a commissioned quilt piece, but its not looking like that will be the case at this point. So once I pick out backing and quilt it… it will probably go up in the shop.