Panto Practice

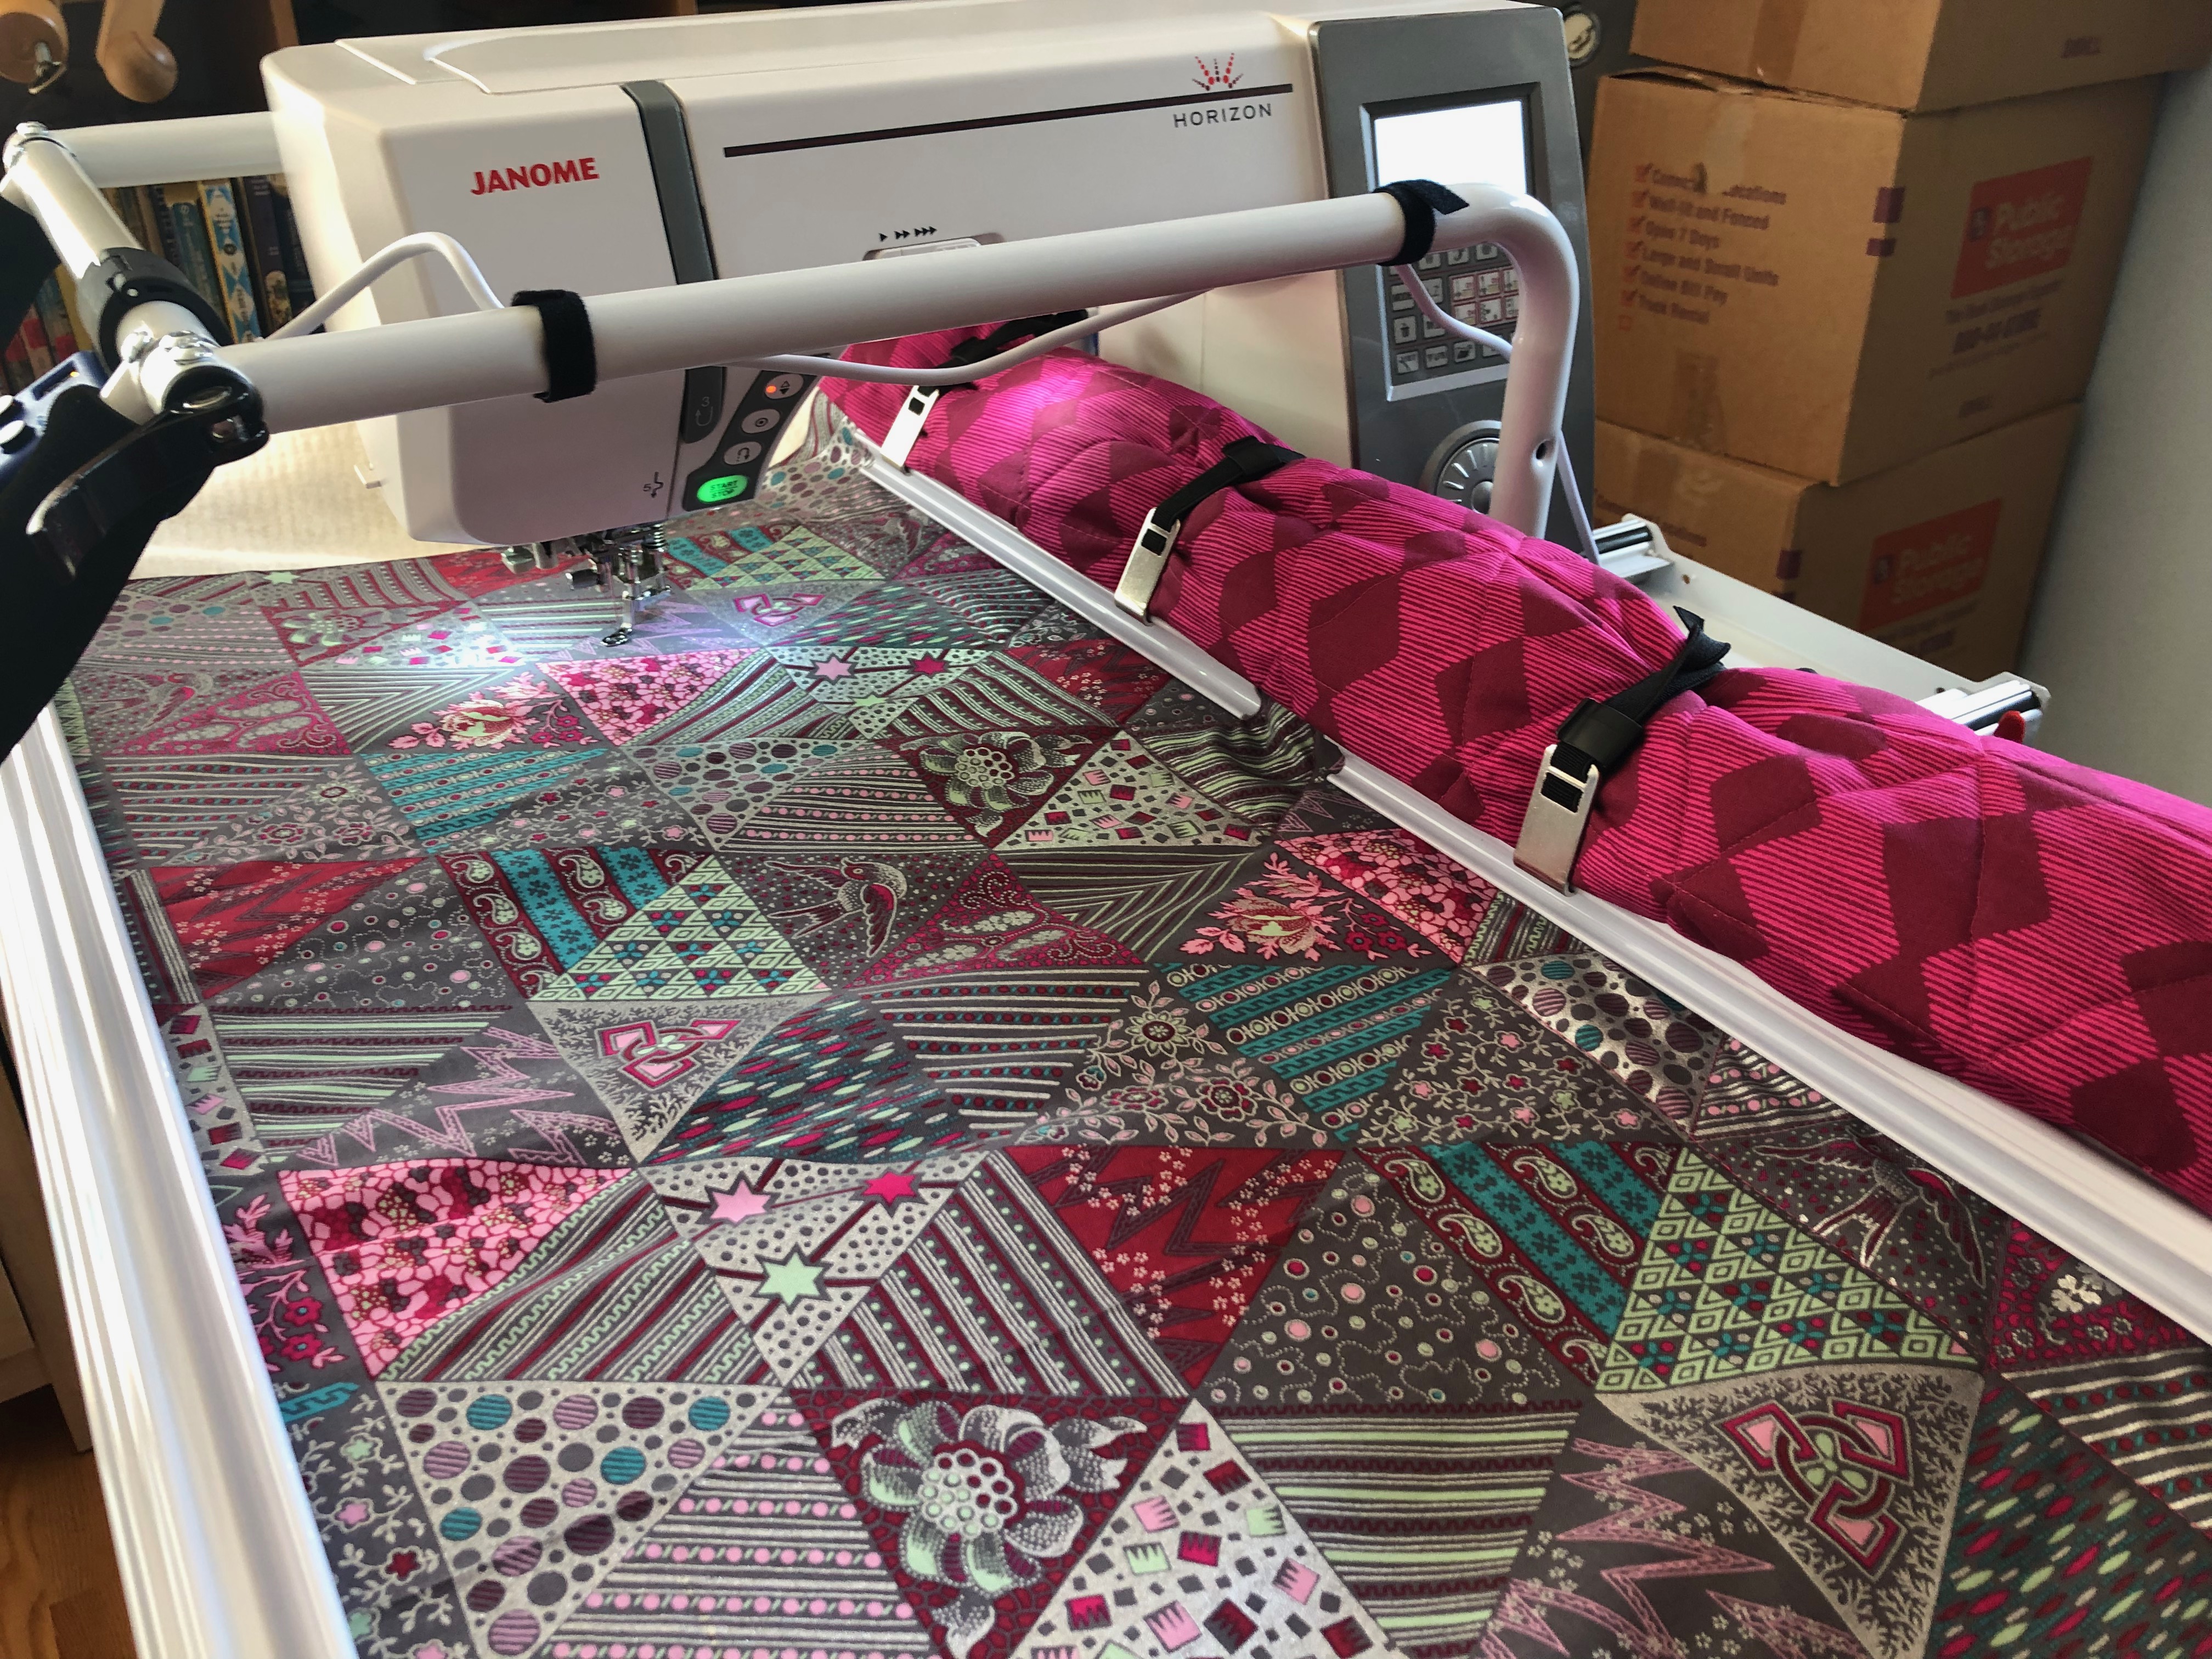
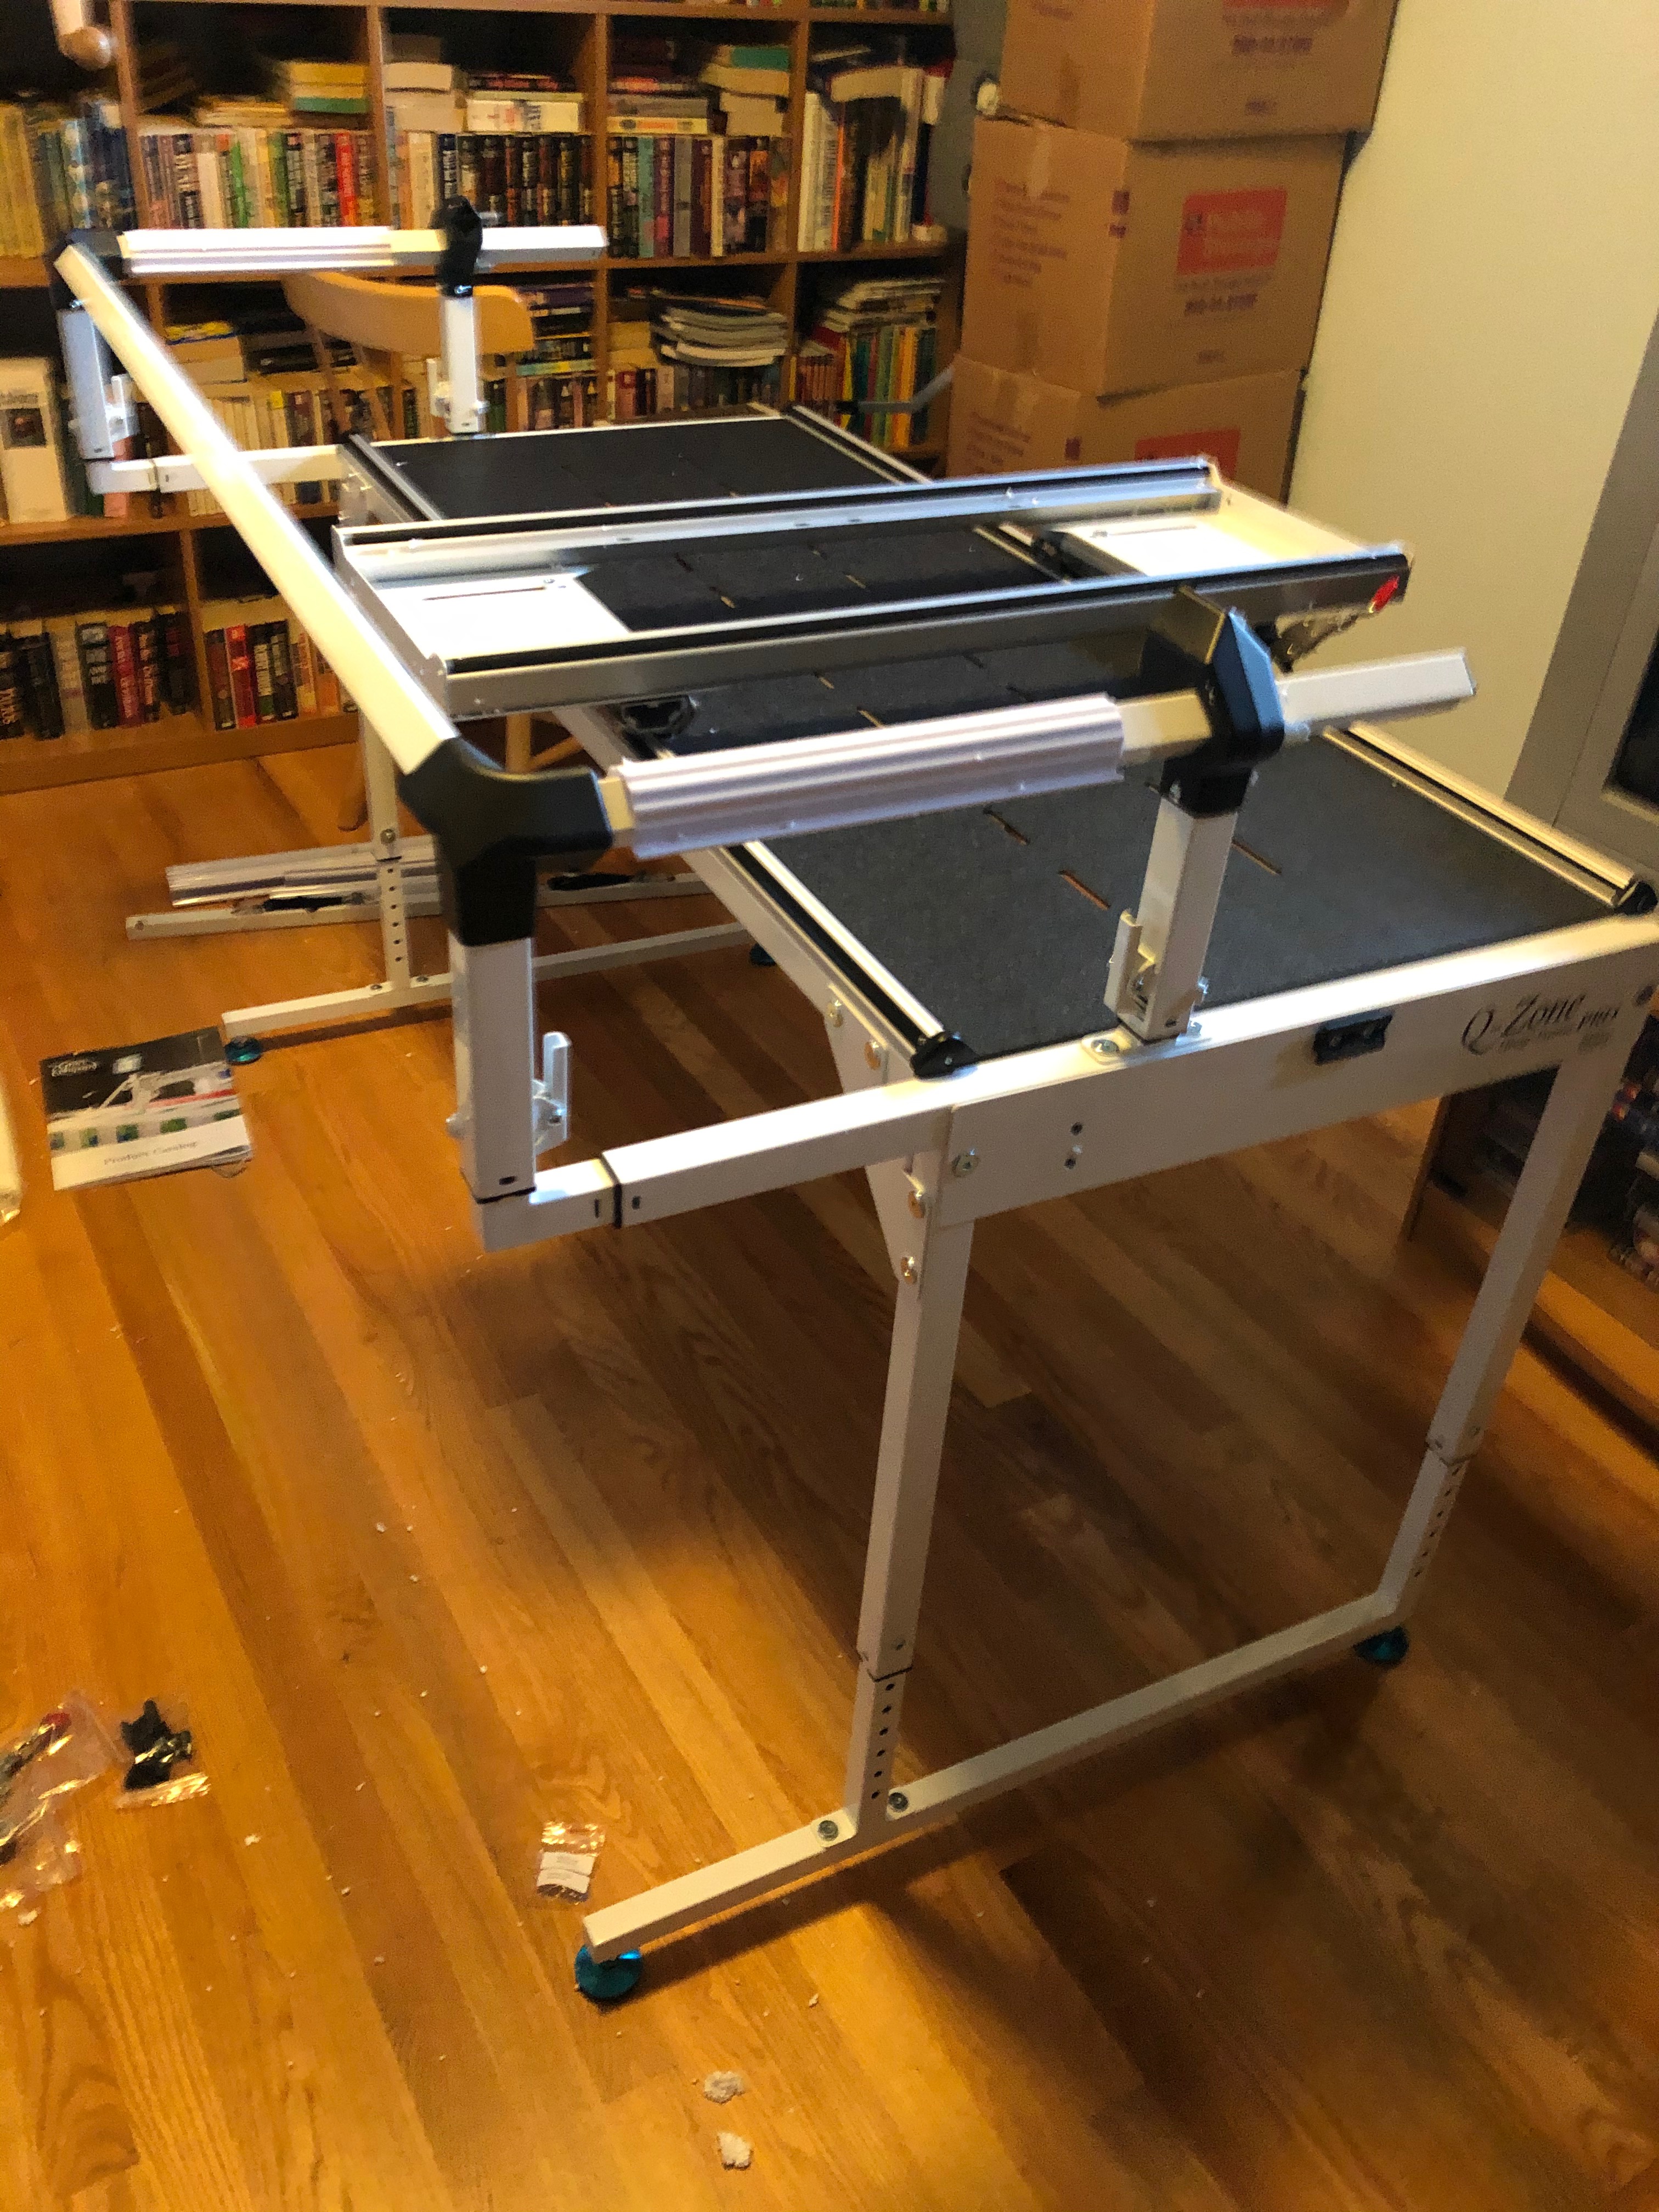
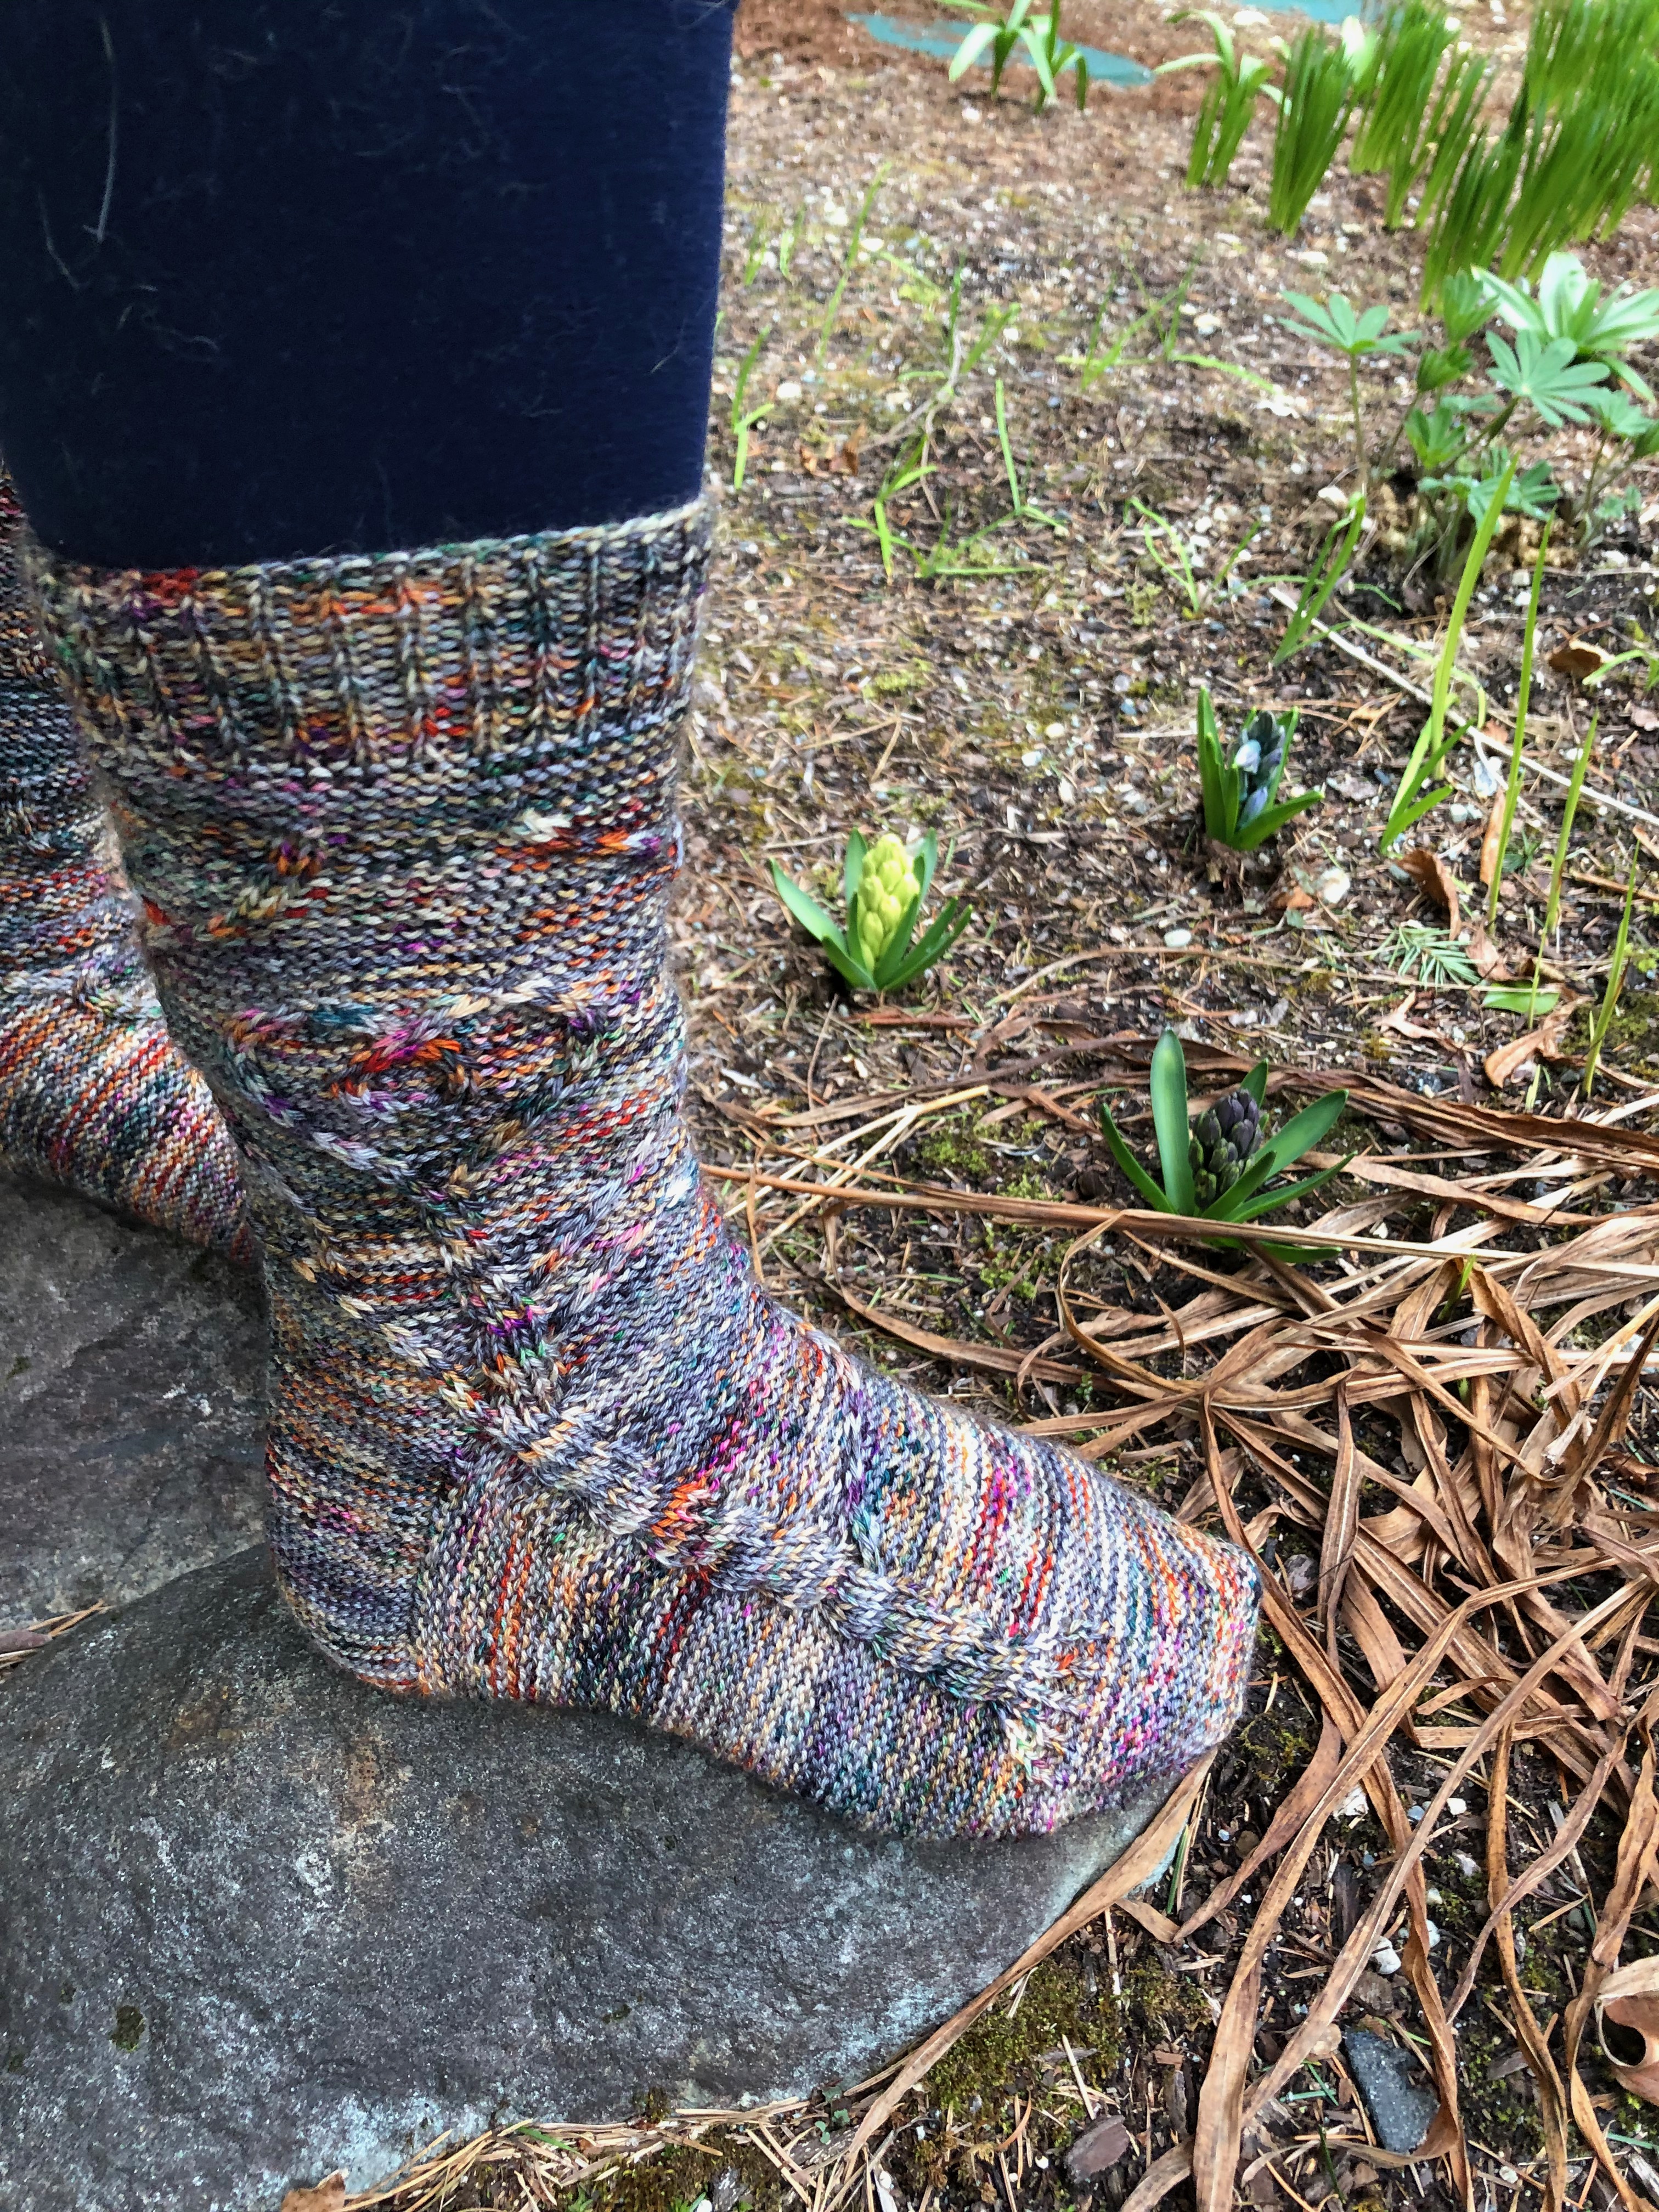
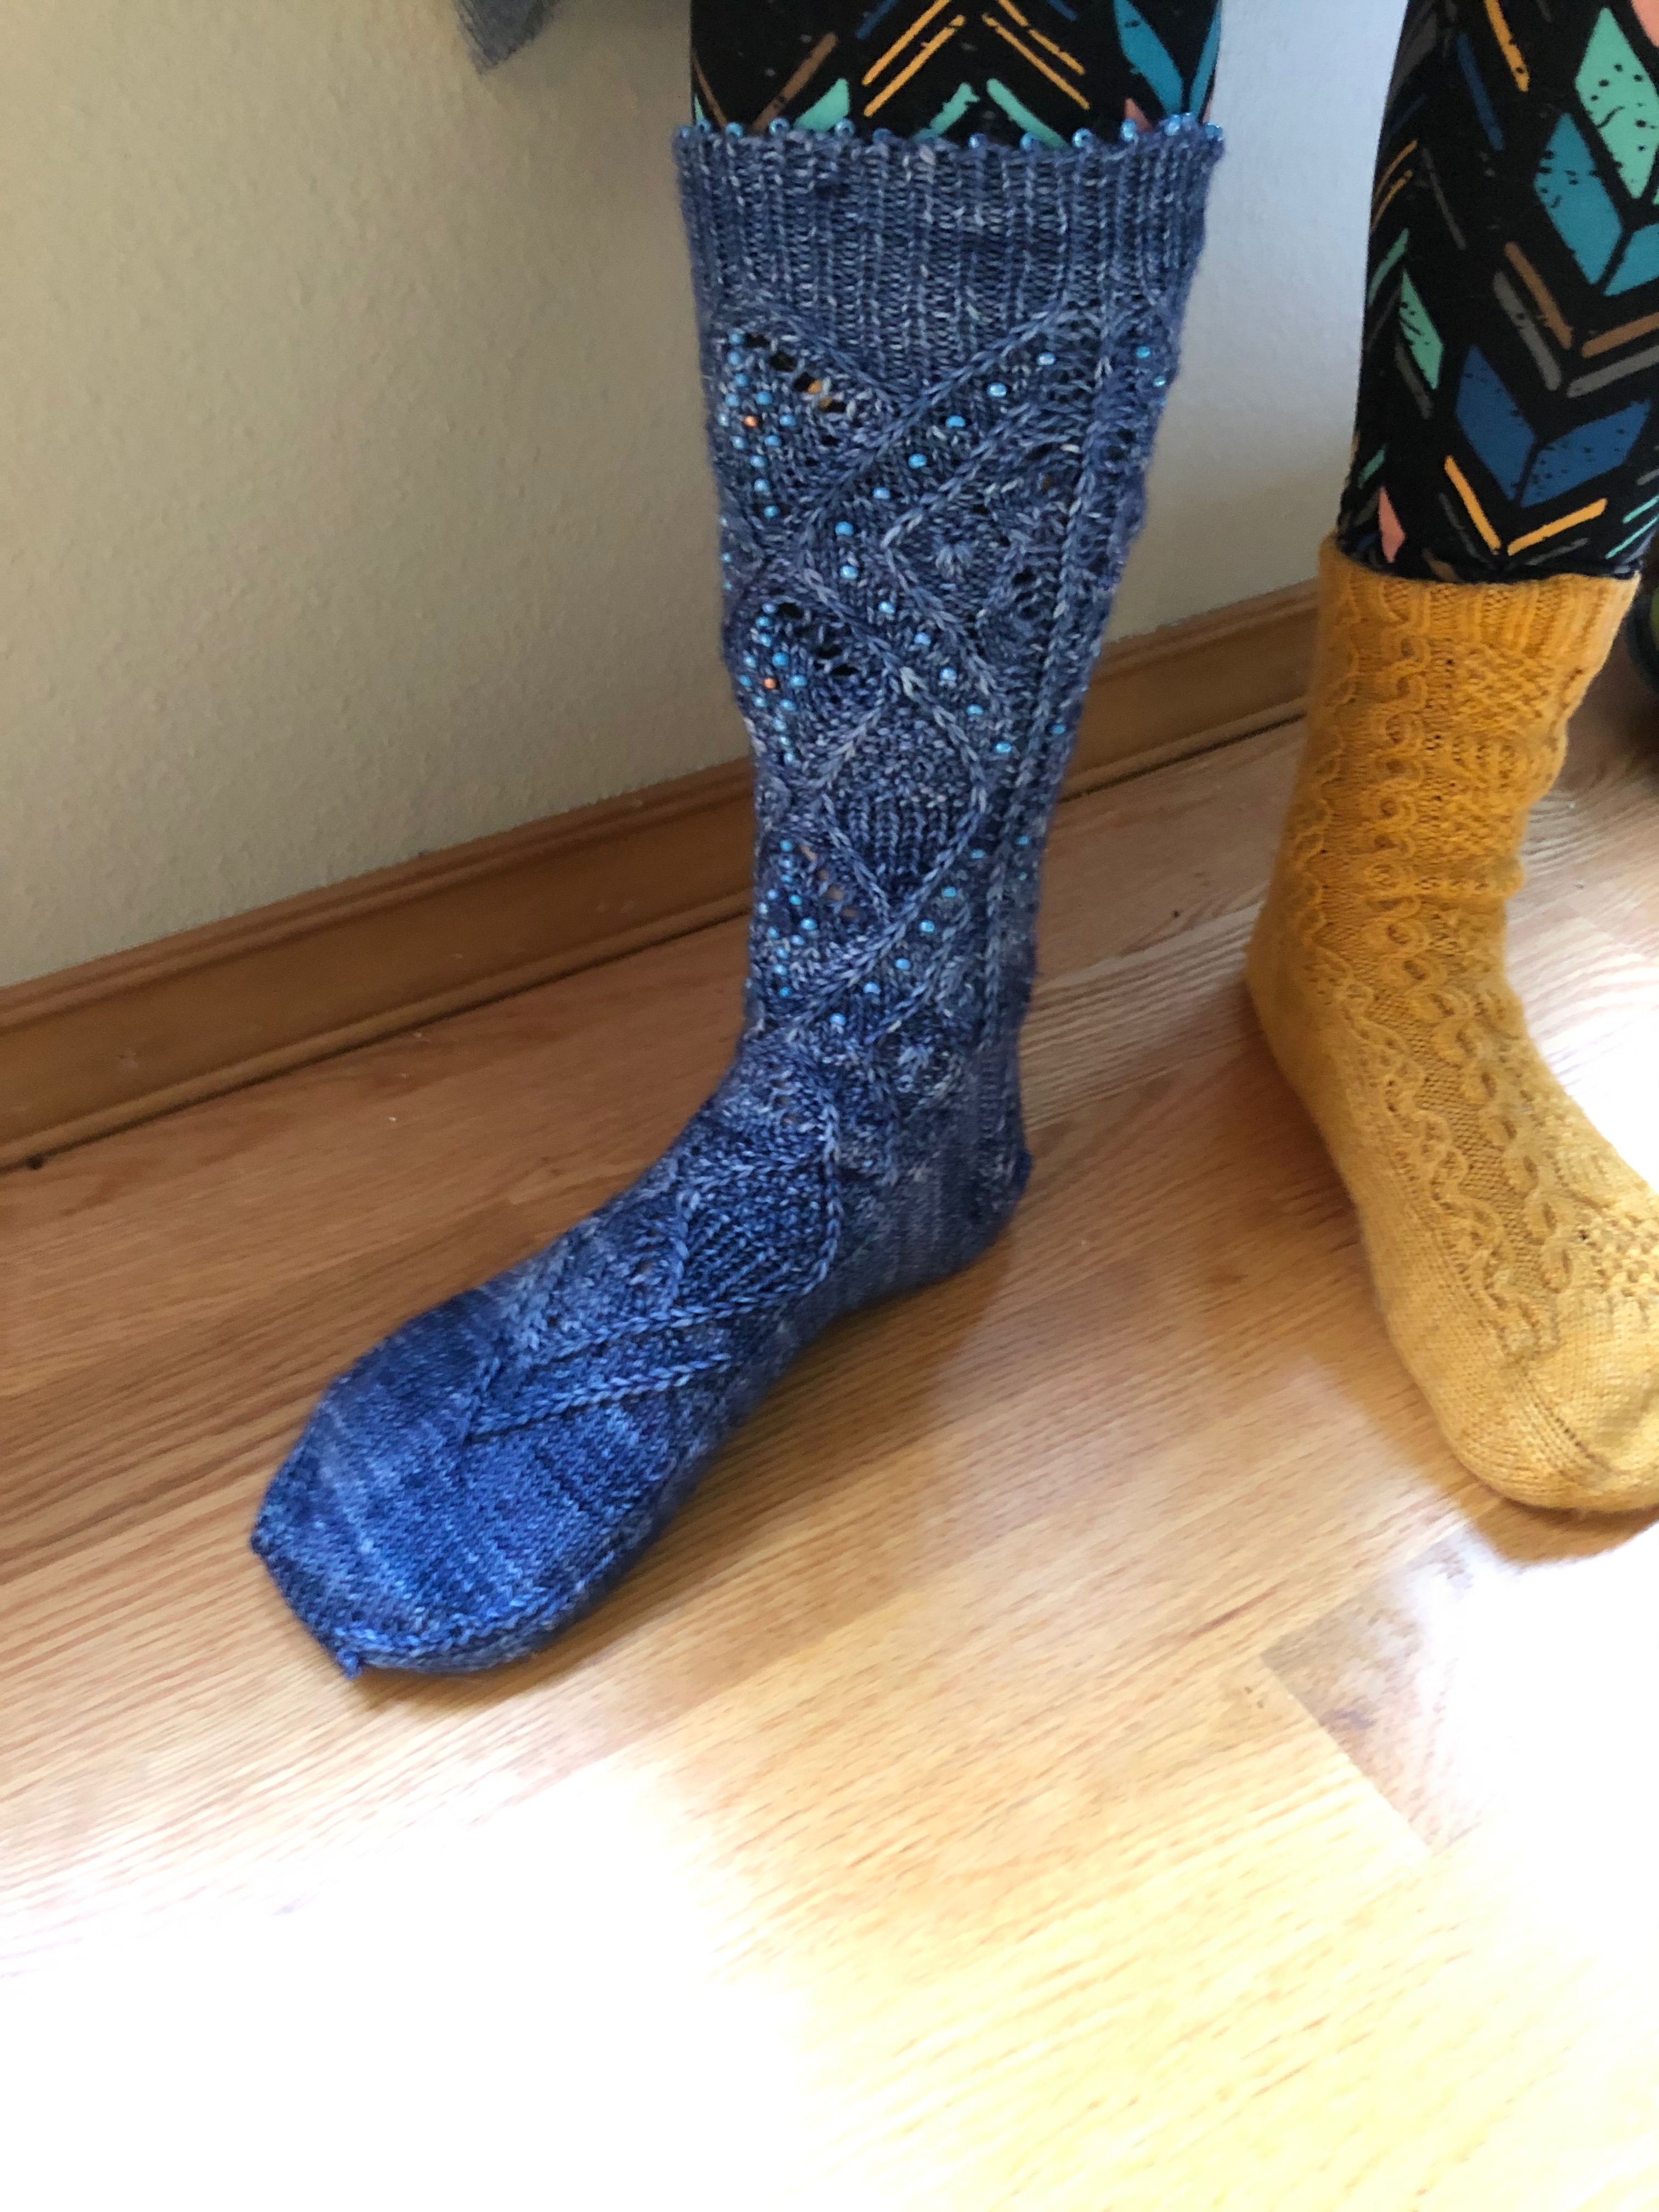
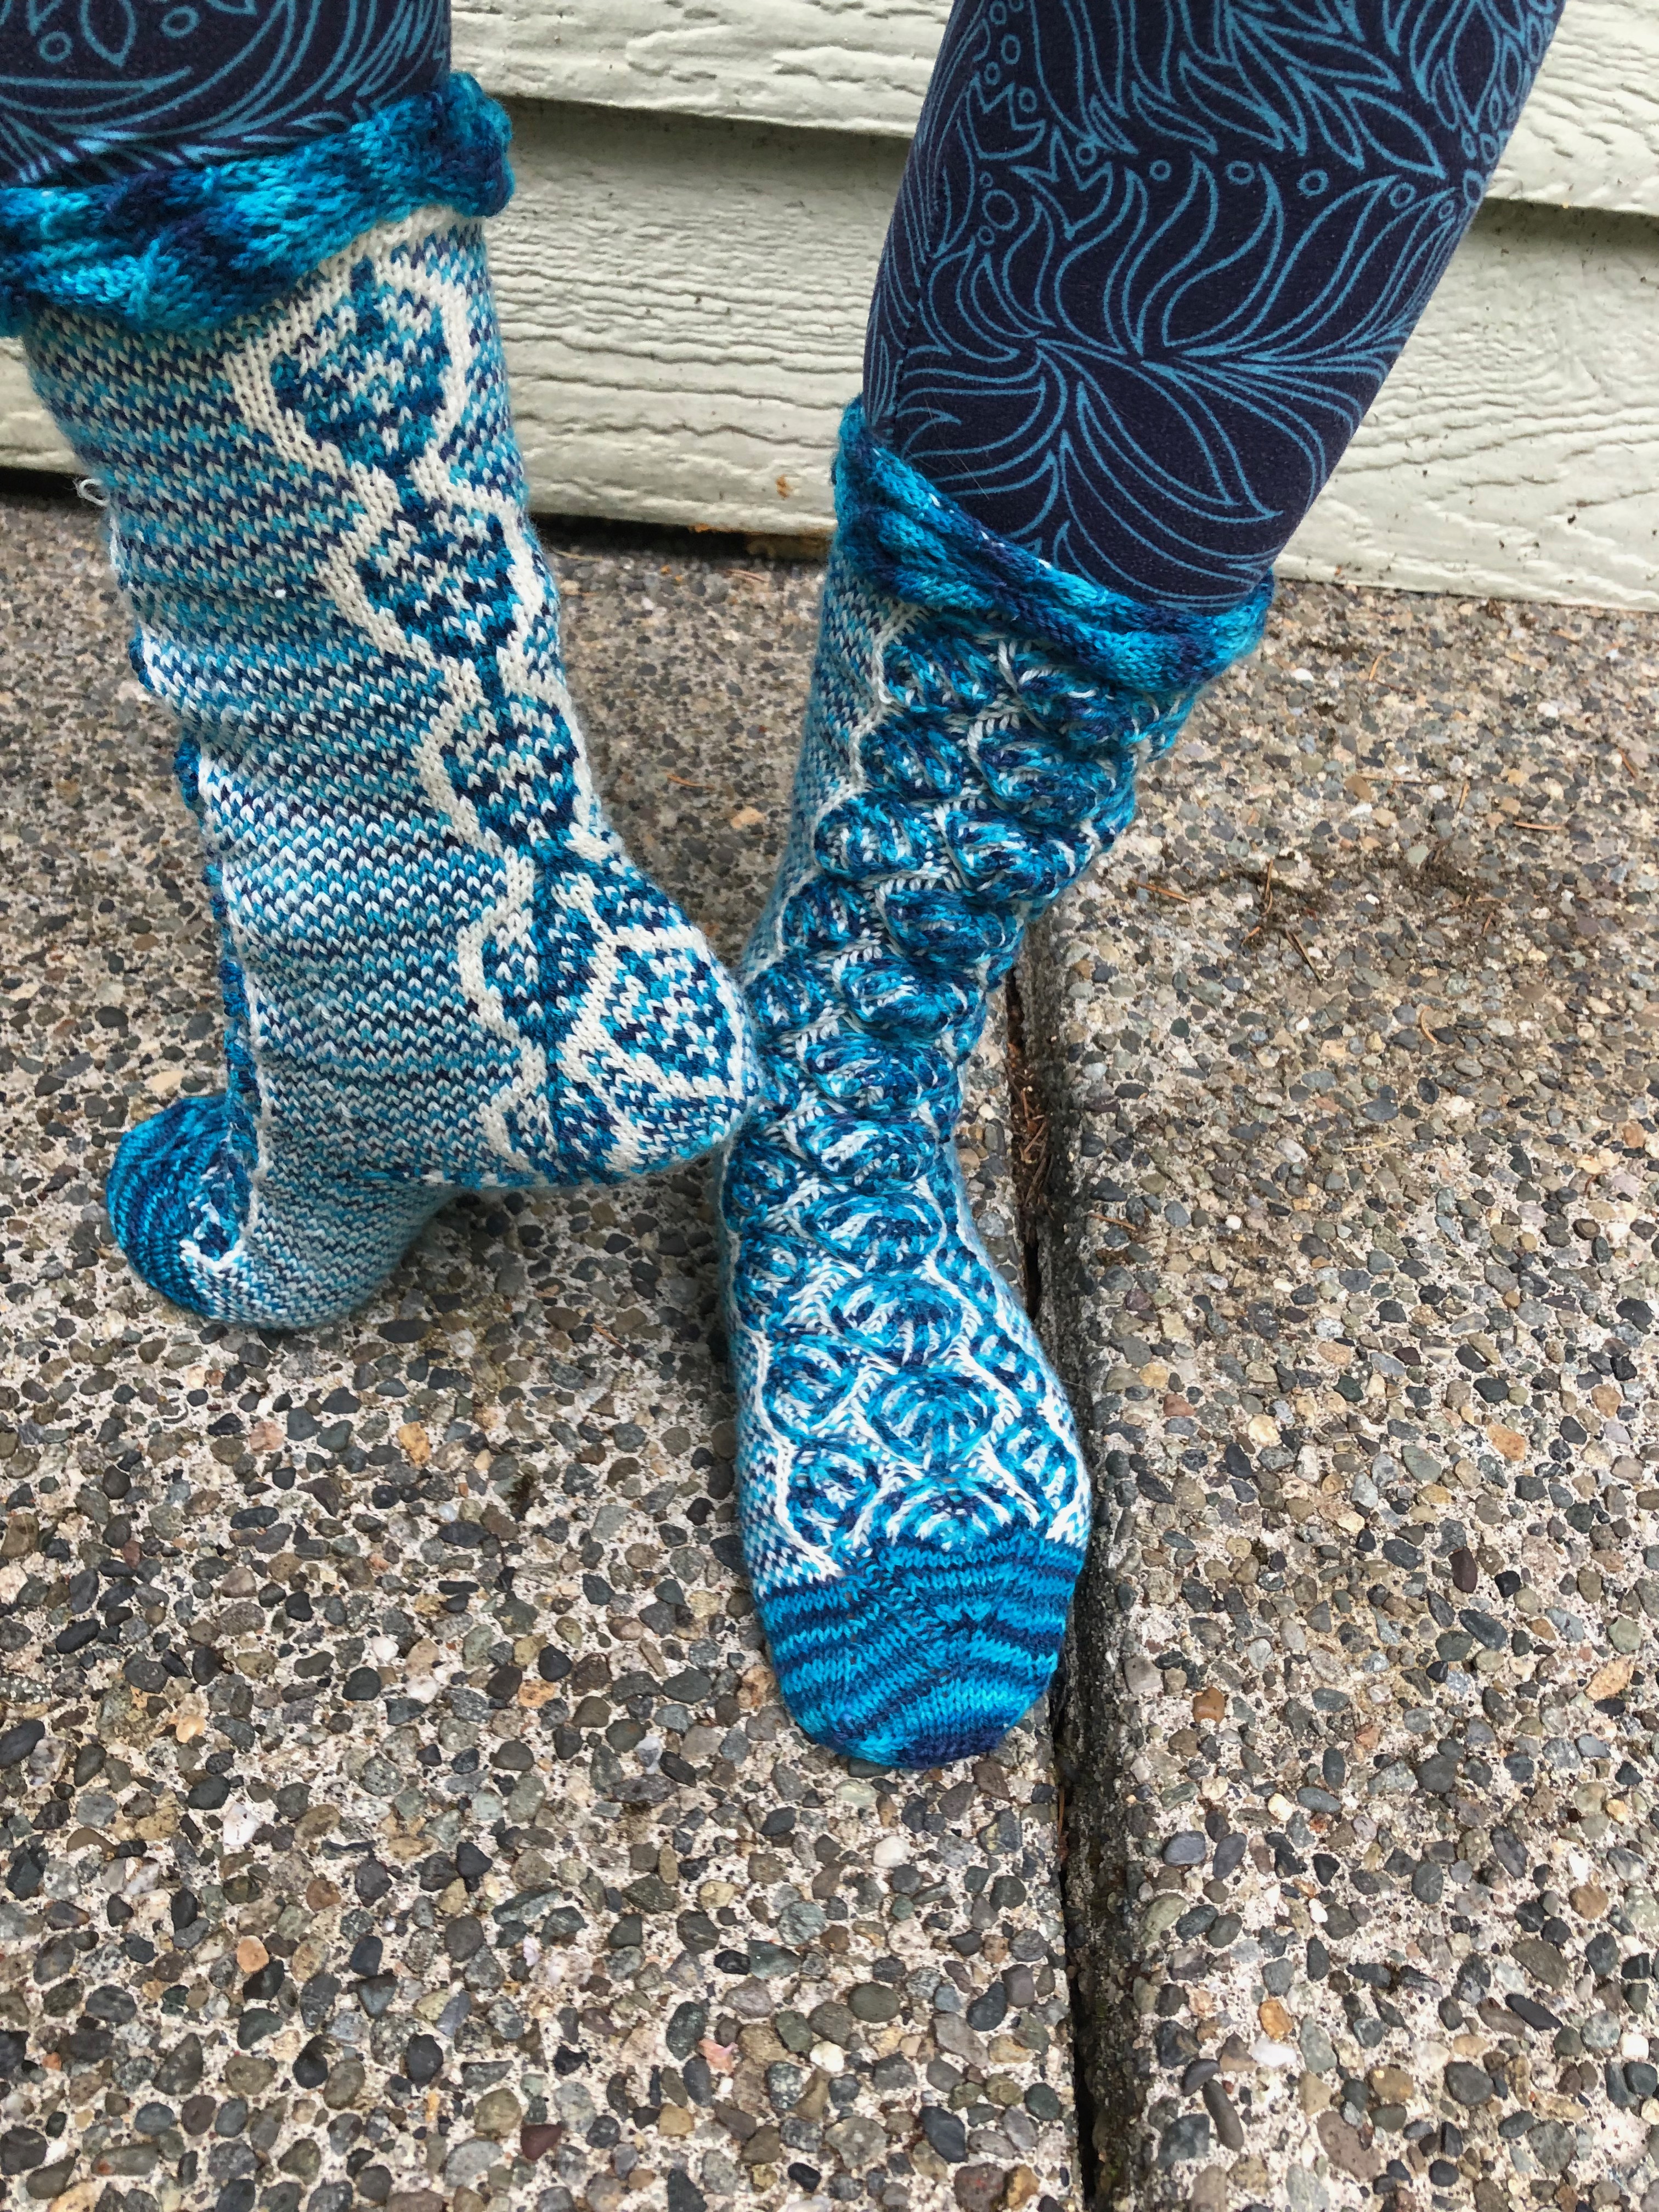
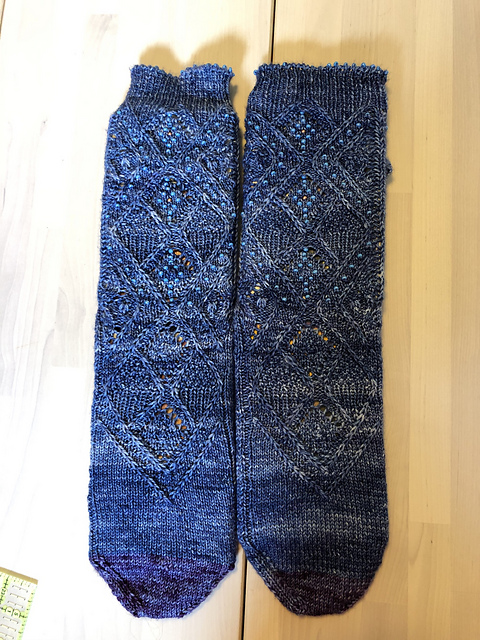
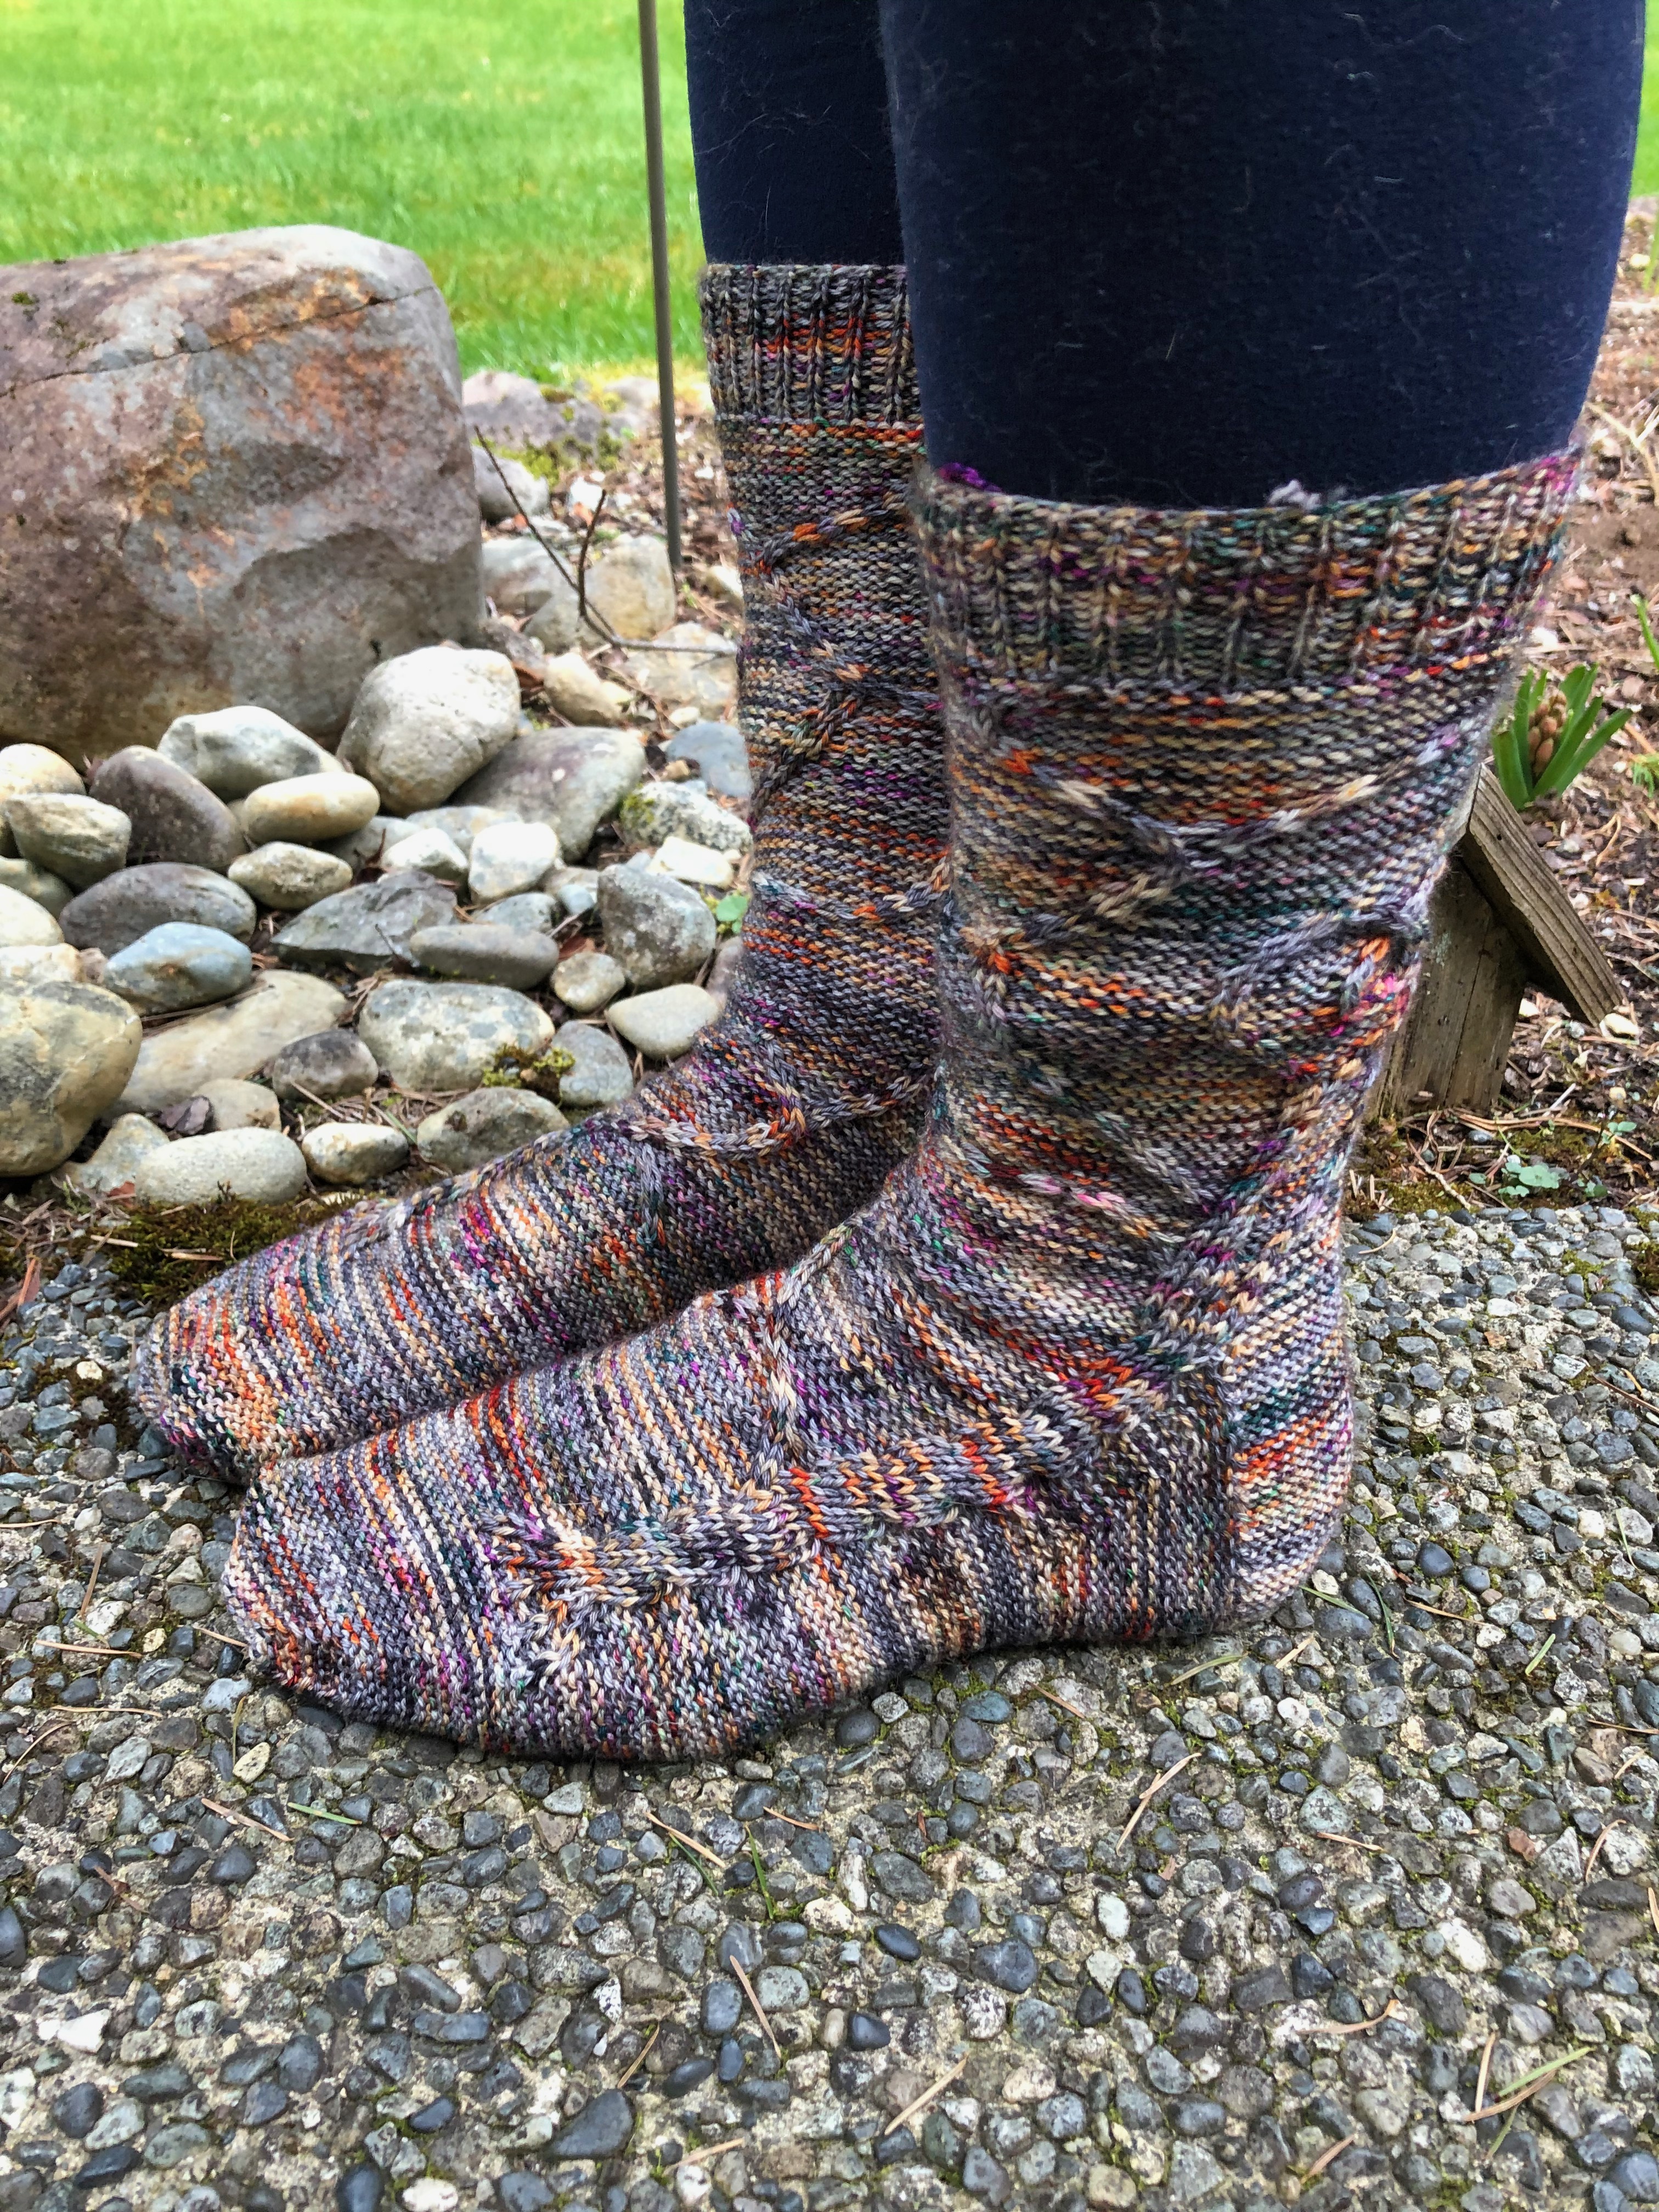
Well I am back… and while I did finish some more socks, I thought I’d talk about my first go at using a pantograph with my quilt frame. It certainly looks so much easier than it actually seemed. And the whole “sewing machine with laser beam” experience tickled the part of my being that laughs at other with laser beam combos.

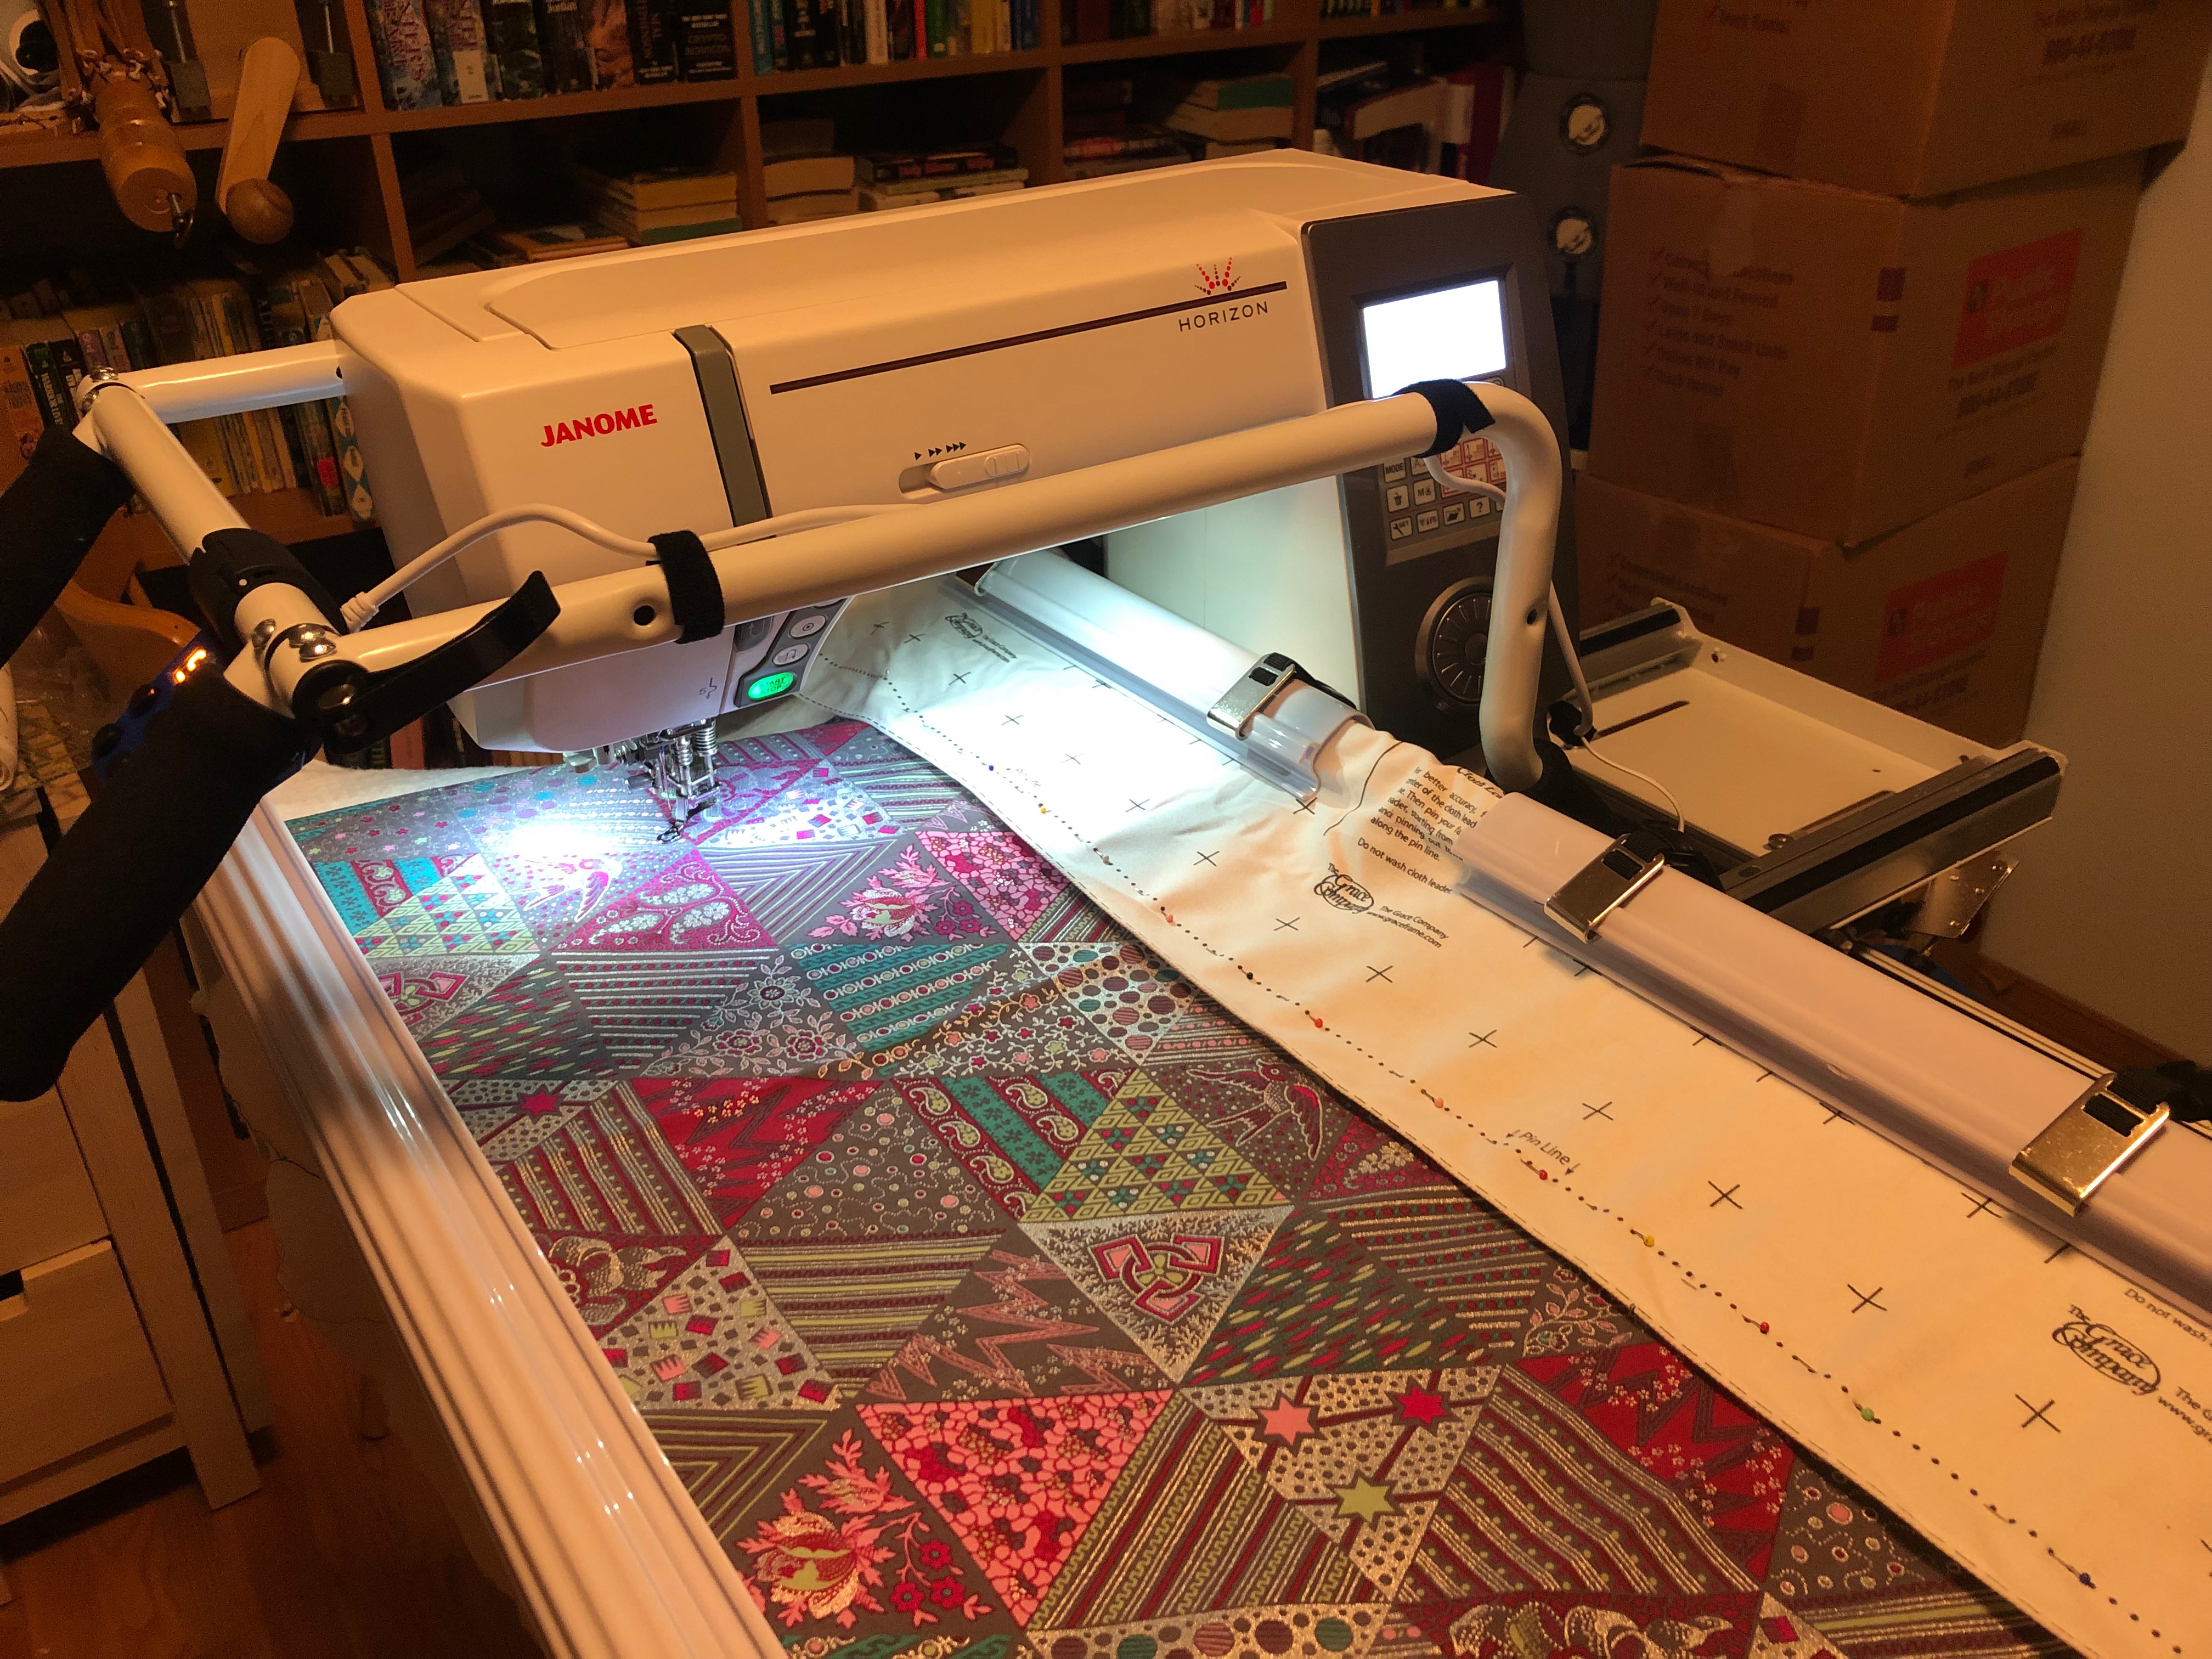
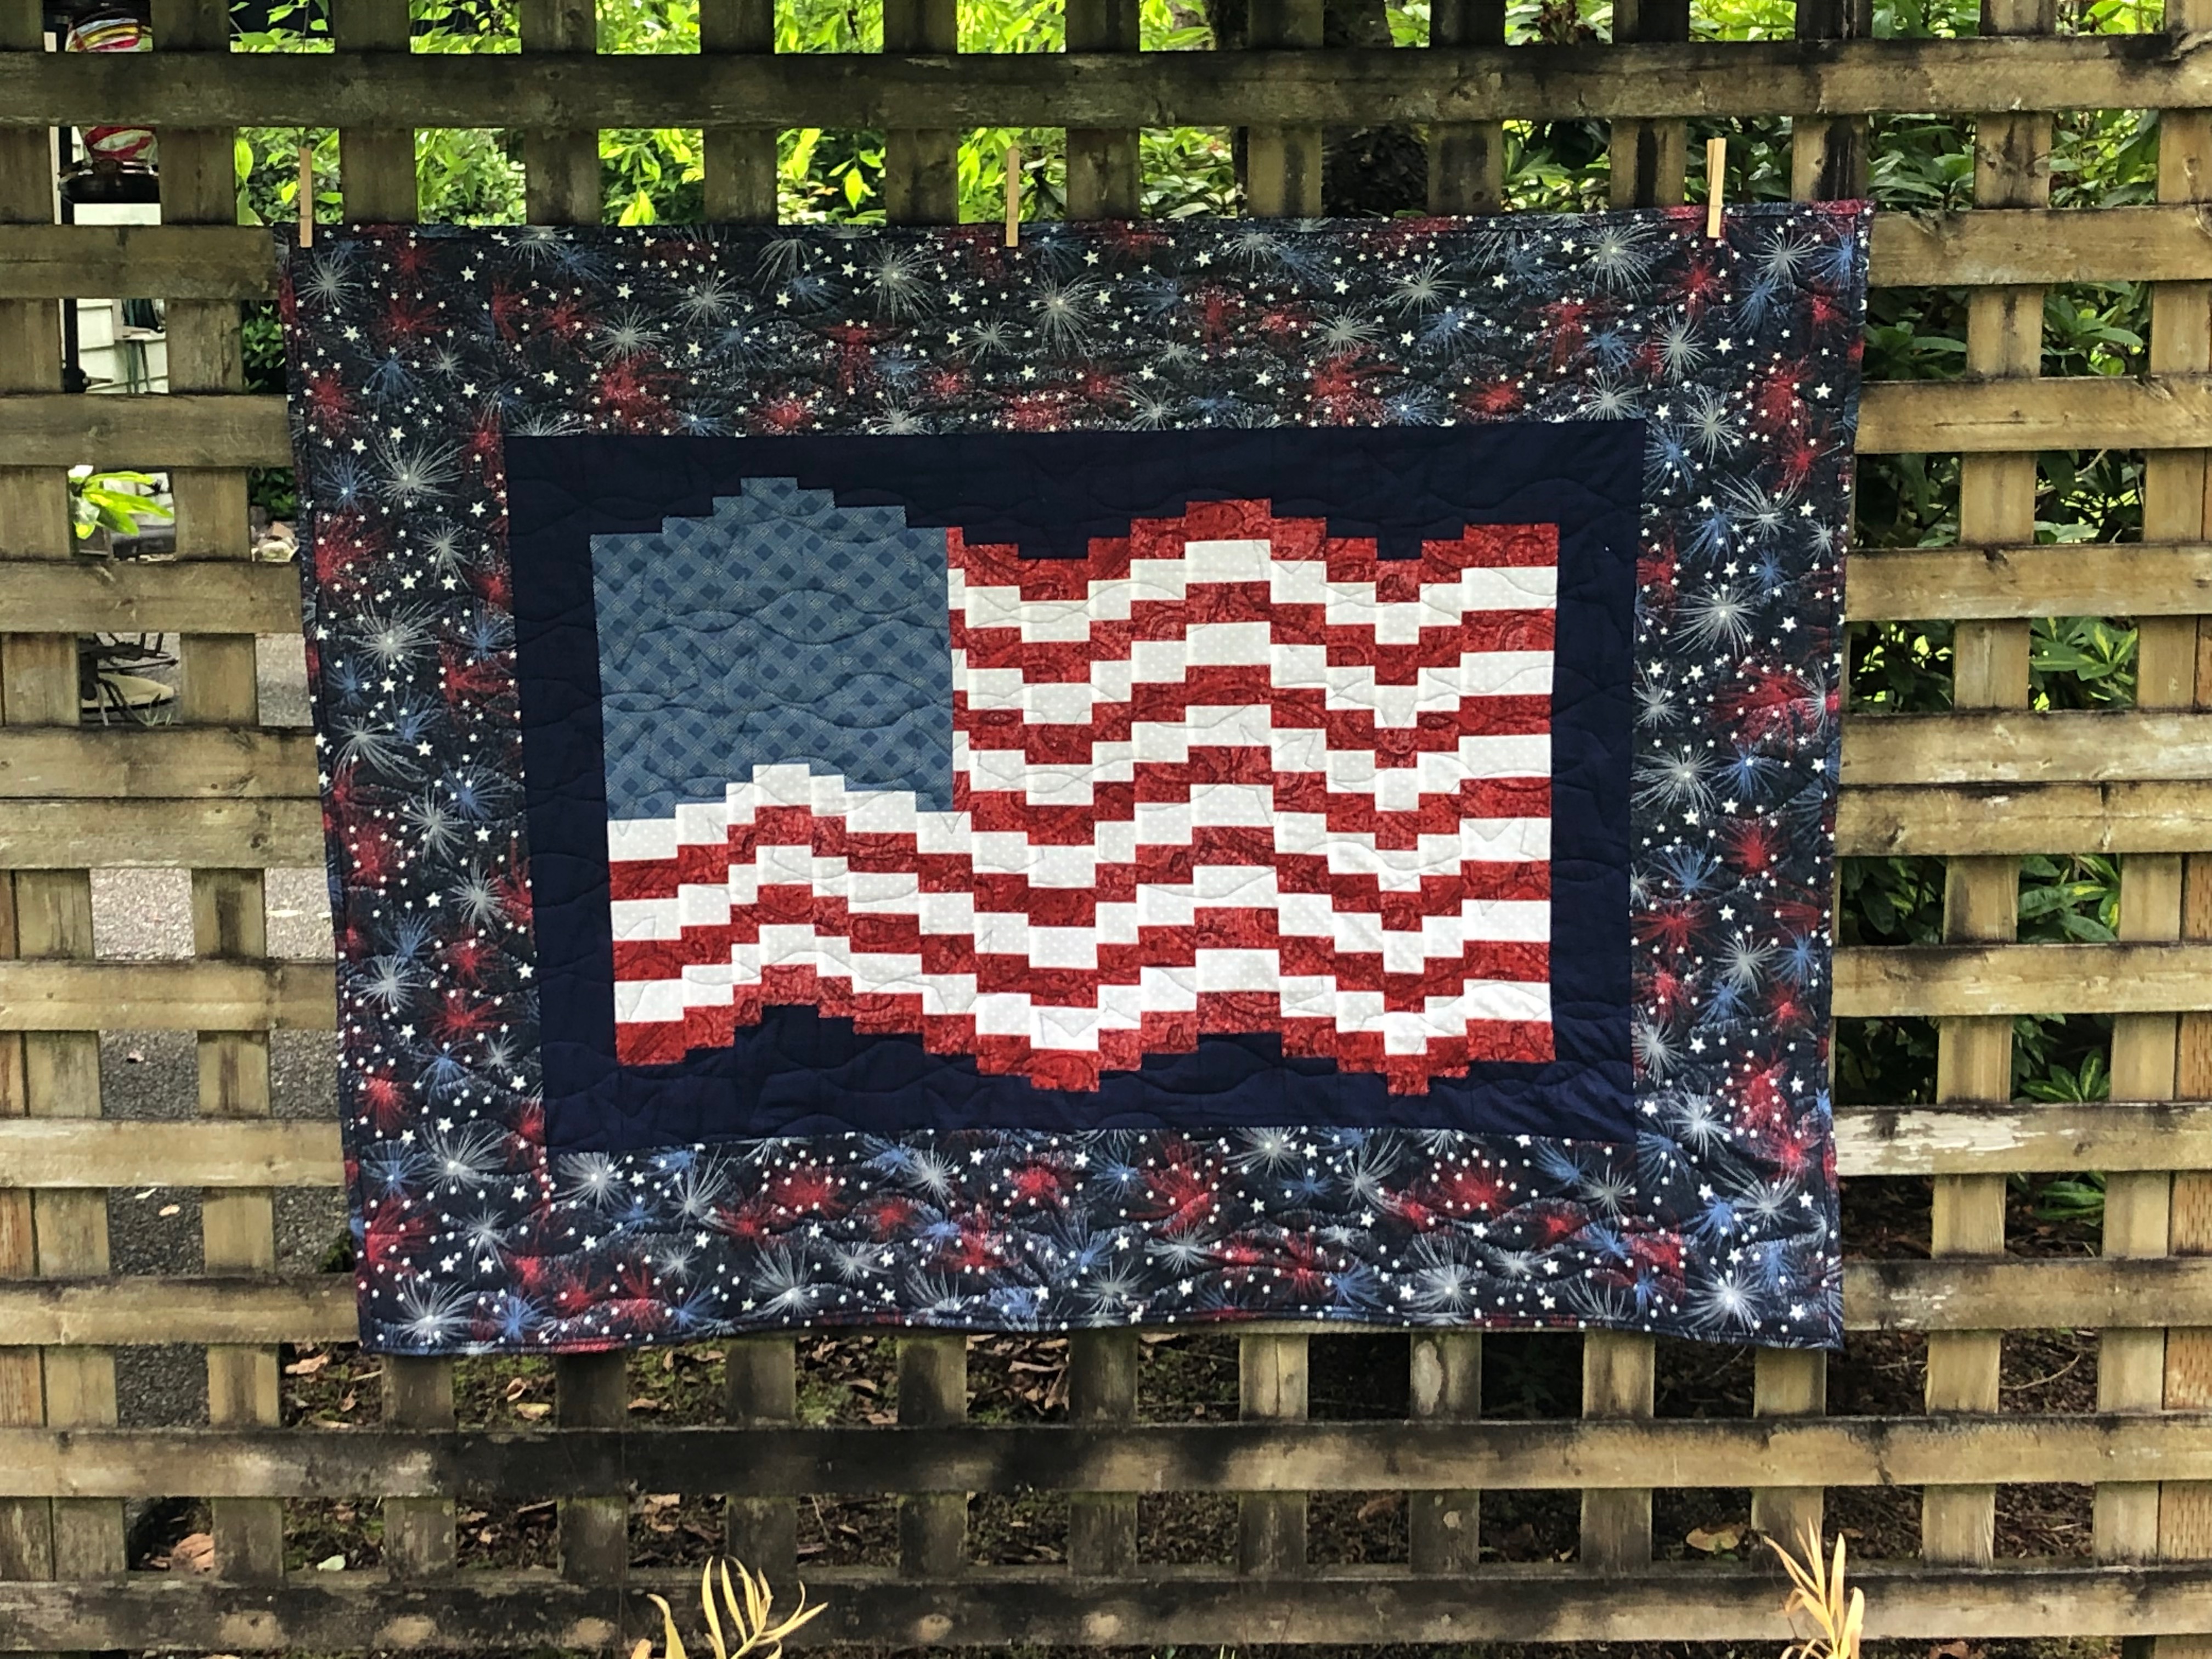
I decided my next quilt was to be my bargello flag, and picked up a Stars and Stripes Pantograph from Sew Thankful based on the premise that the design would fit my working space and it didn’t look too complicated for a first run. I got my quilt all set up with the frame and machine and impatiently waited for the mail.

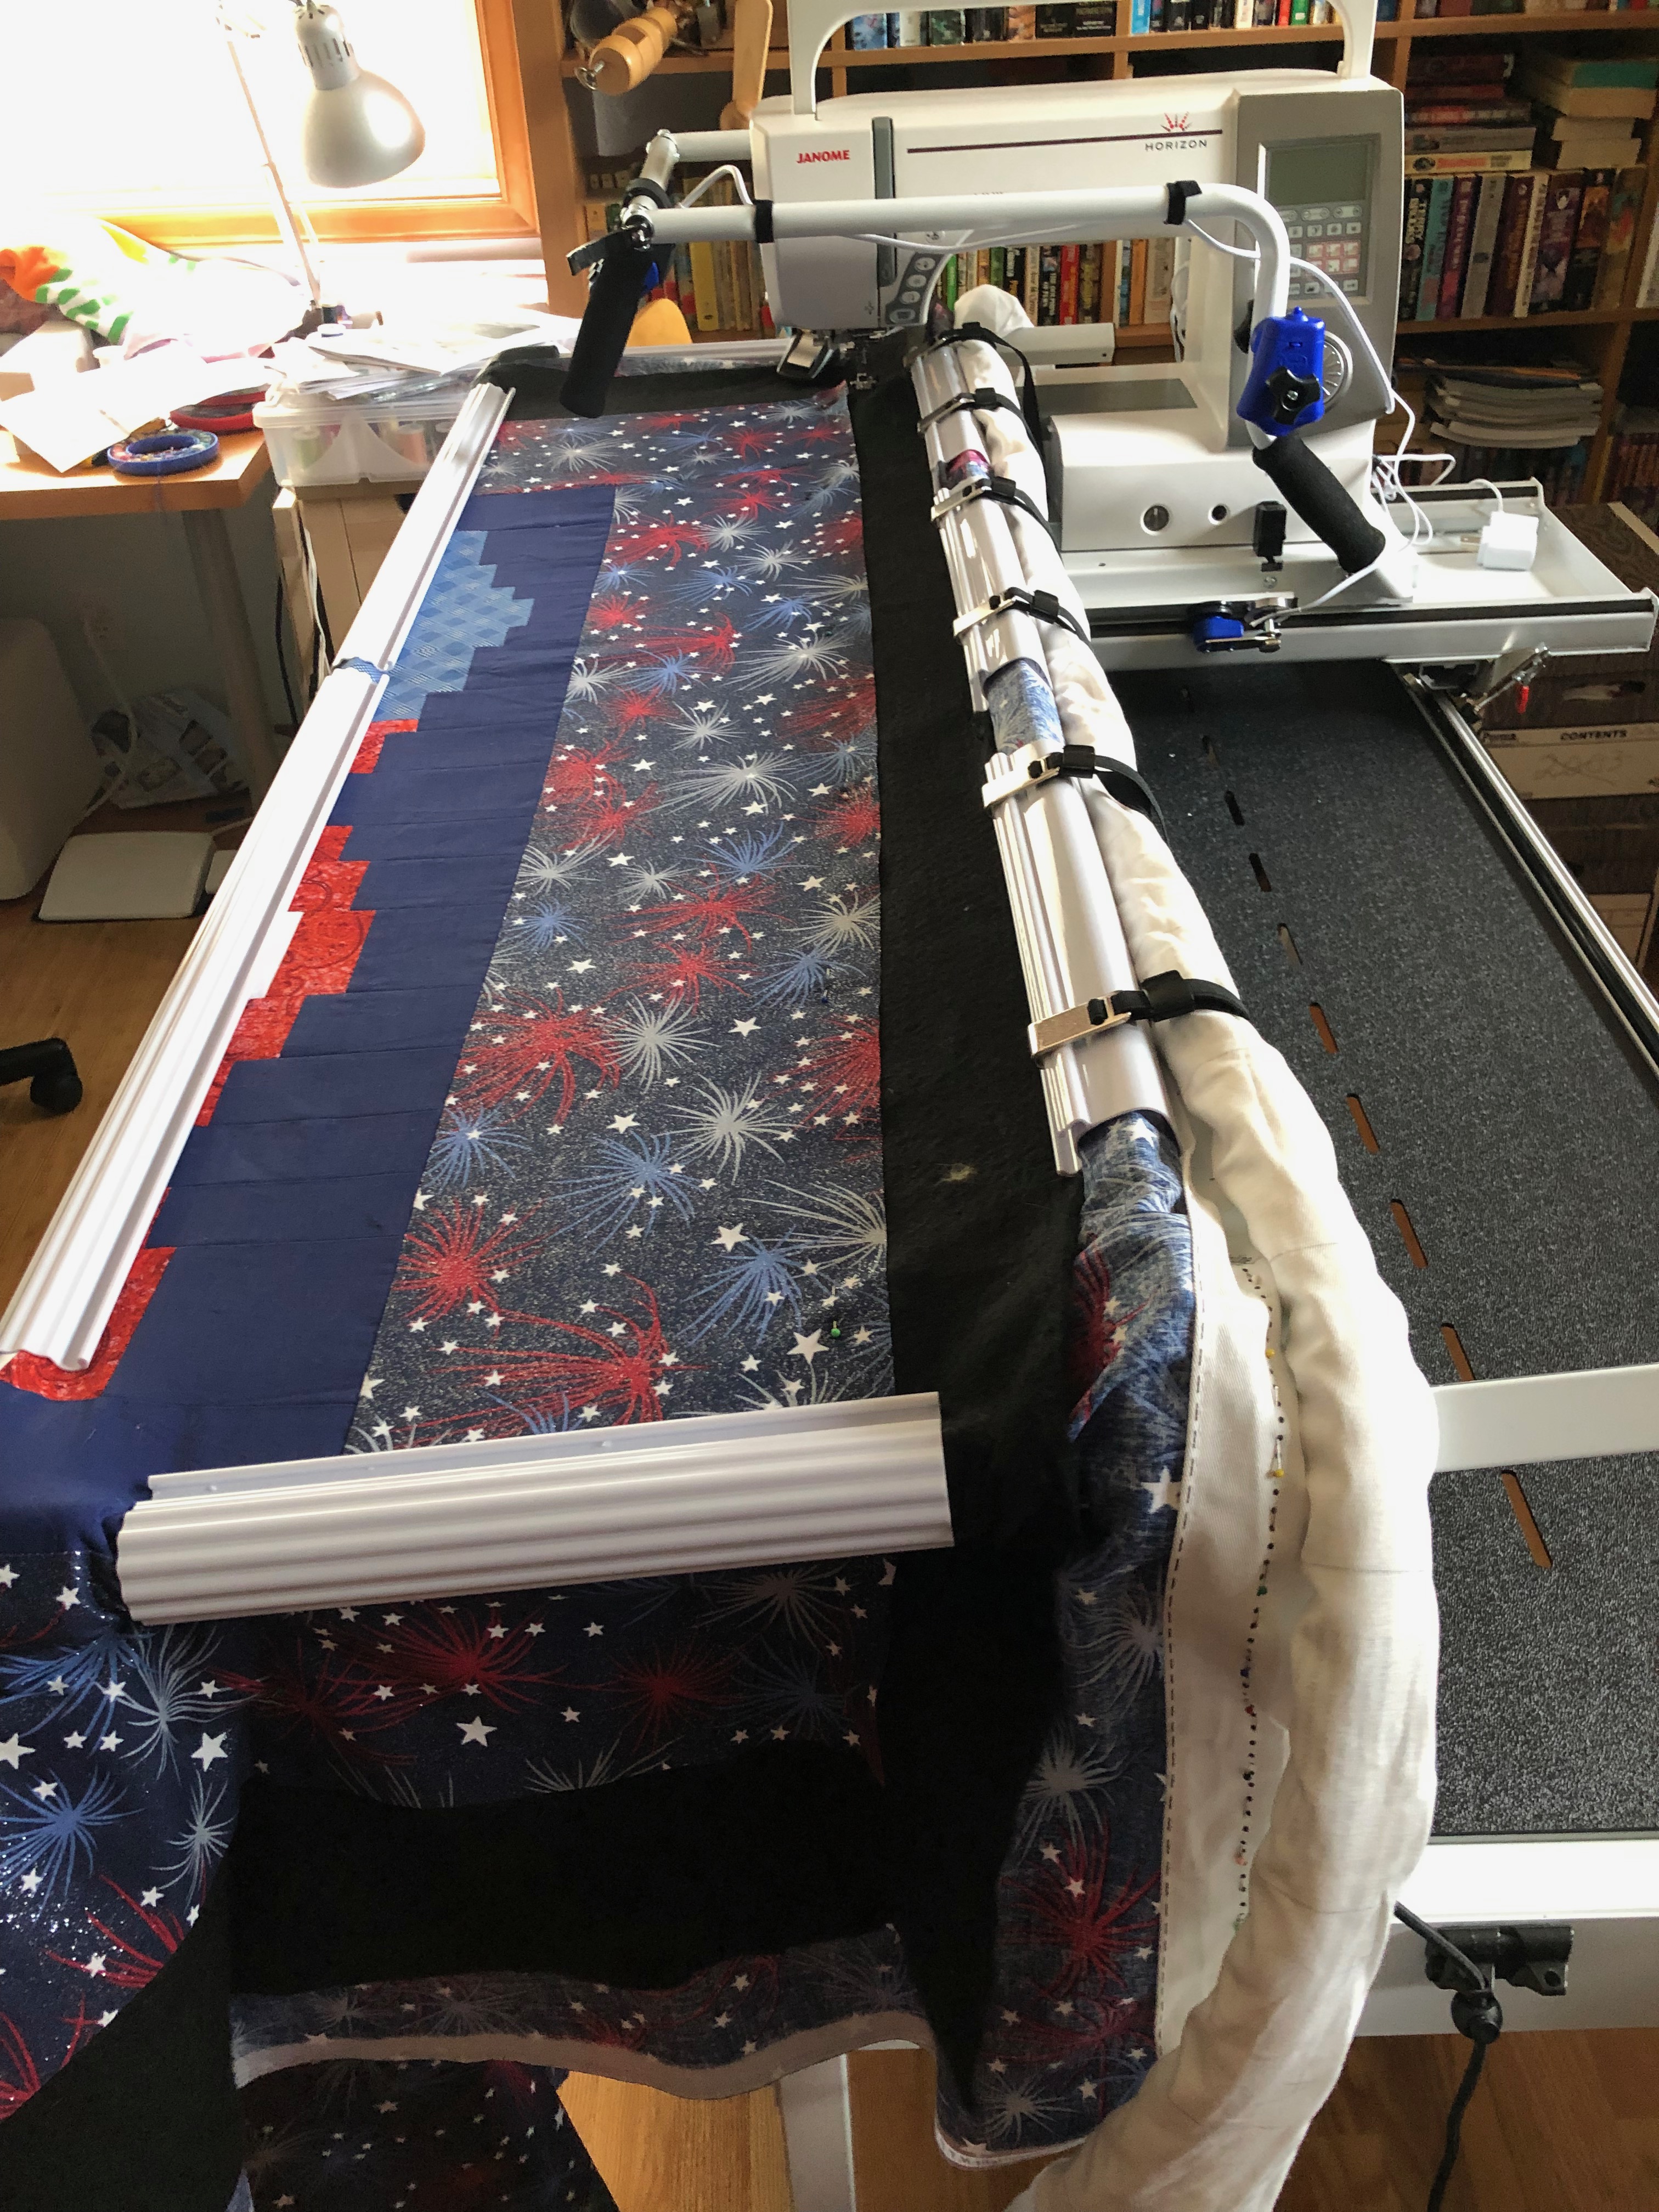
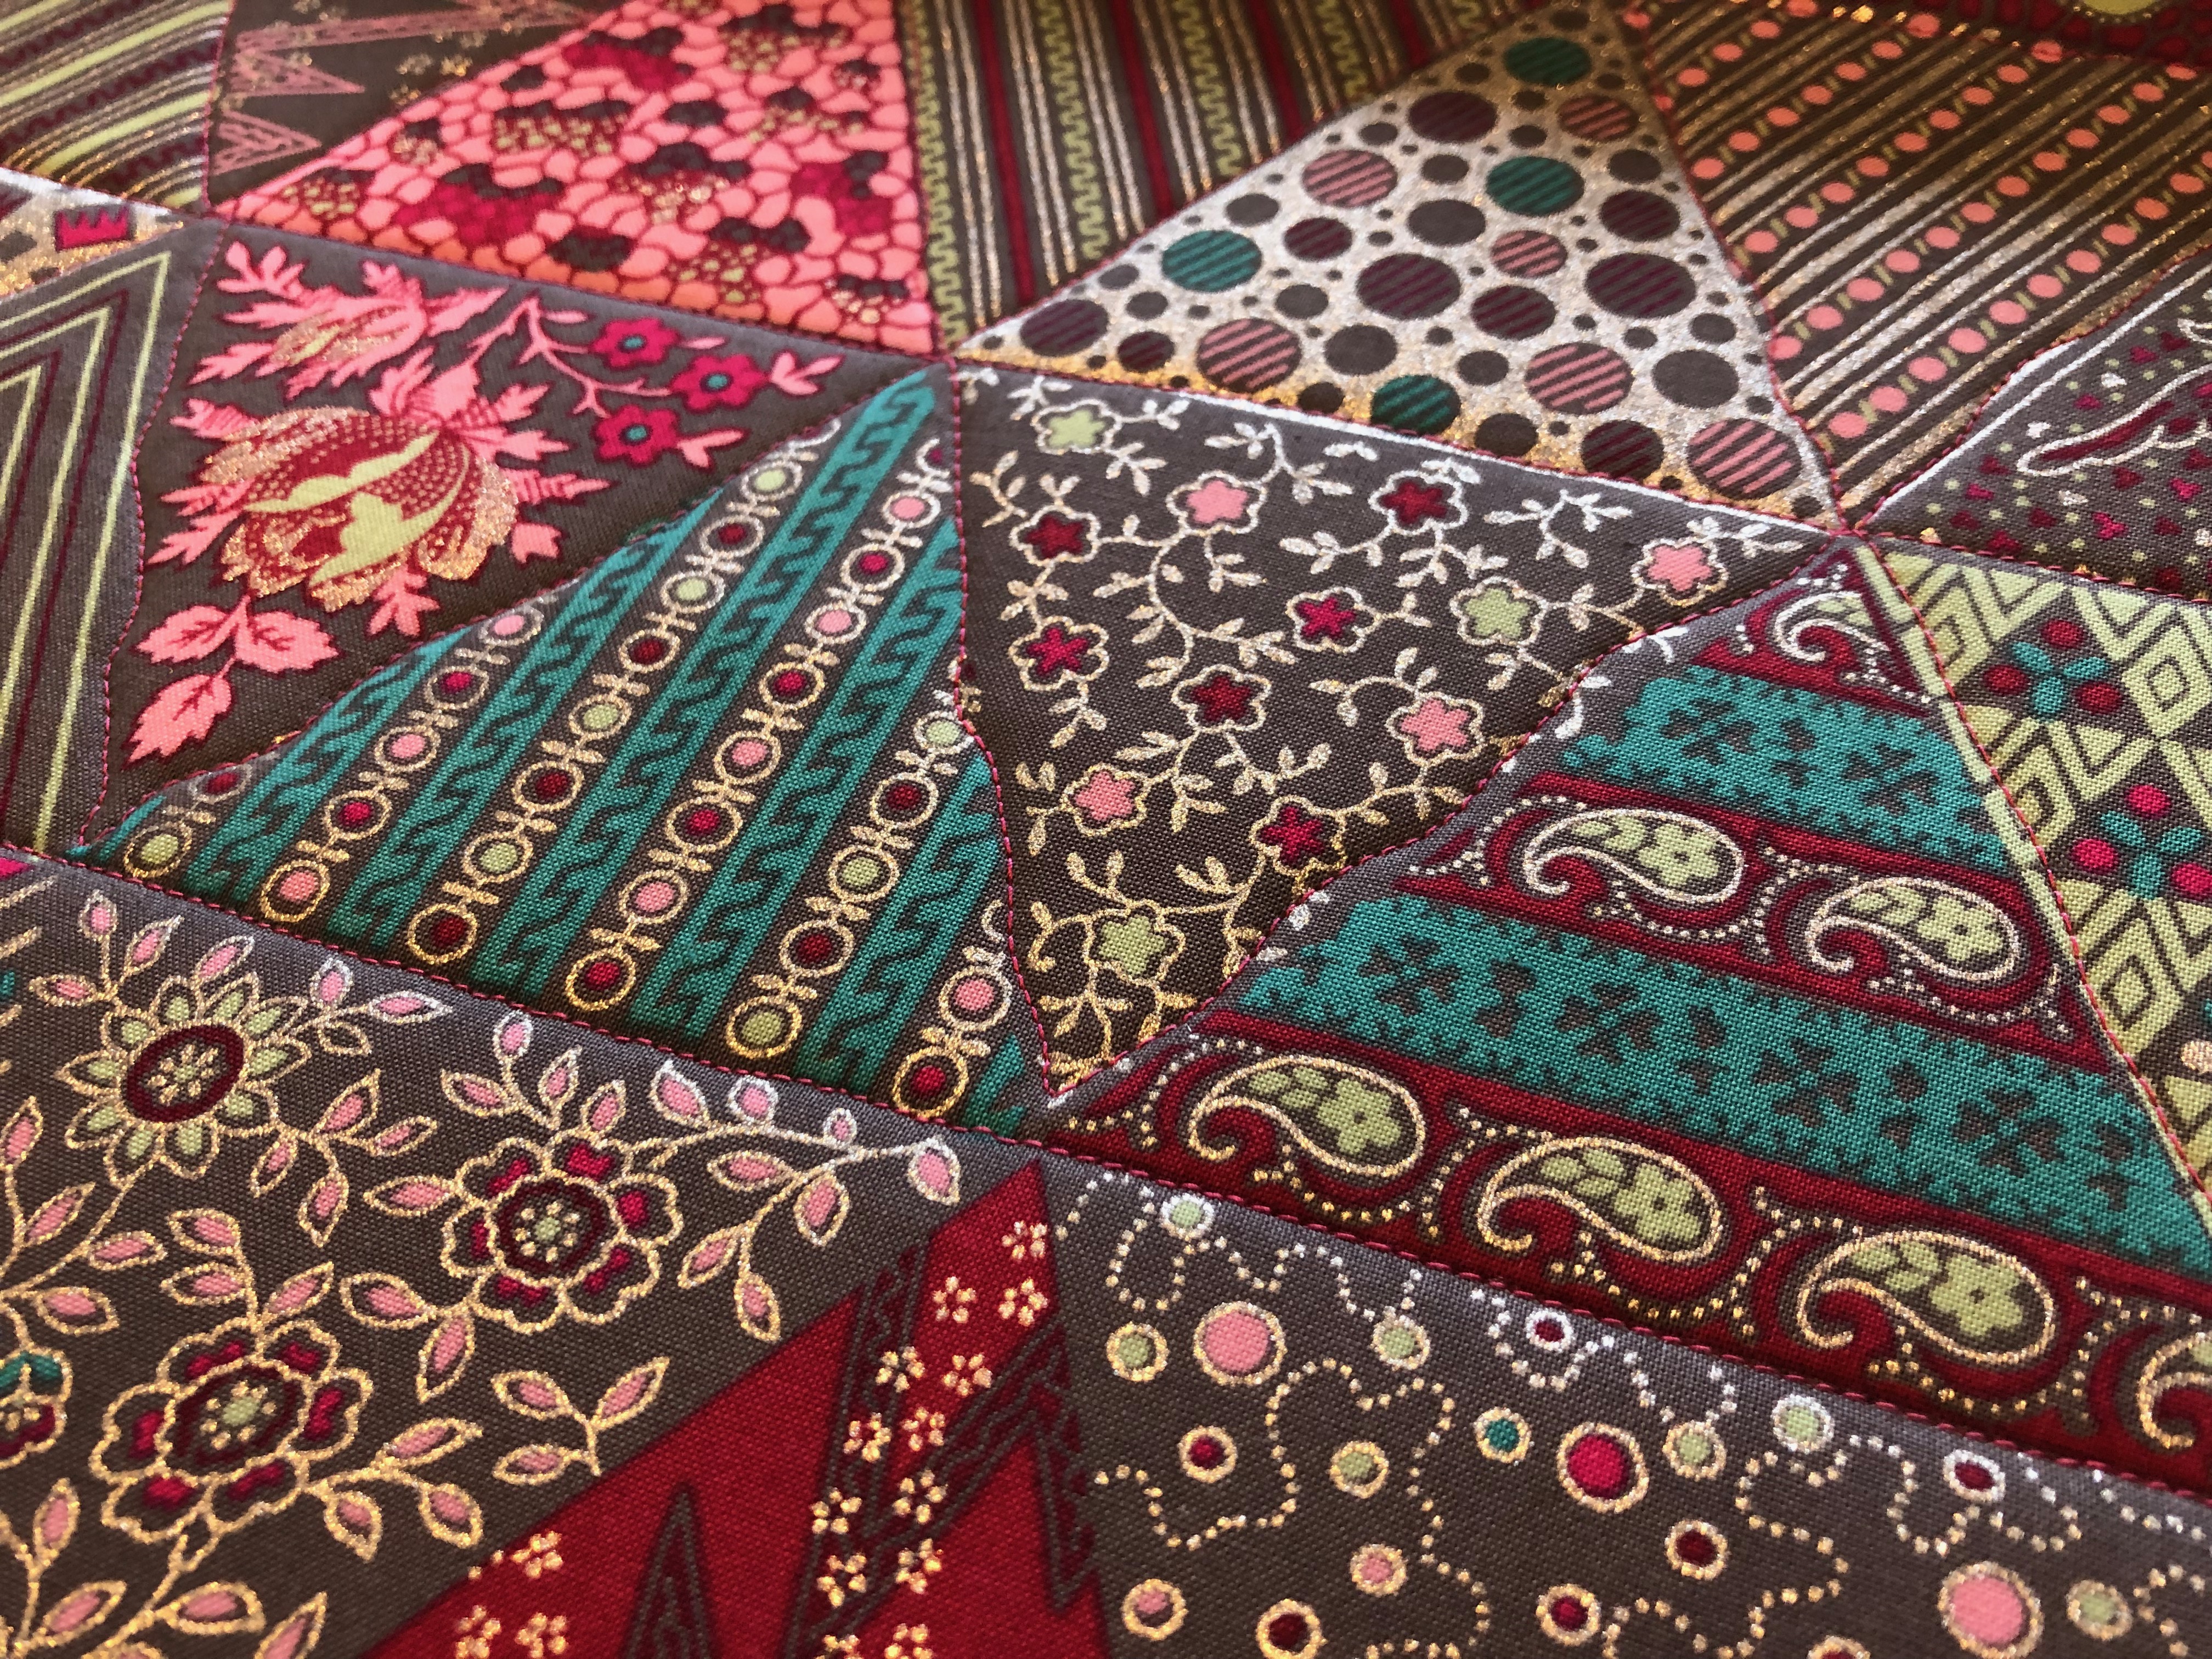
This past week (yes the week of flag day) I had my panto, and my quilt and it was time to get down to business. I can confidently say that I am not the smoothest of stitchers and the amount of wiggles in my stars and waves was certainly not what I had hoped for, but its a learning experience right? The ultimate self betrayal was when I realized about half way through that the orientation of my quilt and my pantograph meant that essentially my stars were rather upside down in relation to the flag on my quilt.

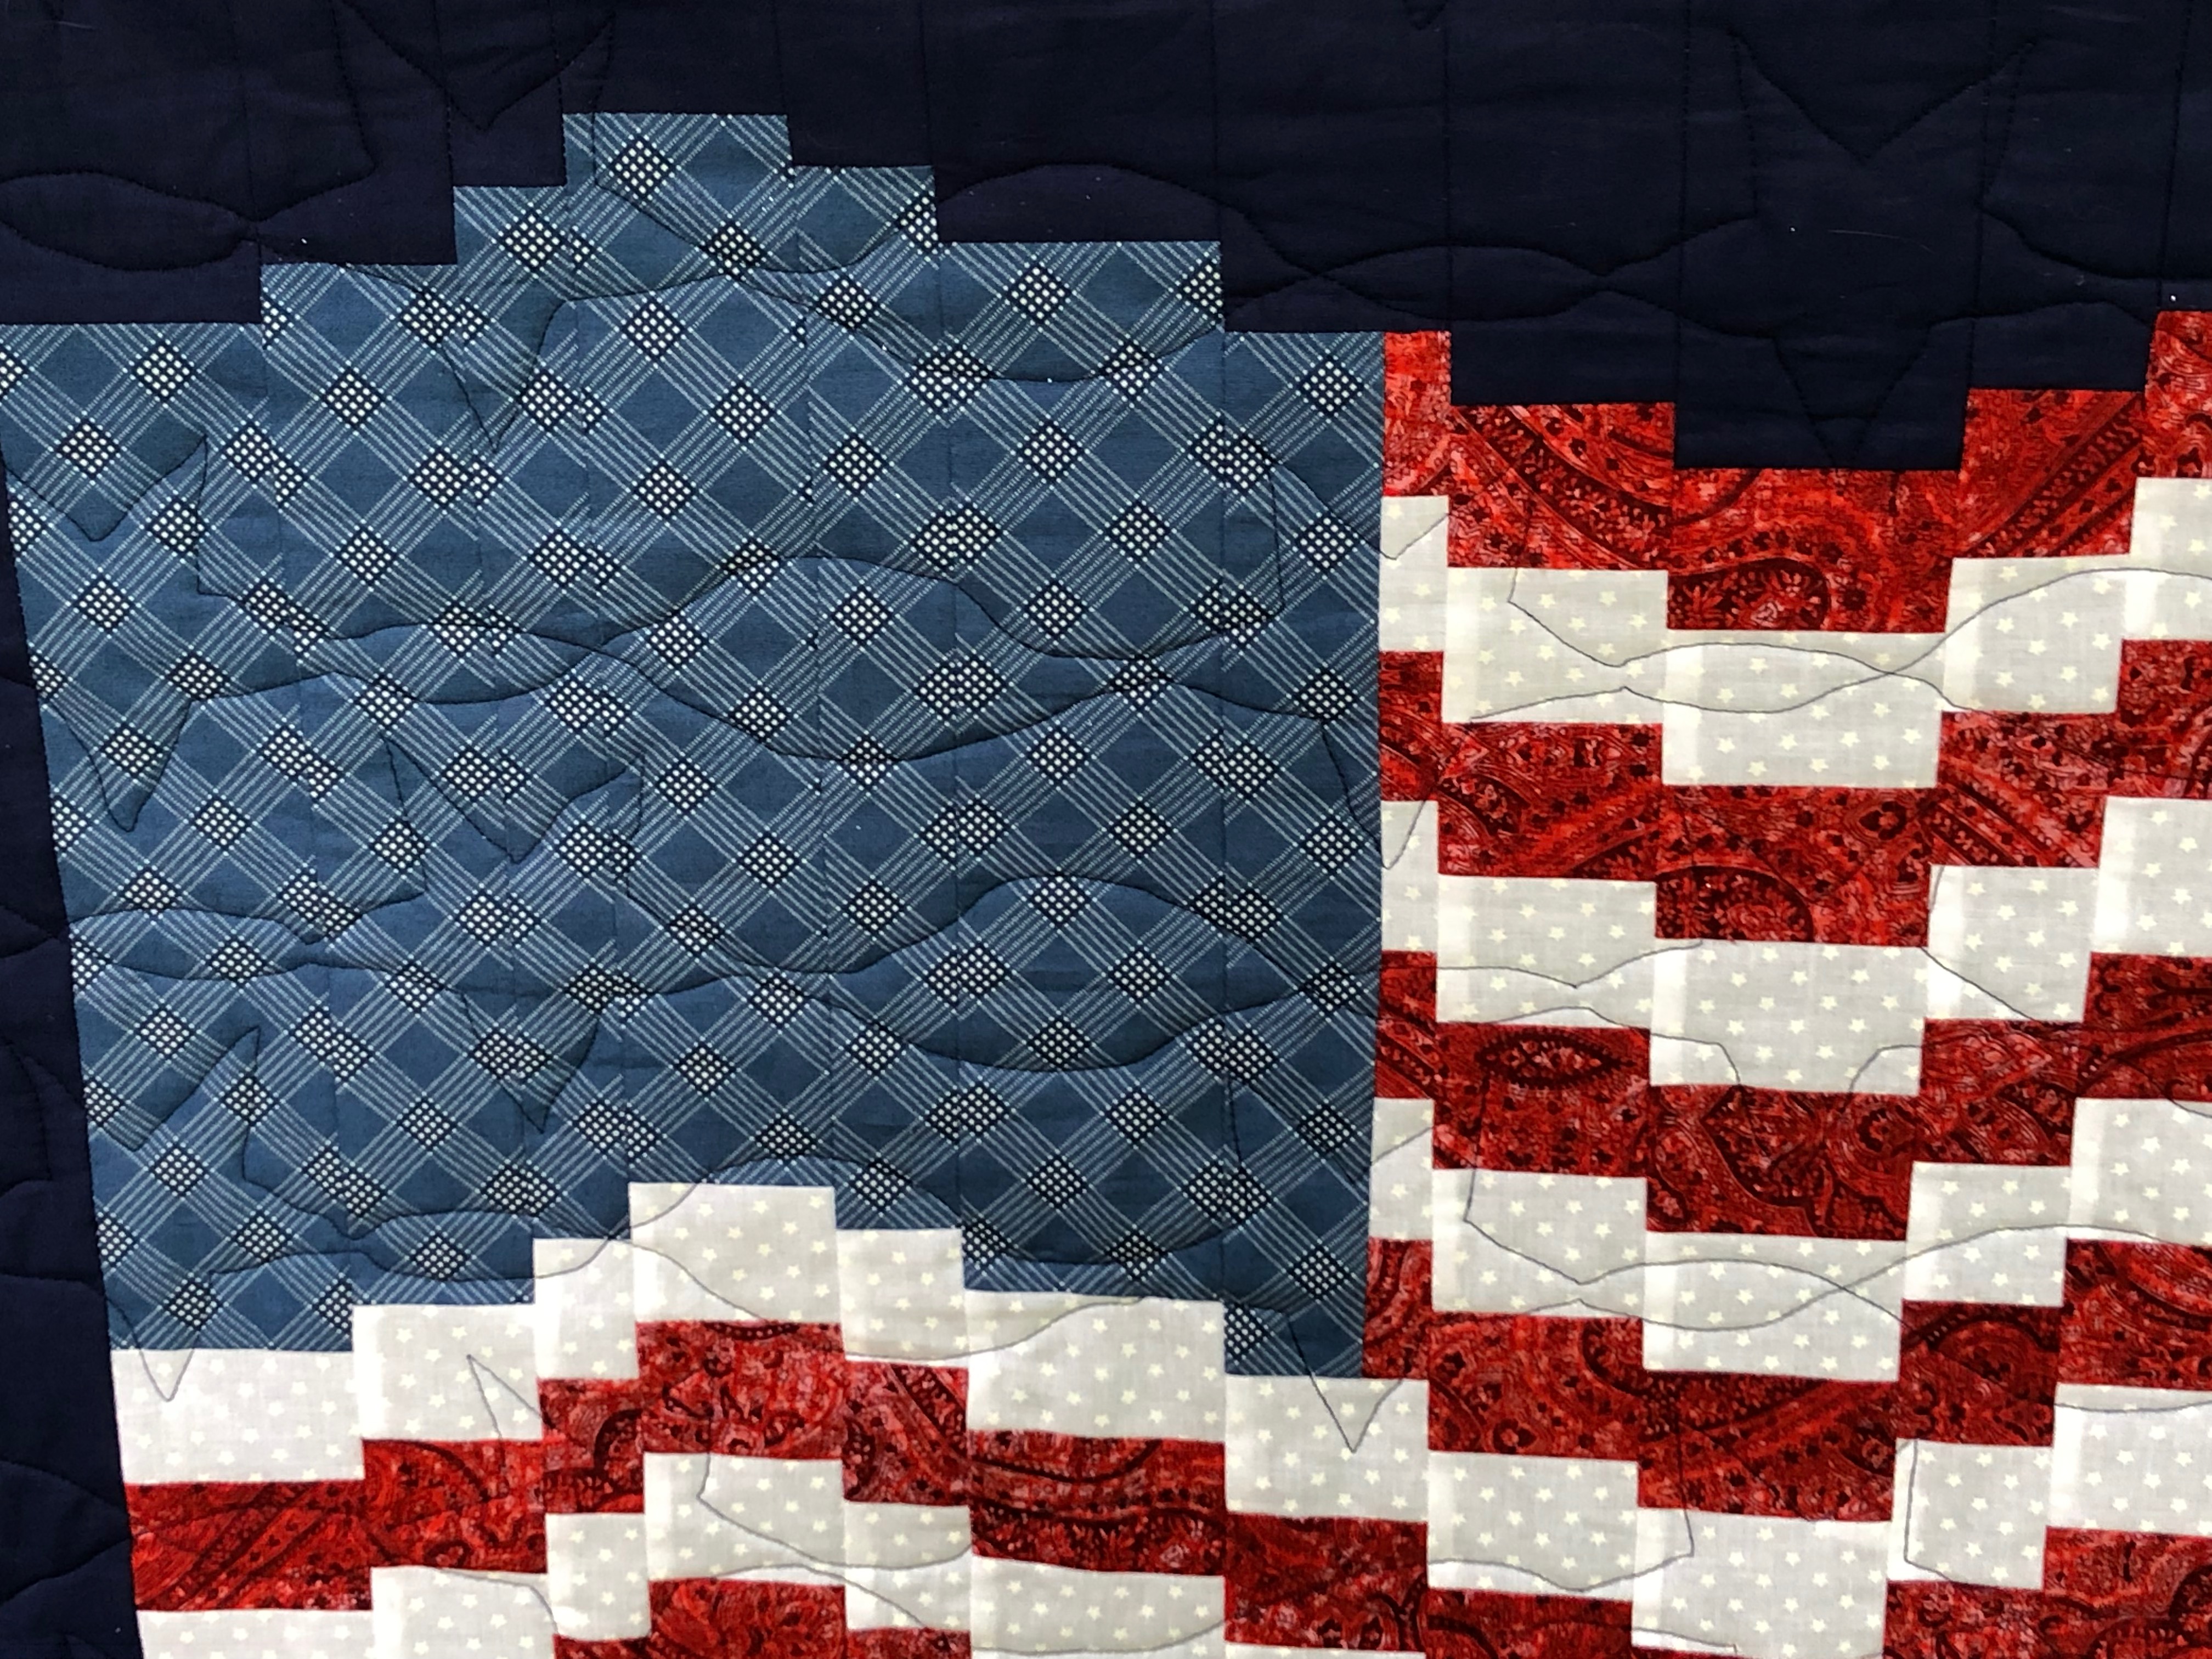
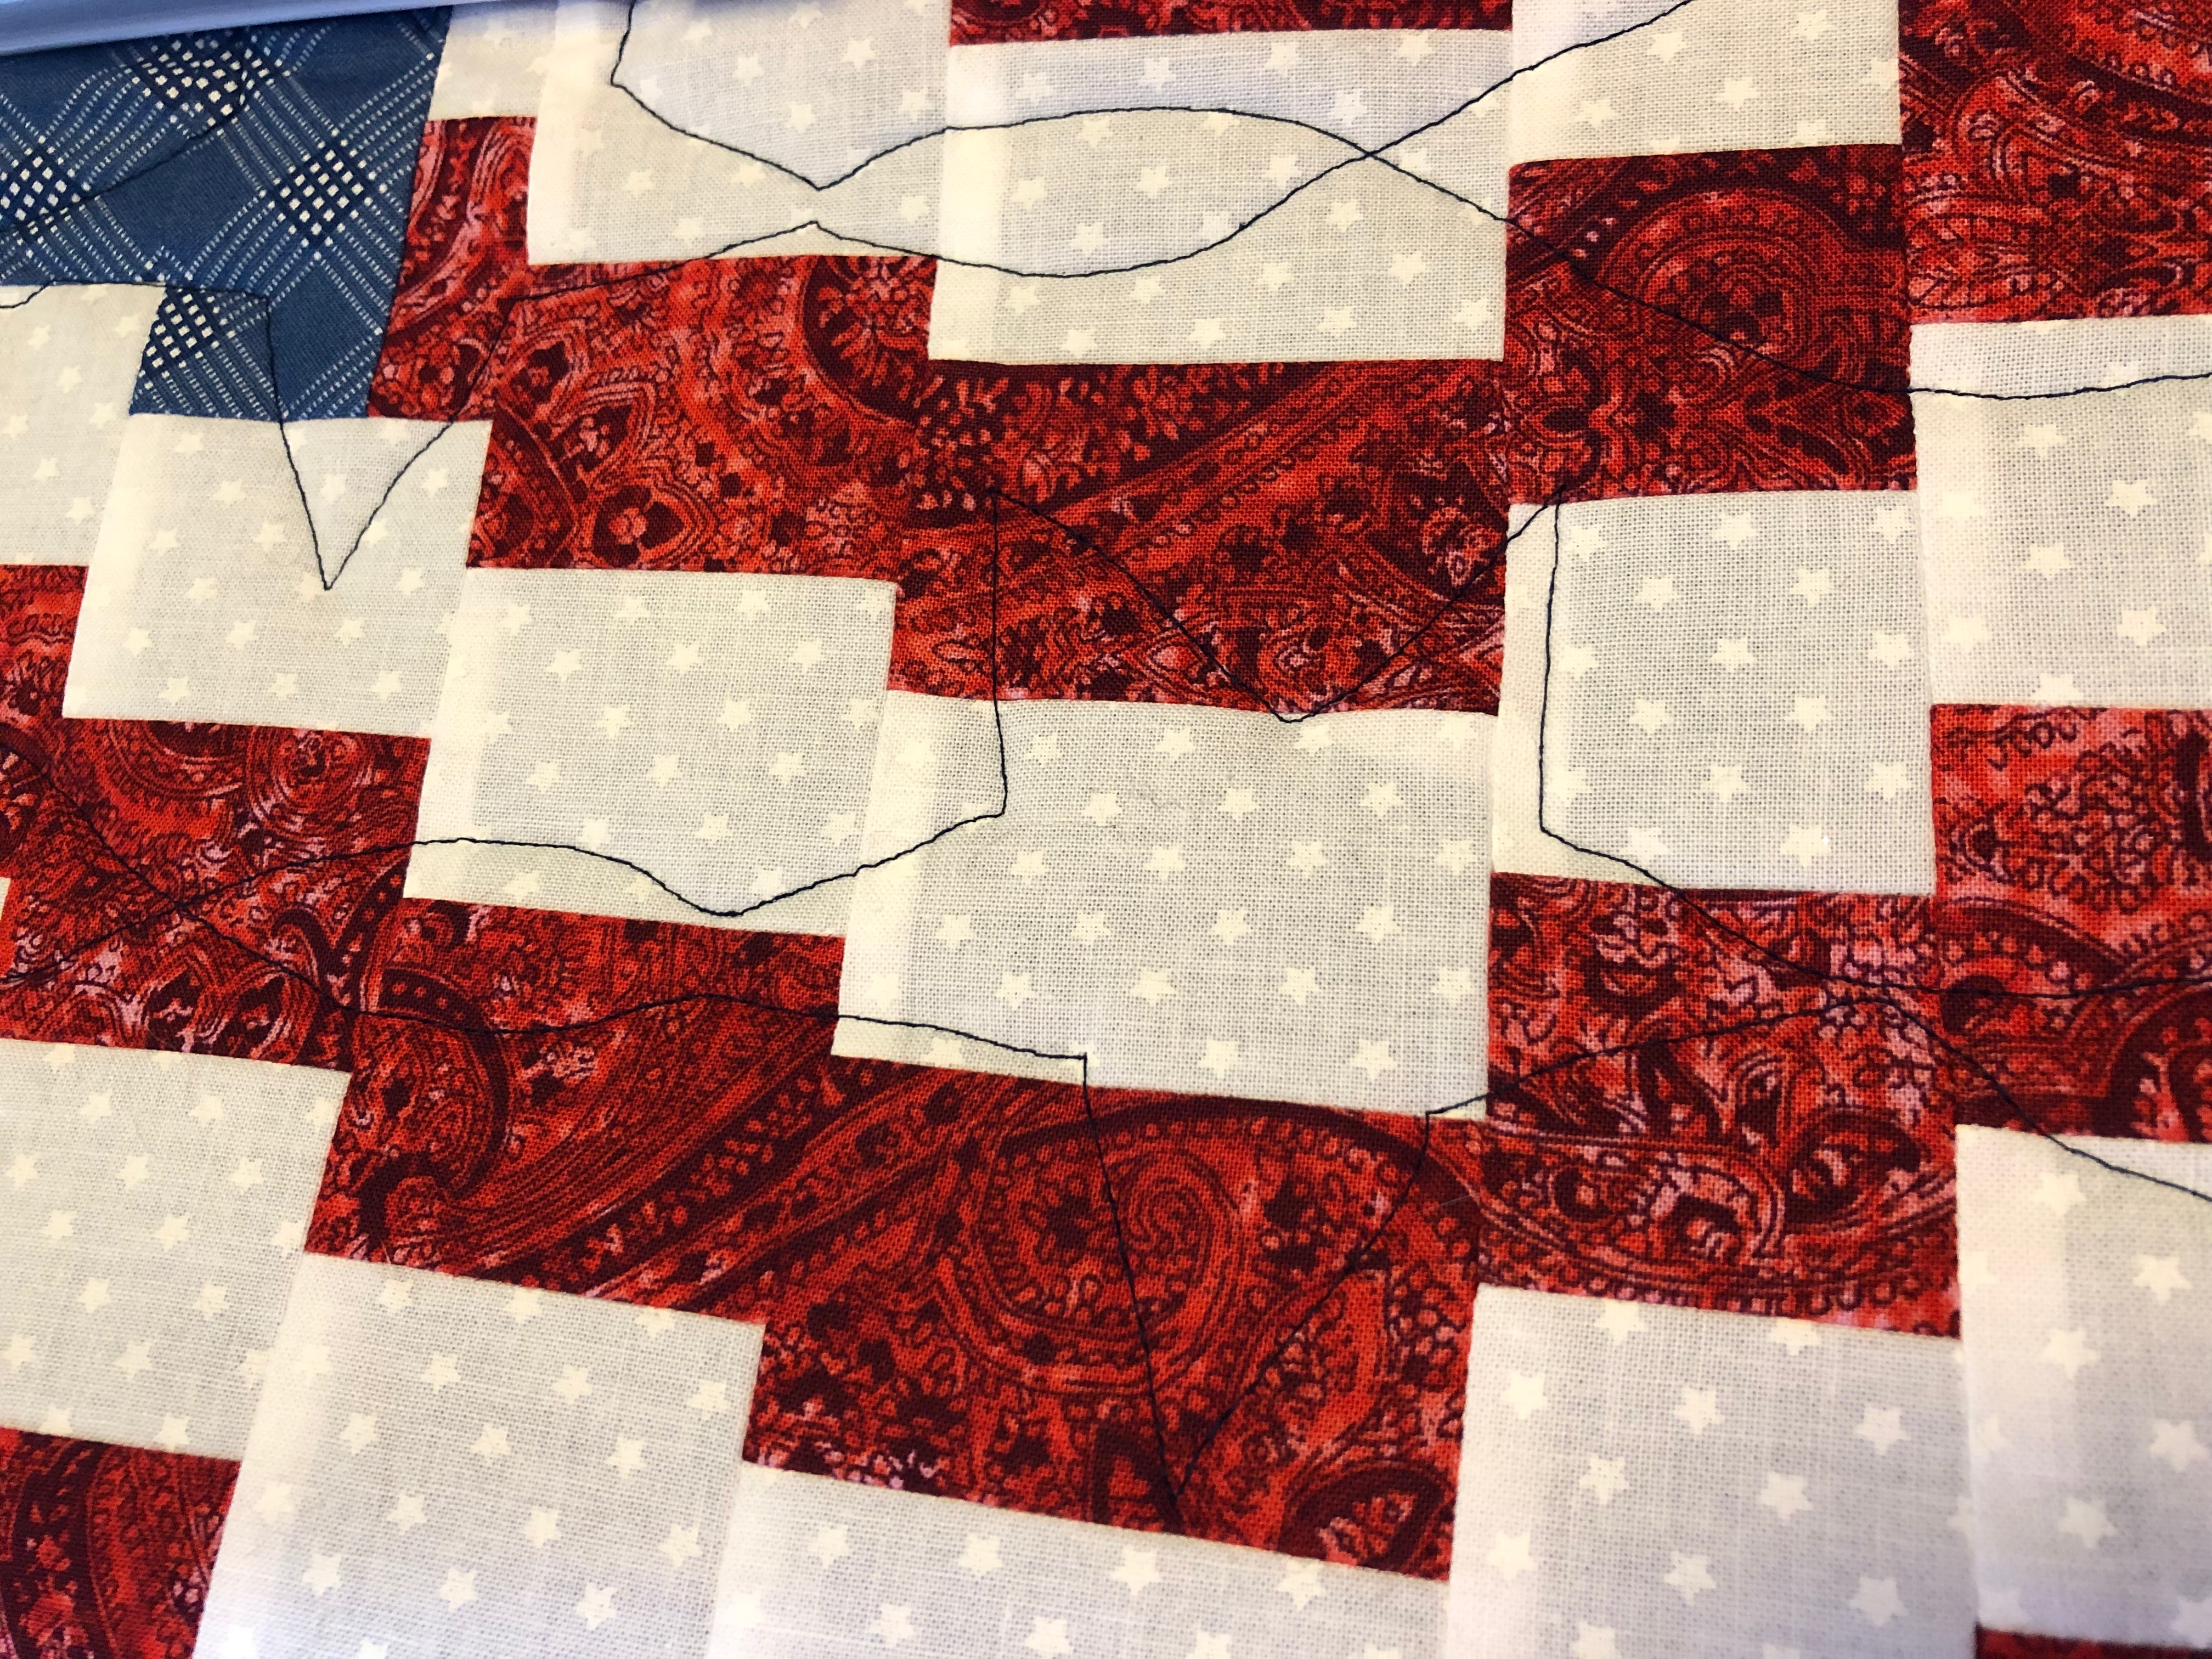
Look… I am not too ashamed to show my struggles. I did get a bit better as I got more experience, but this is clearly a quilt best viewed from a few feet away. I decided to finish this one with a folded/rolled over from the backing binding. That border and backing fabric was a bit stiffer since its made with all the stars as a glow in the dark.

I originally thought I might gift this one, but not sure if my quilting is quite up to snuff… so its currently sitting in the craft room to think upon. Overall, I think I’m going to try a simple stipple on the rainy days quilt next. But first I need to get myself some batting as otherwise its a few too many pieces to put together.

There And Back Again

I left off last time with my quilt frame top plate having just arrived and assembled, the imminent start of the next sock madness round, and a fast approaching road trip departure to a memorial. So let’s start where I did… with my first “quilt” set up on the frame to give it a trial run. I chose to try it out on a simple triangle pattern fabric that I planned to use like a cheater quilt. Straight lines are pretty easy with a walking foot, and on the horizontal left to right or right to left, I found the frame just as easy and perhaps even more efficient. However, I struggle with angled lines. With a walking foot I’d have turned my fabric’s orientation and it would have been all straight. But on the frame I was attempting to drive free form at an angle. Some lines turned out more wavy than others. But overall the start to finish on a throw size quilt was significantly shorter and took me about one day.

On my machine I get about six inches of depth before needing to roll up the quilt, which on this fabric was about two triangles high. This seems like a good reasonable amount and I’m eagerly looking forward to the next quilt…. which I think is to be the Bargello flag because July is coming.

In the hats department… we have arrived at June, which will be the sixth hat in the series, so here’s an overview of the first five.

The next round of sock madness happened just after I got my pink quilt off the frame and before I could sew the binding down on the back side. It was an instarsia harlequin single stitch sock, so lots of fiddly tails. Personally I think if you knit a sock pattern that devotes a section to how to manage 17 yarn threads, you can no longer say you are a beginner knitter.

I managed to finish my pair at the charge stop in Clearwater, Minnesota. It was raining. My finished posts are primarily laid out on my seat, and I had to hunch over. The things we do in the spirit of competition! They took me five calendar days, but one of those days I was driving across most of Montana which hardly counts. I sewed the binding on my quilt down and started another pair for my patient husband between rounds from my new magazine subscription.

The next round (still ongoing) started on the 29th with me needing to hand wind up my skein of yarn. They have beaded embroidery embellishment after you finish knitting, and alas after a few delays for me, I am out of the competition, but have managed to get one sock knitted.

But wait! There’s more! (Sorry… couldn’t help myself there) I also managed to finish my big monogamous knitting project and can now reveal it in some of its glory. I managed to finish and bind off right under my auntie’s nose and then found a sneaky place to block it a bit. Honestly I am mildy disappointed I didn’t bring it home to block it again to get the last of the bunched bits flattened out but based on how things have worked out.. I might not have been able to block it for awhile yet and this way she got it as an early birthday surprise.

If you look closely, the new cone is slightly different on the edges, but I am calling that a design element. This is the Tannenzpfen/Fir Cone pattern by Herbert Niebling. Its 405 rounds, and I knit mine on 000 needles and it came out about four feet square-ish.

Whew! That was quite a bit. But there is more coming up this month. I’m debating if I may do at least some of the quilt shop hop this year which is happening this month. And strawberries and raspberries should be ripening for picking soon too. And of course… new month… new hat to knit. Until then… socks, socks, and more socks.

The Monotony of Monogamy

That title seems ominous, but I assure you its not. Its just a reference that when you are working on a large scale project and you want to finish… you start to just work on that project monogamously and at some points you just want it to be done already because if you look at that yarn and needle combination any longer your brain is going to wither away from the monotony of it. Now that I have teased and explained myself, you would naturally assume I was going to reveal my finished large project. I regret to say no such luck, its a gift so I don’t usually reveal photos until its been given (Though if you check my Ravelry projects you can figure it out). I am past the monotony stage and am now in the panicking about yarn chicken stage and I will show you where I am in that regards. I bought two cones of lace weight for a couple lace projects. Both cones were by weight the same size and a bit of 3300 yards range which I was (at the time) confident would see me through. Well here’s those same two cones just a couple weeks ago at a bit over 80% done:

I am down to my last 25 rows… wish me luck!

Now… the last post I said I ordered a smaller quilt frame and I’ve actually been holding up this post because while the main part of the frame has arrived… I’m still waiting on the last part, which is the carriage top and handles that make it work with my home machine. Maybe by posting about it anyway the cosmic universe will get the nudge it needs to break it free from limbo. So now here’s some photos and details.. and I confess in my eagerness I didn’t do any cleaning up of my craft space so I apologize for the mess.

First up.. let’s talk about working spaces. The space I use for my quilting is a bit multi-use in that my husband and I keep lots of books and as what happens in extra space that’s where sometimes things end up as storage. So I try to get a lot of use out of my space. One of my great finds was the Ikea Norden table I use for a cutting table and general workspace. With the leaves folded up I get a nearly 60 inch workspace, but then if I fold them down its a bit under 13 inches! The gatelegs that hold up each of the leaves is incredibly sturdy too. So my frame space and my cutting space are basically the same, I just fold up my table when I want to use the frame. The only “downside” to my table that I have found is that the drawers are 3 each side so my super long 6×24 ruler doesn’t fit in across the whole length… that would have been perfect!

The frame I chose was the Grace Q-Zone Hoop frame. I chose the Pro version to get the cloth leaders, the upgraded track system and the table inserts for the potential of templates/pantographs. I also ordered a laser and stitch regulator and those two items arrived first a few days before the frame boxes. I ordered through my local sewing machine store because I do try to go local when I can. I was dancing with glee when they called to let me know my frame was in. It came in three boxes labeled 1 of 3, 2 of 3, and 3 of 3 (plus the two accessories in their own box). I used the paper instruction booklet and immediately set to work putting it together myself. And, I honestly find that step important for this frame as the way you assemble and walk through the steps is a basic hands on approach to how you will adjust and use your frame. 90% of assembly can be done solo and the last bit you can do solo if you have something to rest the table end on when you put on the first leg brace (such as a chair) if you don’t have an assembly partner. All of it can be done with the included tools; it does take a couple hours.

Then you get to page 9, the back rail assembly, and the directions point you to page 18 for the carriage top plate assembly and realize those parts didn’t come in those three frame boxes. Now, I have read several reviews so I didn’t panic too much straight away (just enough to be slightly miffed I couldn’t move on to actually using my frame just yet) because a number of reviews mentioned this additional box that shows up a couple days later with those parts. I did call the next day to the sewing shop and confirmed they are expected. Everyone cross our collective fingers. The good news is that as you can see, although the frame is wider front to back than my table, lengthwise its actually a bit shorter. So it fits easily in the space.

Meanwhile, when I’m not knitting the big monotonous monogamy project its speedy Sock Madness. I hoped to be knocked out in the early rounds because end of this month I need to travel to a funeral, but due to my inability to not attempt to be competitive, I’m still in and moving on to round four. So here’s the first three pair, which have encompassed knitting inside out with cables, beads and two color with brioche.