Well last year I set myself the goal of one Christmas stocking a month from January to October and it went pretty well. I sold a few of the stockings, and hopefully someone will take advantage of this coupon code “InWithTheNew” and save themselves 25% on those I have left in the etsy shop!
So this year I thought it might be good to set myself some of those crafty goals again… so here’s what I know I want to do in 2013:
I’ve accepted a commission on 18 itty bitty red birds for one of my aunts Christmas Trees. The pattern is available on ravelry, my only difference is that instead of yarn I used size 5 DMC floss on what I think are my size 00 knitting needles (I swear I thought I was going to bend those things as I was going along!)
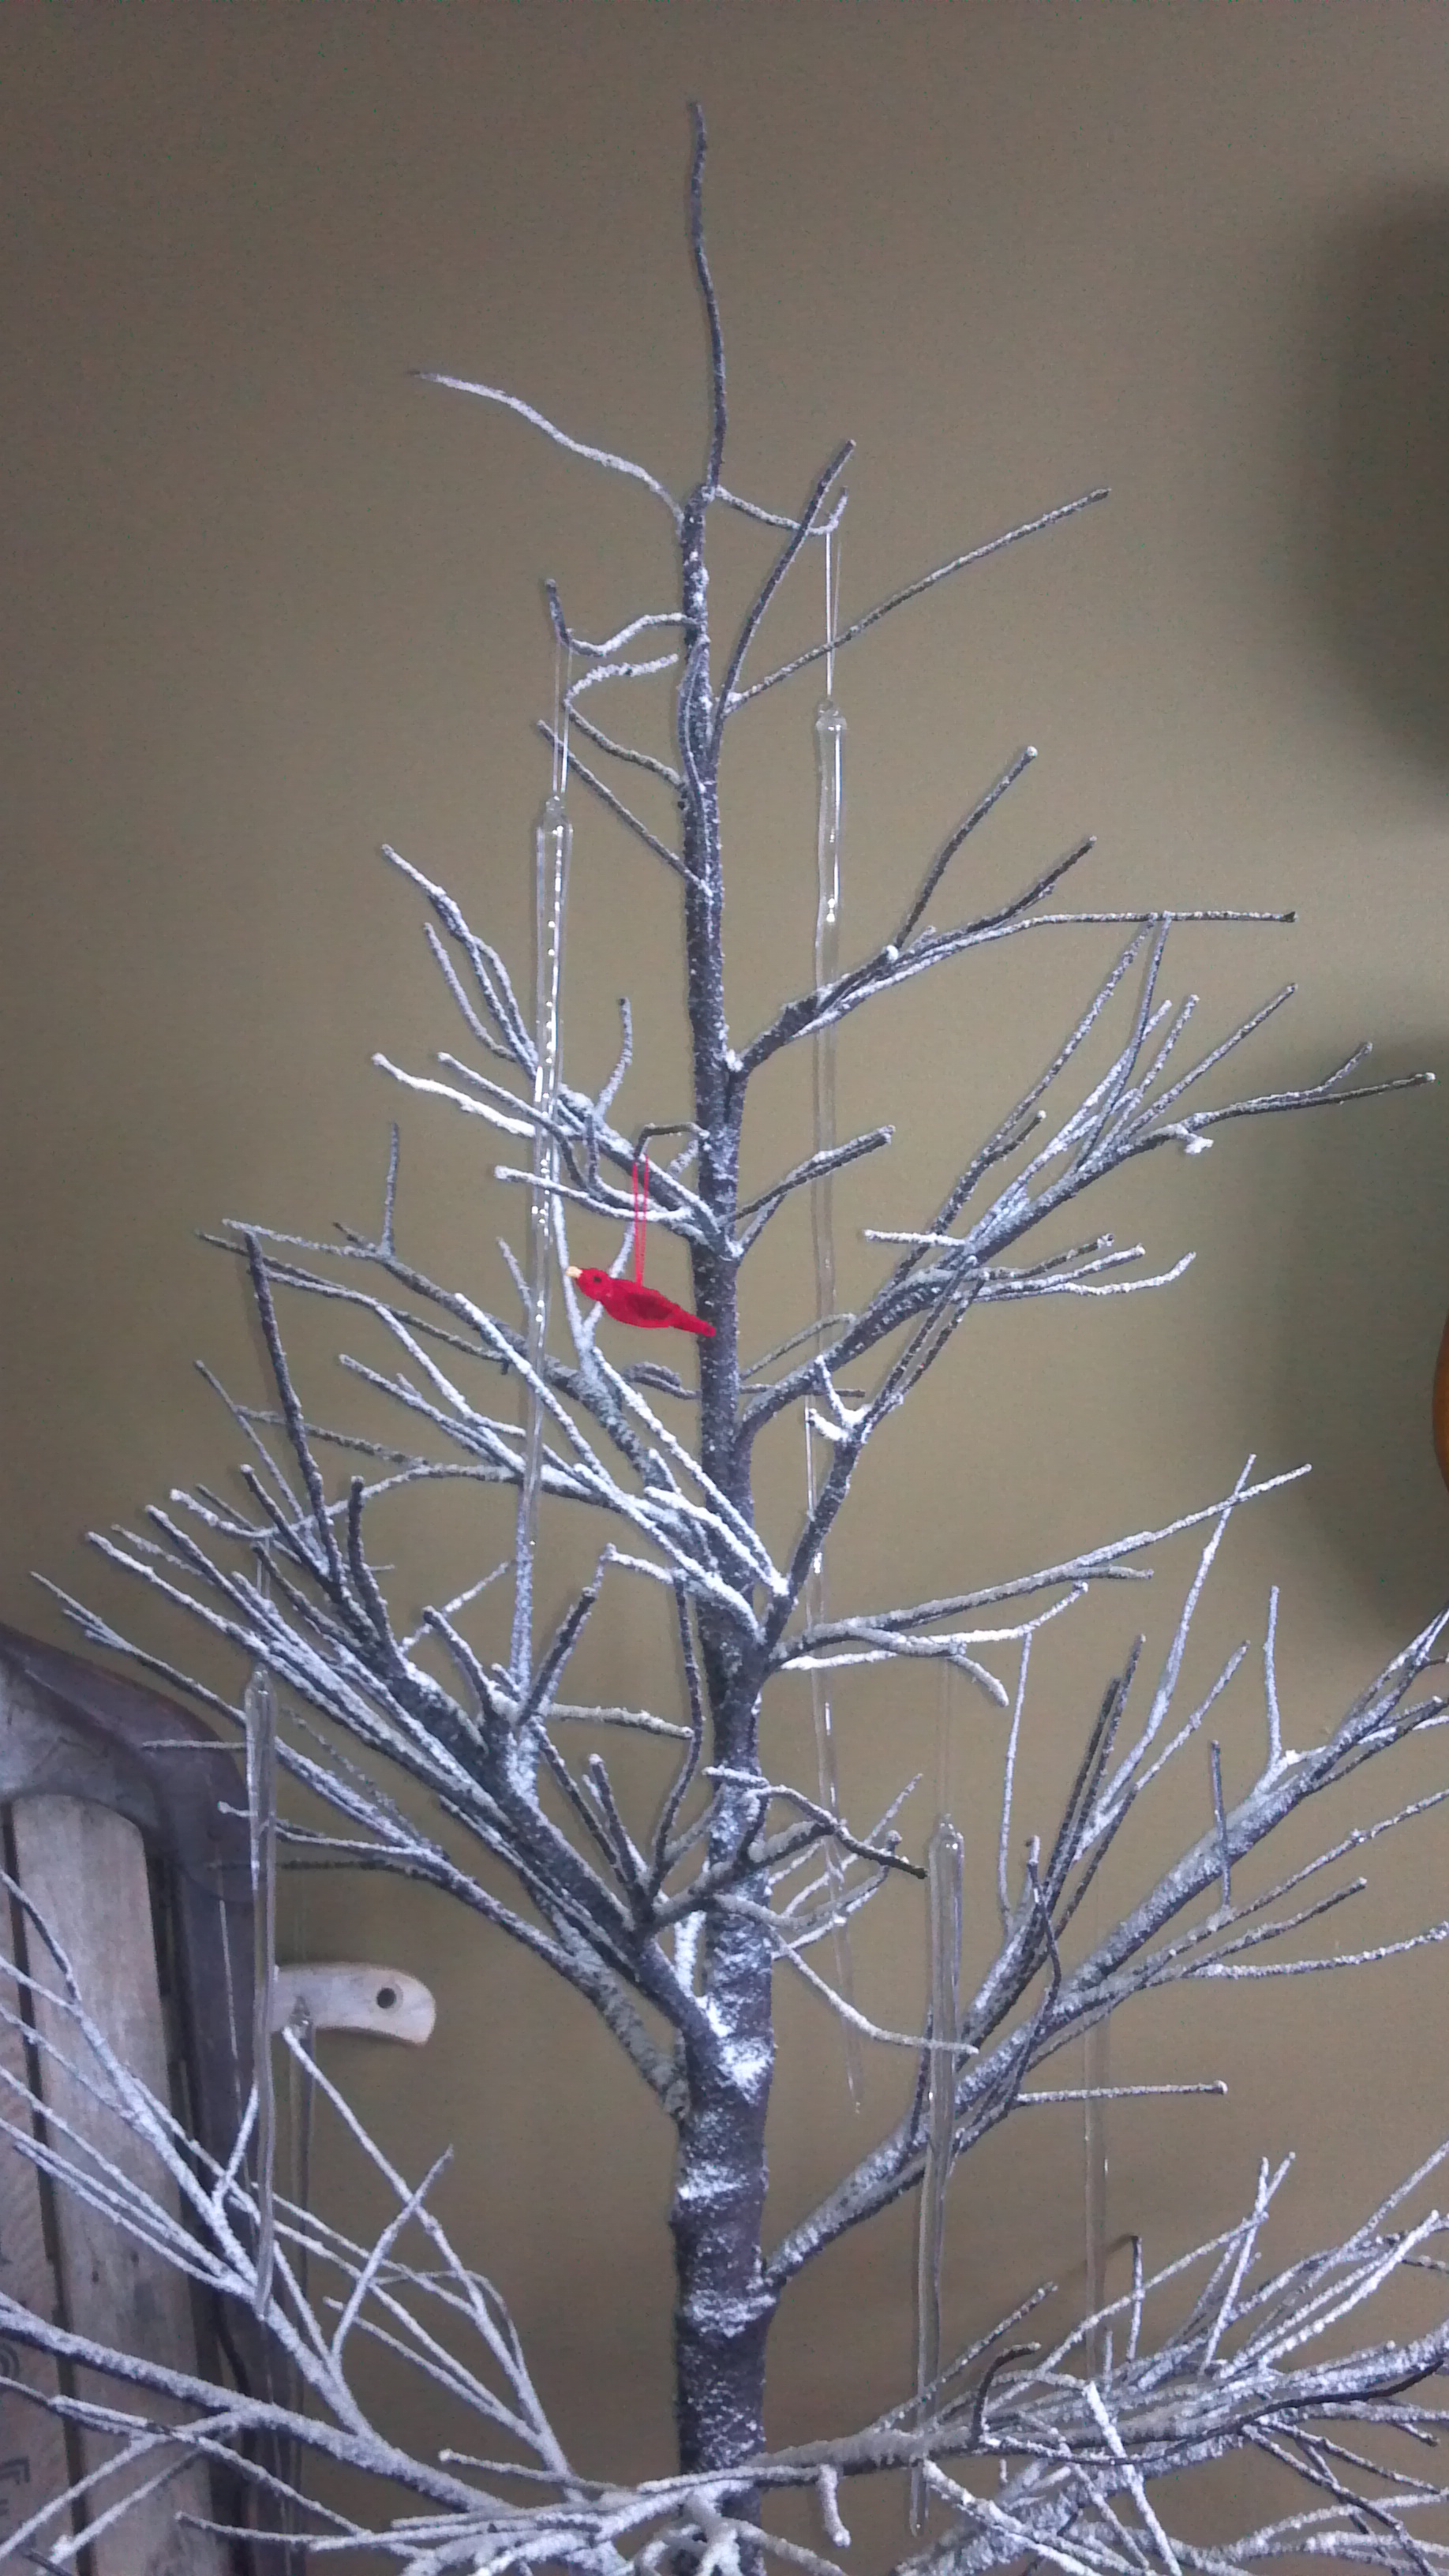
This tree soon to be populated with a flock of red birds
I’d also like to tackle my first sweaters. I want to make one for myself and one for Ben. For him, I’ve picked out my pattern… and its aptly named… Ben!
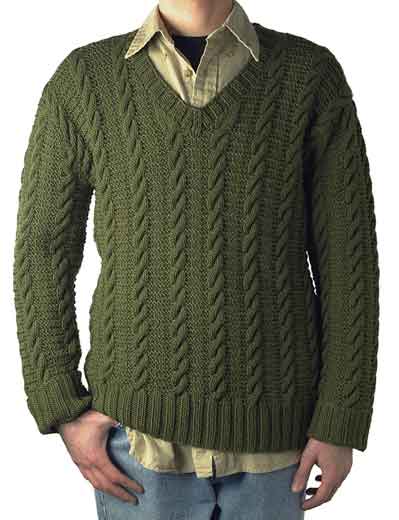
I’m gonna make a Ben for my Ben so he can be Ben in his Ben!
On the Quilting front, I’ve picked fabric and cut for my first square on the grand King sized Quilt I want to make for our bed:
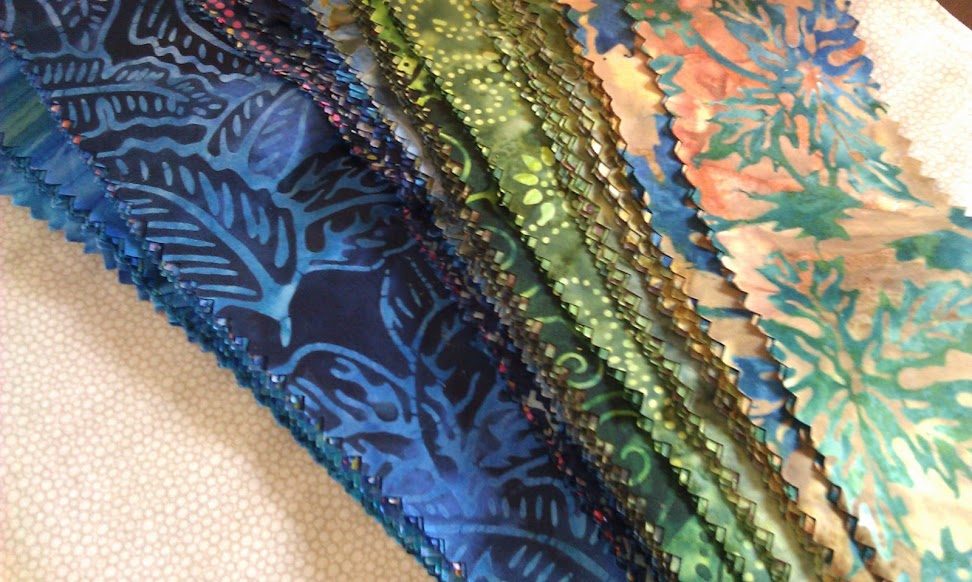
I picked up a couple of these Jelly Rolls at the Labor Day Sale and then did the math on downscaling some star blocks to fit the roll cuts
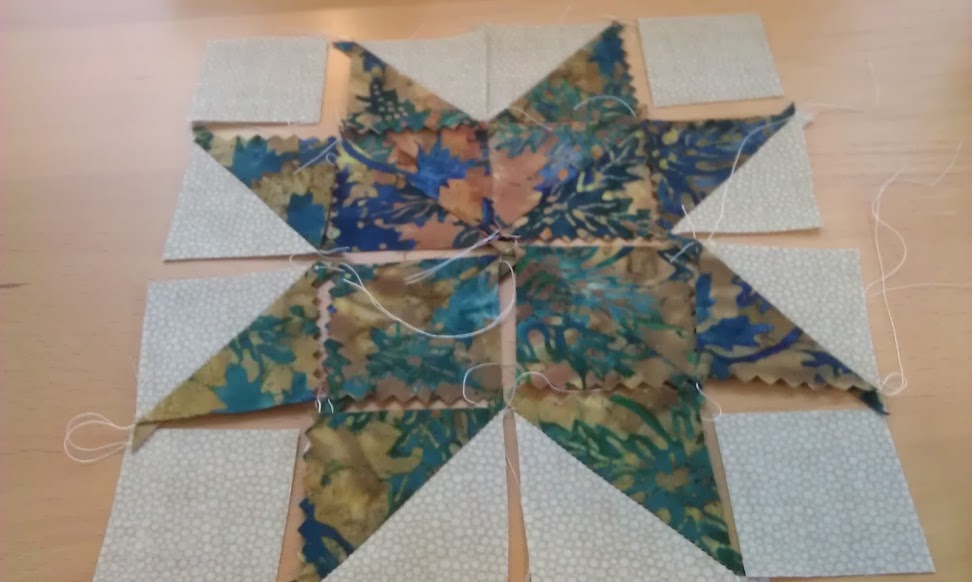
This is my first Block cut and just starting to piece.
Because its going to be so big, my plan is to piece it and then take a class and quilt it on a long arm machine at one of the local(ish) quilt shops! If you want to follow along, just as in prior cases… there is an album started for this one.
And lastly, but certainly not least… I want to start making gloves and mittens in a similar style to last years stockings. Which means lots of fiddling until I find what works best in that arena.
So… Wish me luck!