Way back in April I cast on my Luscious Sweater. It is all knit on size 2 needles in fingering weight yarn and its pretty much all stockinette… which meant lots and lots of pretty repetitive knitting. At first I had high hopes that I would have my sweater done by my trip in June.
There were errors in the pattern. Simple stuff that honestly felt like the pattern needed just a bit more proofing, but I was only the second person on Ravelry to cast on, and the other person hadn’t posted updates since they started, so I was determined to keep on. (For the record, the first two errors I verified with the pattern publisher, but after that I decided to save them up for one email at the end. I did post every issue I had on my project page. I believe that most of my issue came from stitching the non-standard larger size.)
Day before I leave on my trip and I’m casting off my last piece and blocking… spirits are high! I’m seaming up the other pieces because I am totally going to have this for my trip!
And then.. I pin the last piece in place and discover….. the two tails, do not line up.

So disappointed
And this isn’t a minor off by a few rows, made a small error no one else will notice issue… this is a one side falls at the knee.. and the other side drags on the floor.
So I set it aside and went on my trip and it was an INCREDIBLE time.
And I came back and I pondered and plotted and wondered if it was possible to fix this train wreck or should I just frog it… all 13 balls of yarn.
In the end.. I decided to fix it.
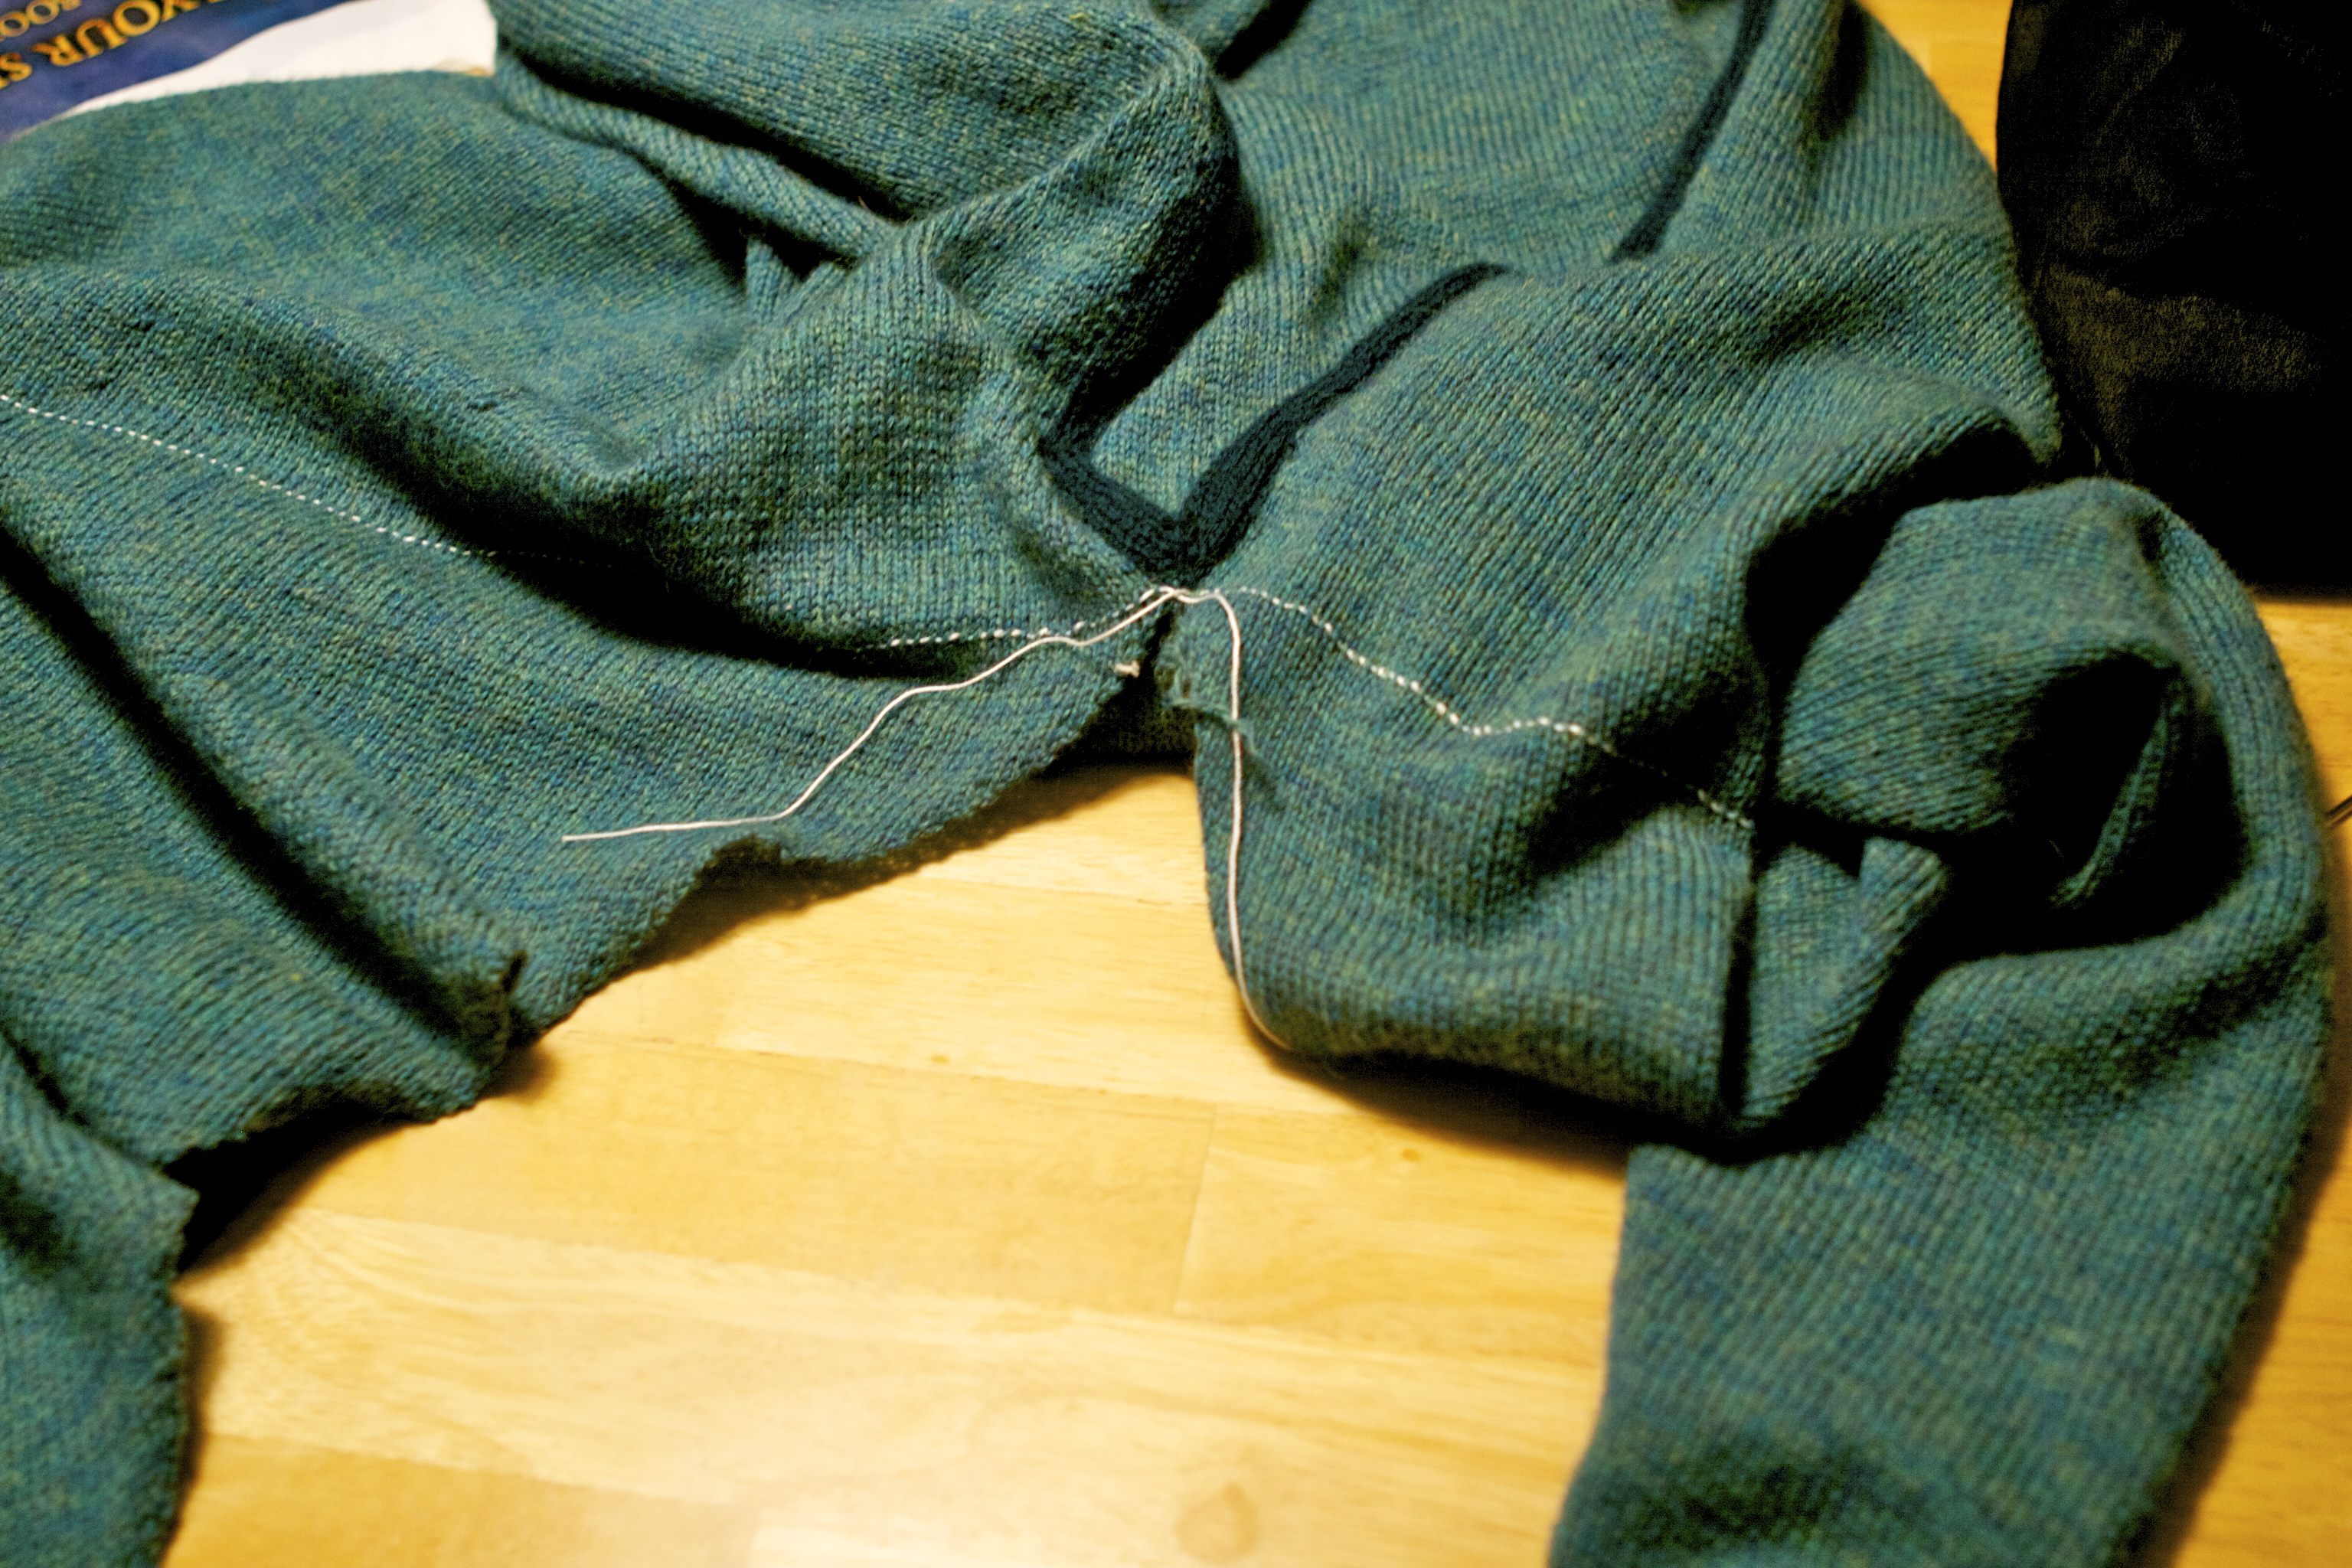
I threaded some 10 weight crochet thread through my main drape section from the side seam to the exterior as a life line:

Prepare the patient for surgery
I carefully un stitched the long side seam of the main drape:

How “Unseaming” !
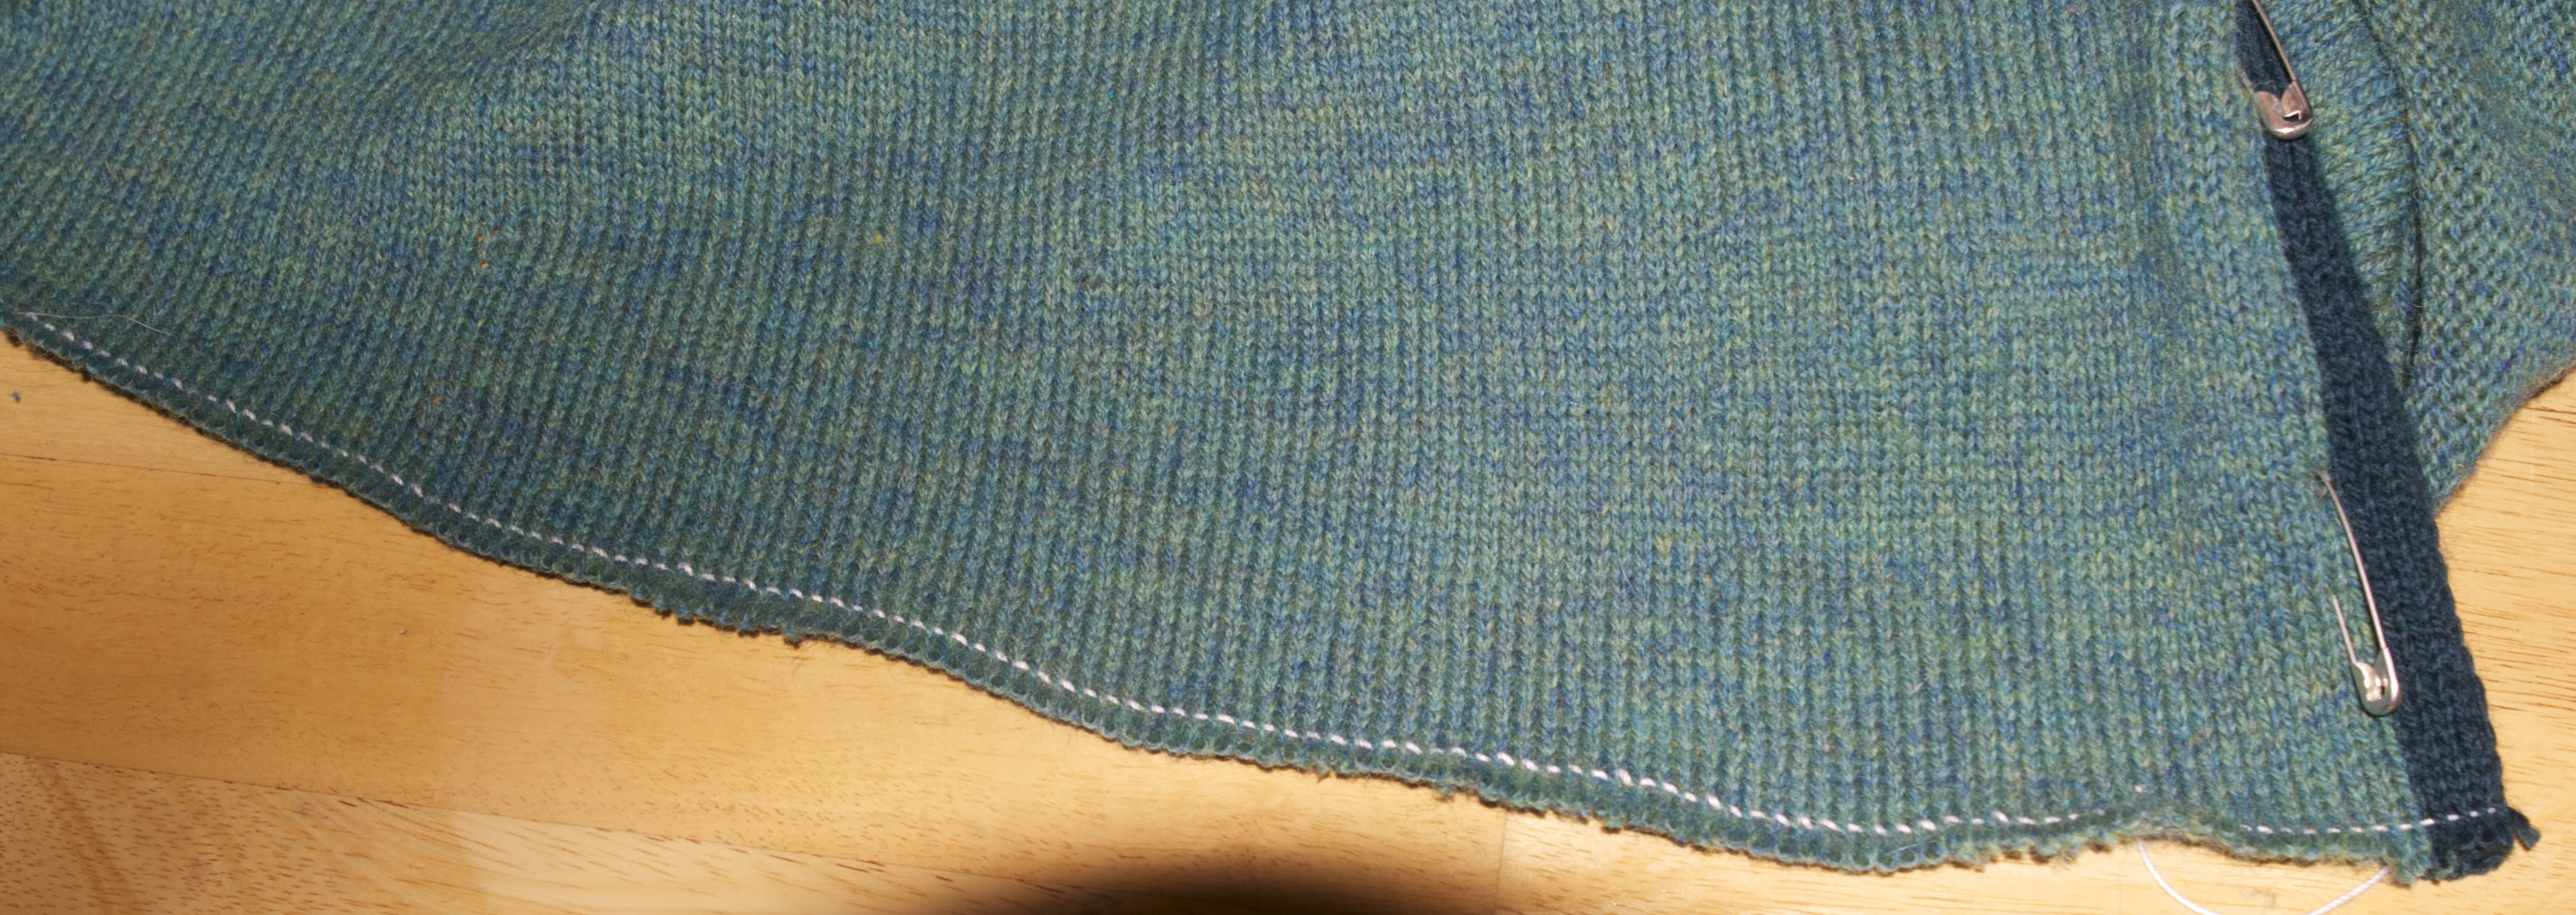
And then…. I cut off the first tail of the drape….

Post scissor application
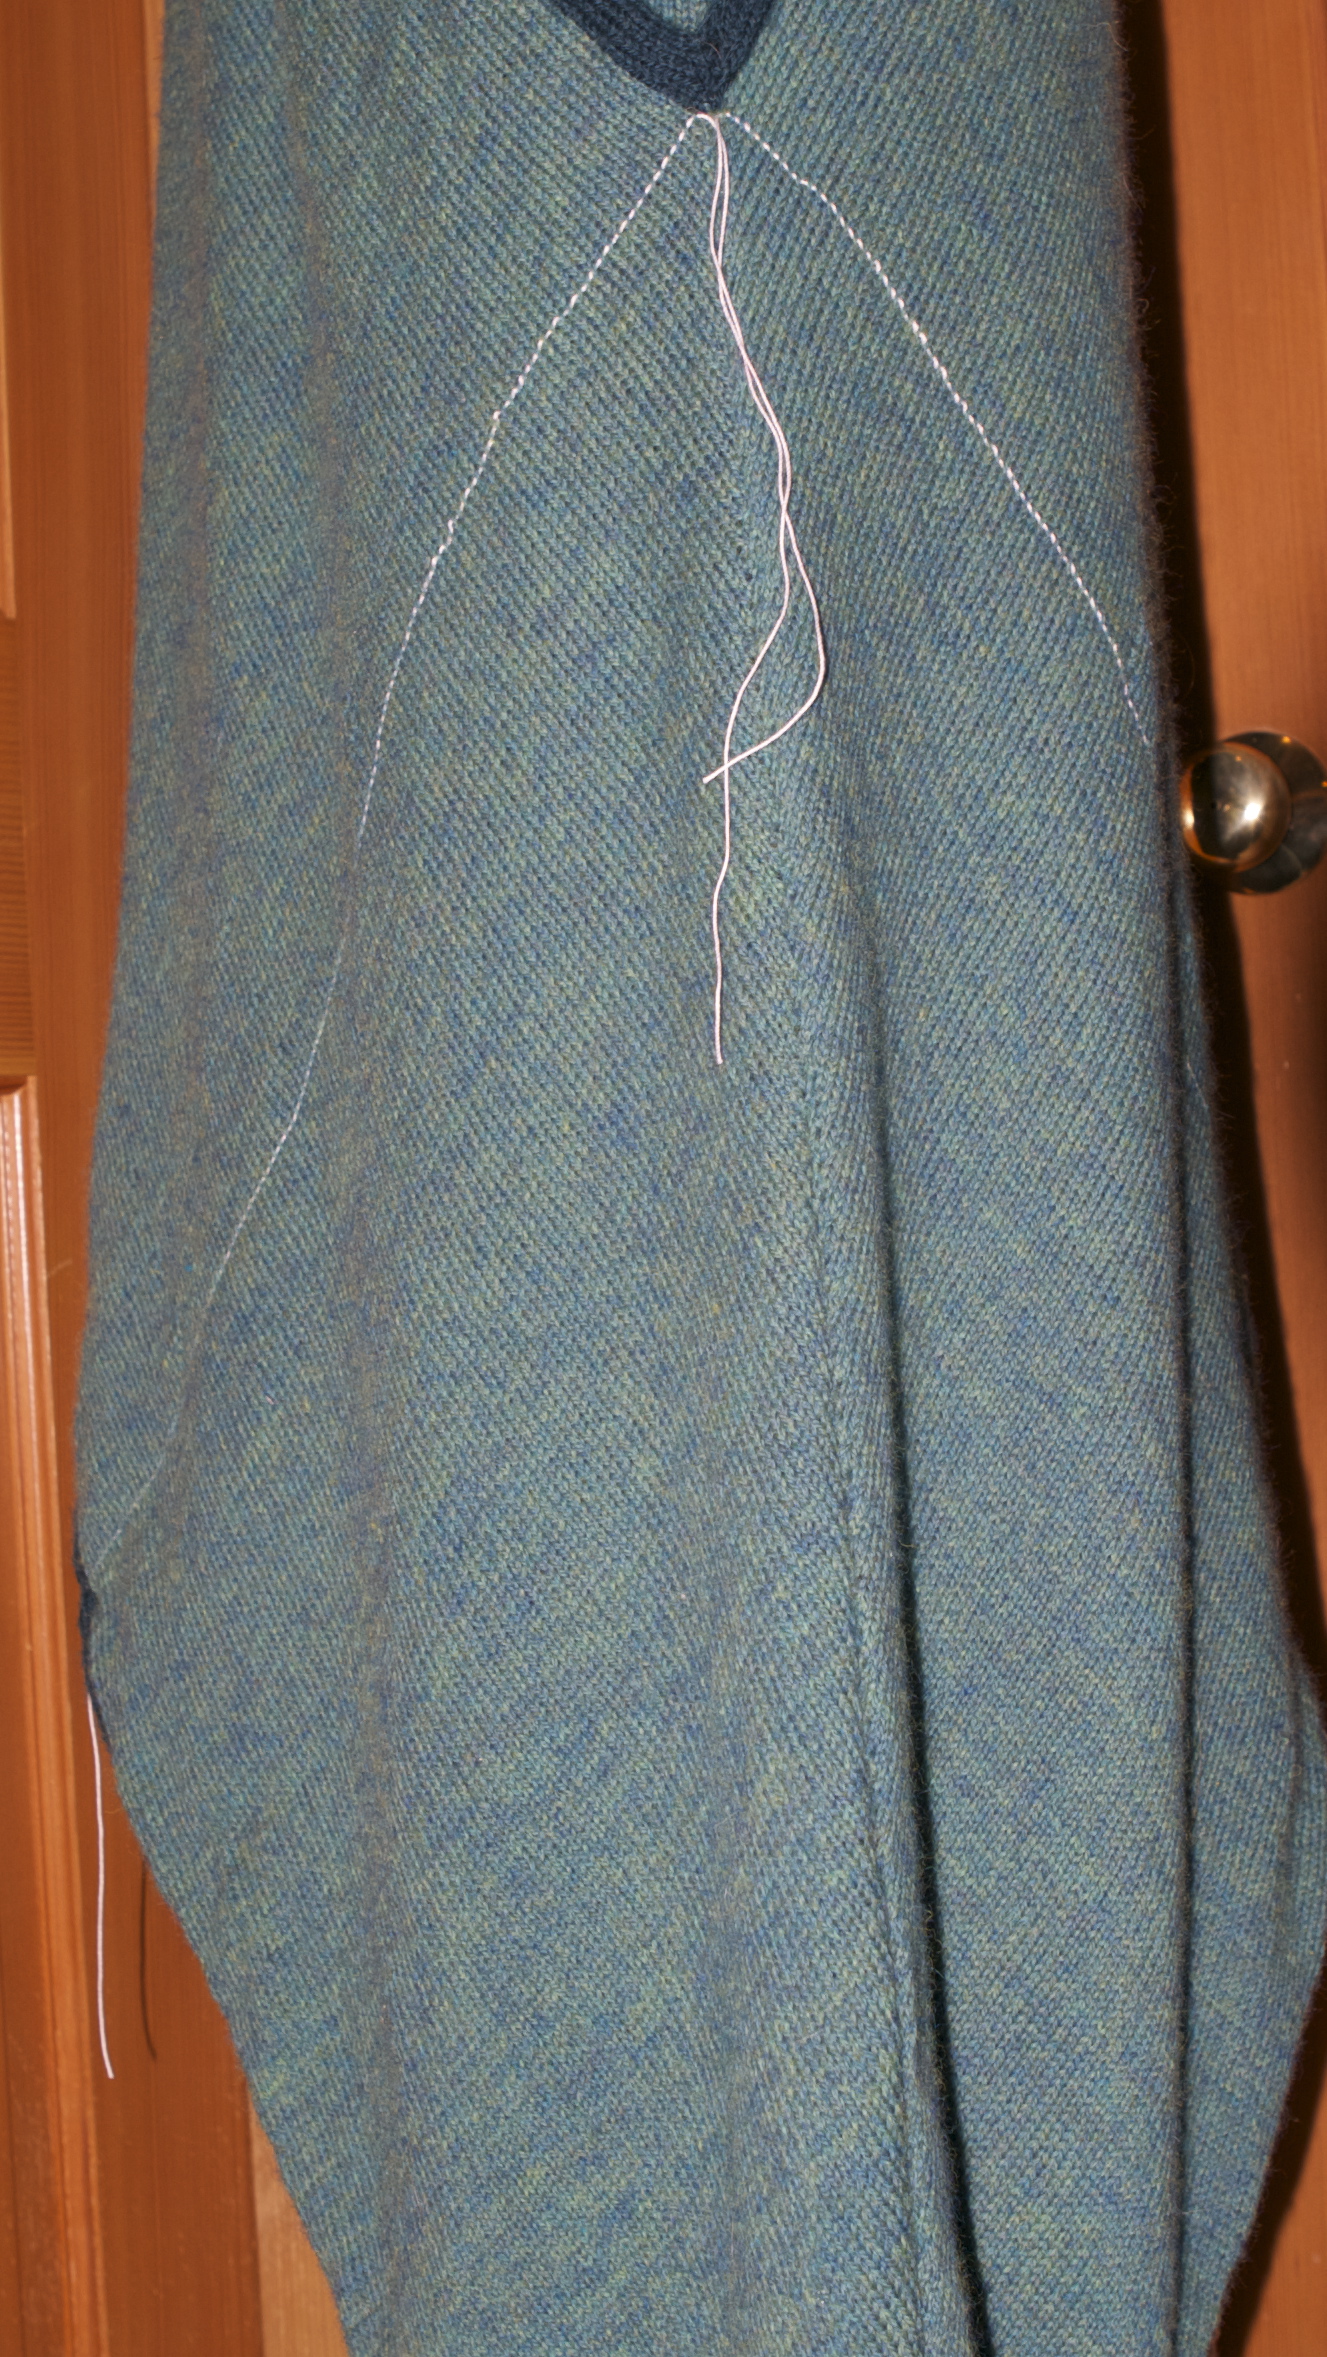
I carefully picked up every stitch along my row and set out to knit again! I started out with an additional set of short rows, because I wanted to make sure that the drape tapered a bit more towards the knee. (I’m not certain I actually needed to do this… it just felt like I should and at this point… the sweater was unwearable so what’s the harm of trying imo.) My thought was that the issue was that the taper of the main drape wasn’t at a sharp enough angle, so I increased my decreases by half again. I’d left my shorter side drape pinned in place so I had a comparison for length to aim for. I got to the end of the new tail of the drape and laid the sweater out for comparison.

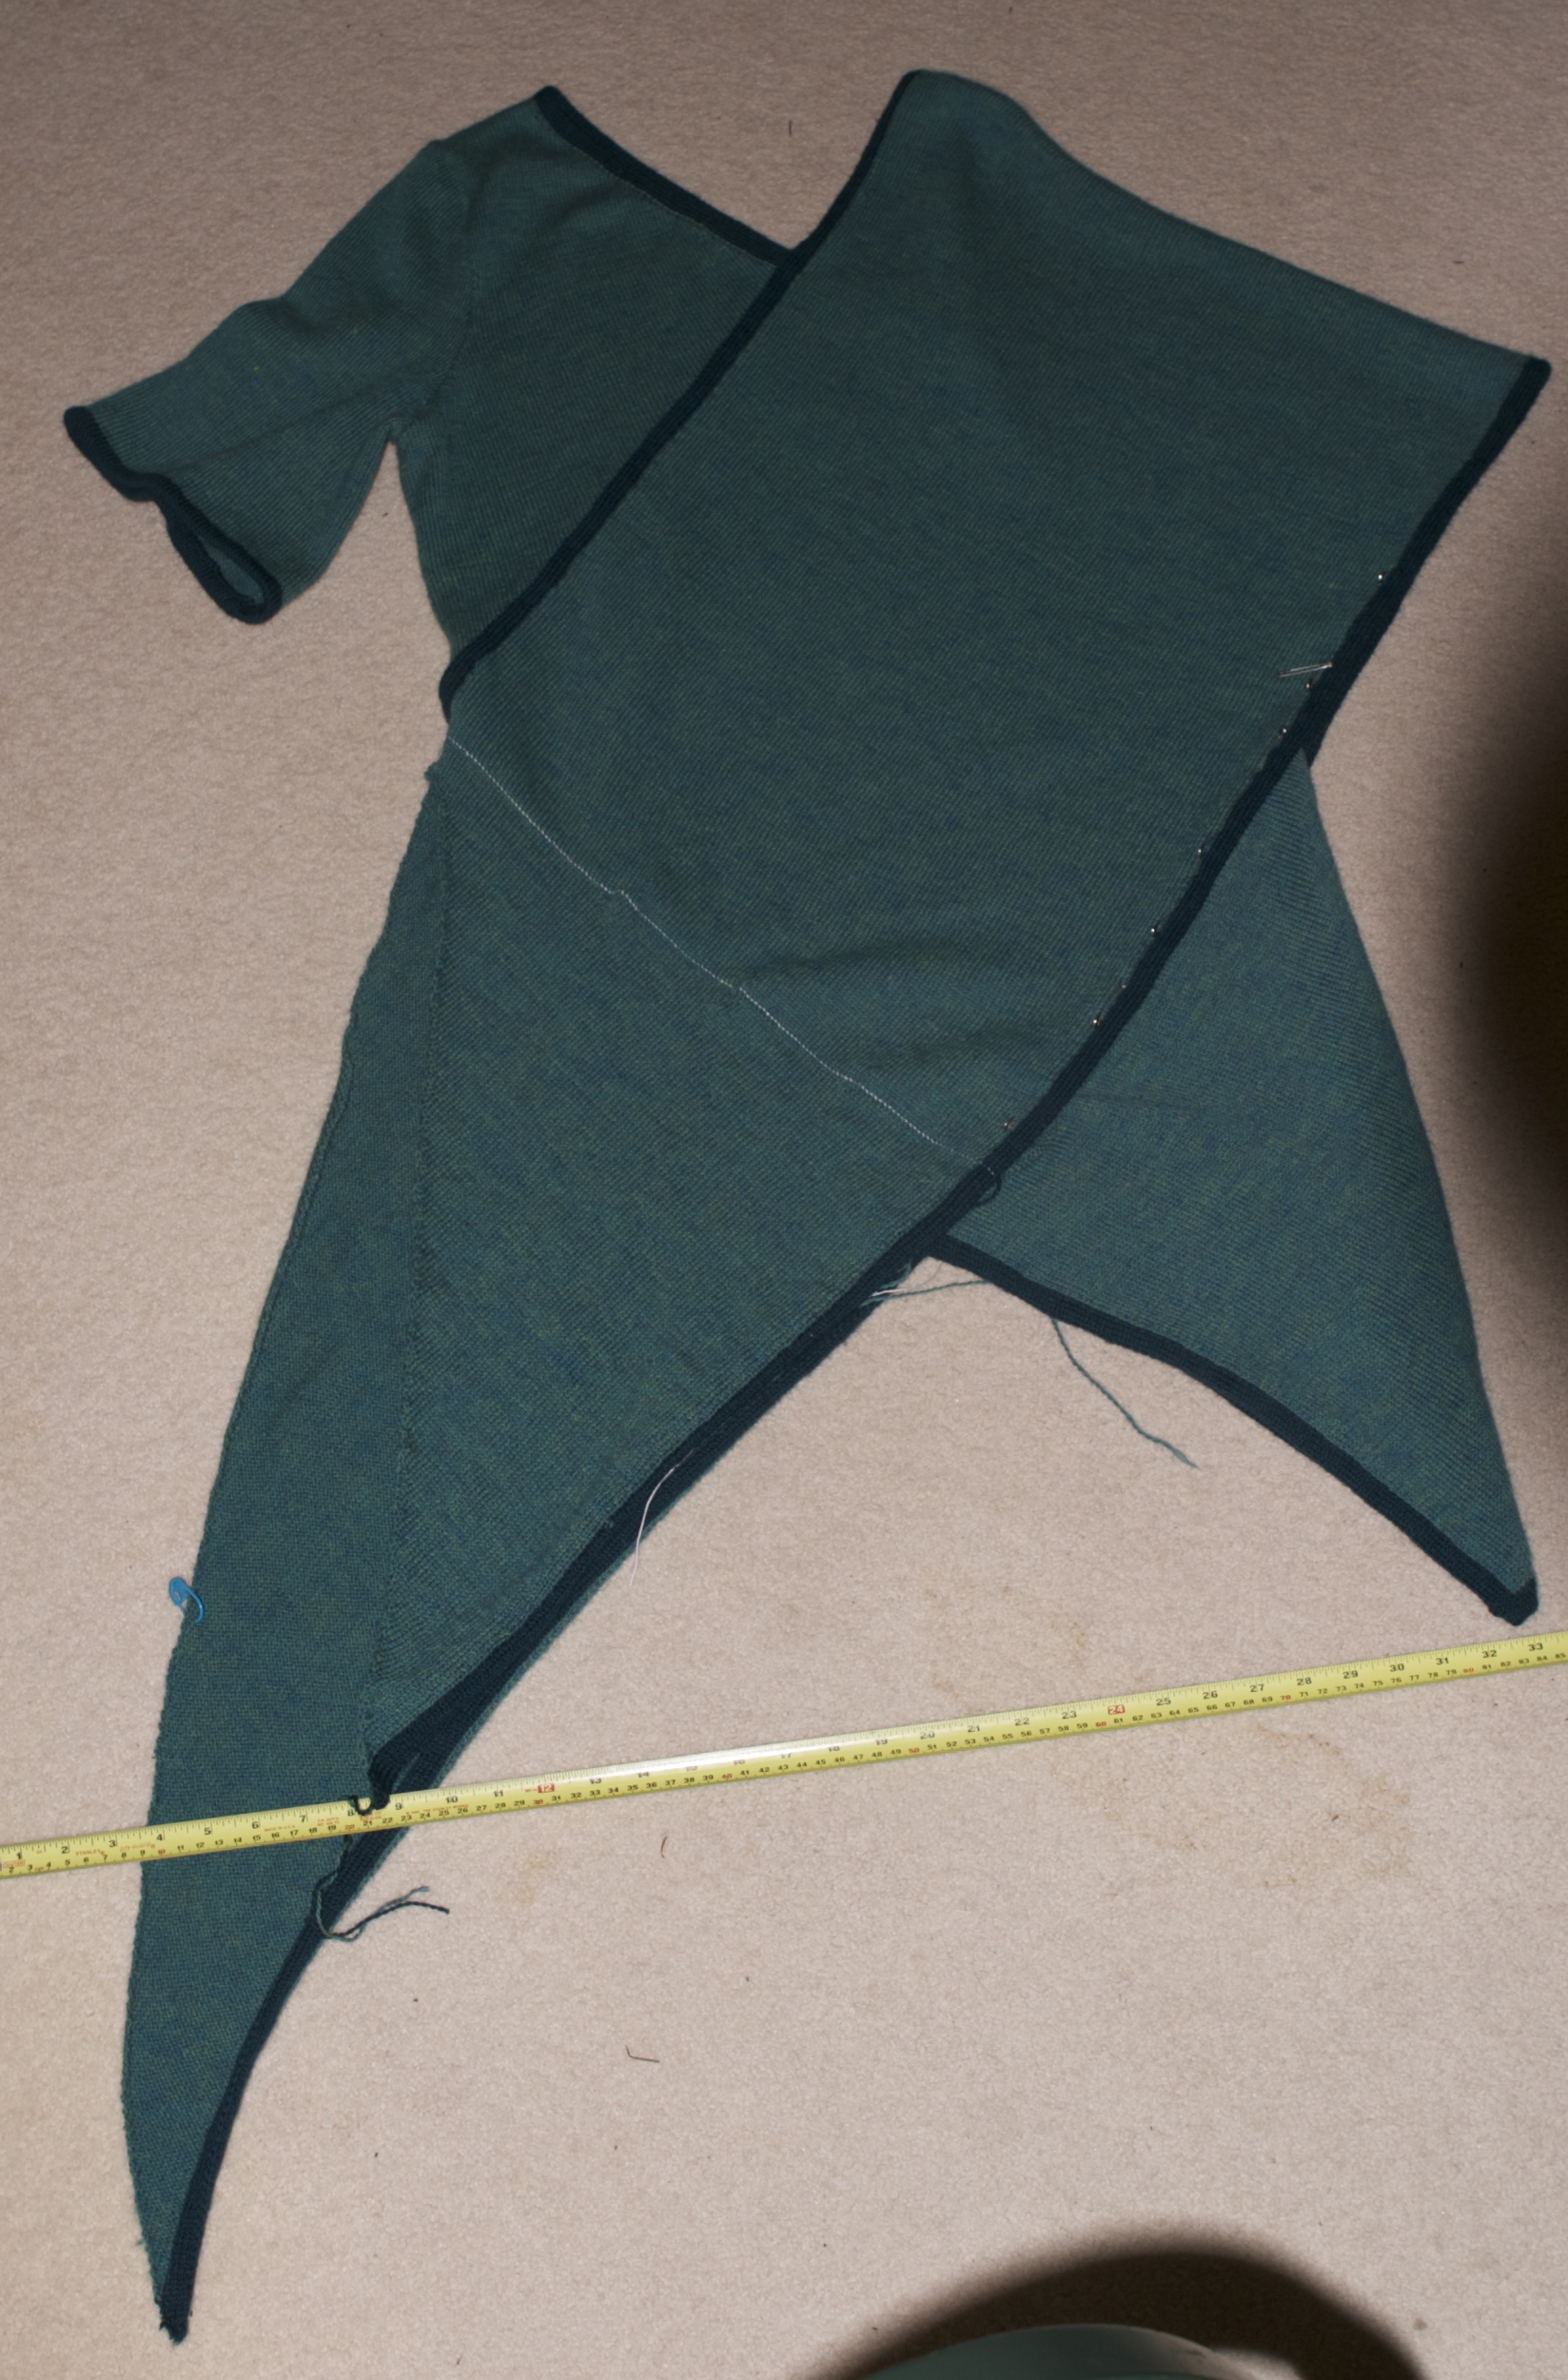
The measure here is lined up with the new tail and the side drape point.
It looked to be significantly closer in alignment than the original! I knew since my side drape was just pinned at this point, that I could adjust that piece as well, and so this looked to be markedly successful! So I got out my scissors and amputated the other side of the drape tail. I followed the same basic directions of short row set followed by increased decreases. I did lay out my sweater repeatedly to check if I was on-target for matching.
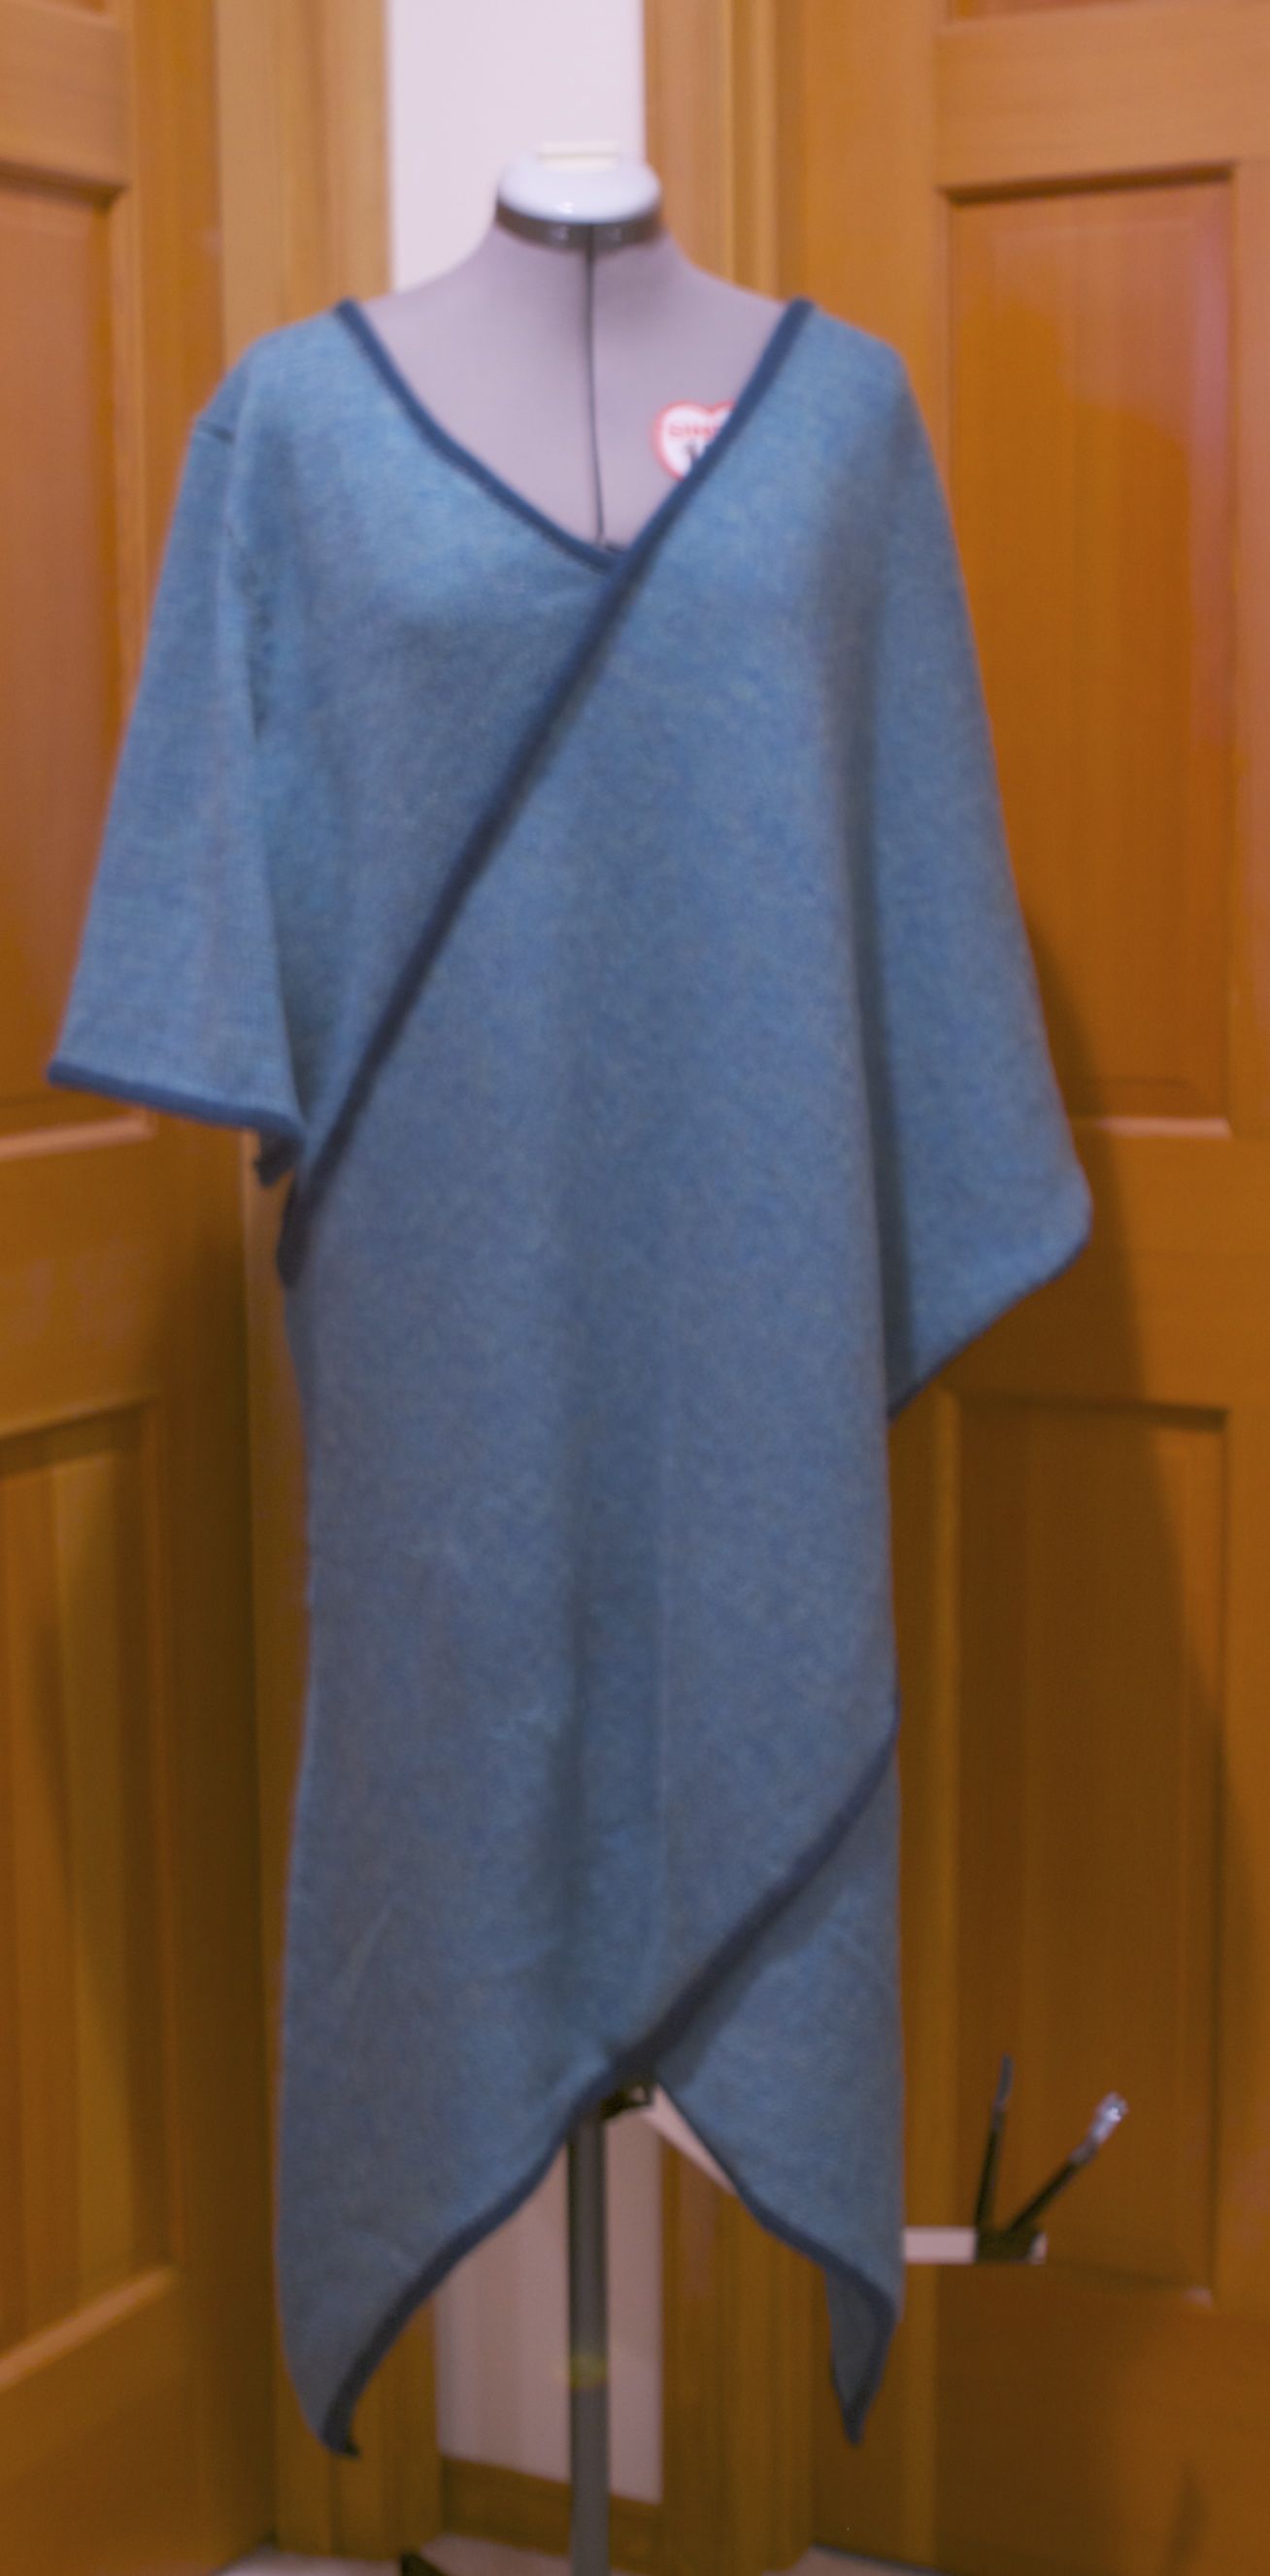
So after stitching a new front tail… I re-seamed my long seam, and stitched down the side drape and….

SUCCESS!
It is absolutely much more symmetrical!
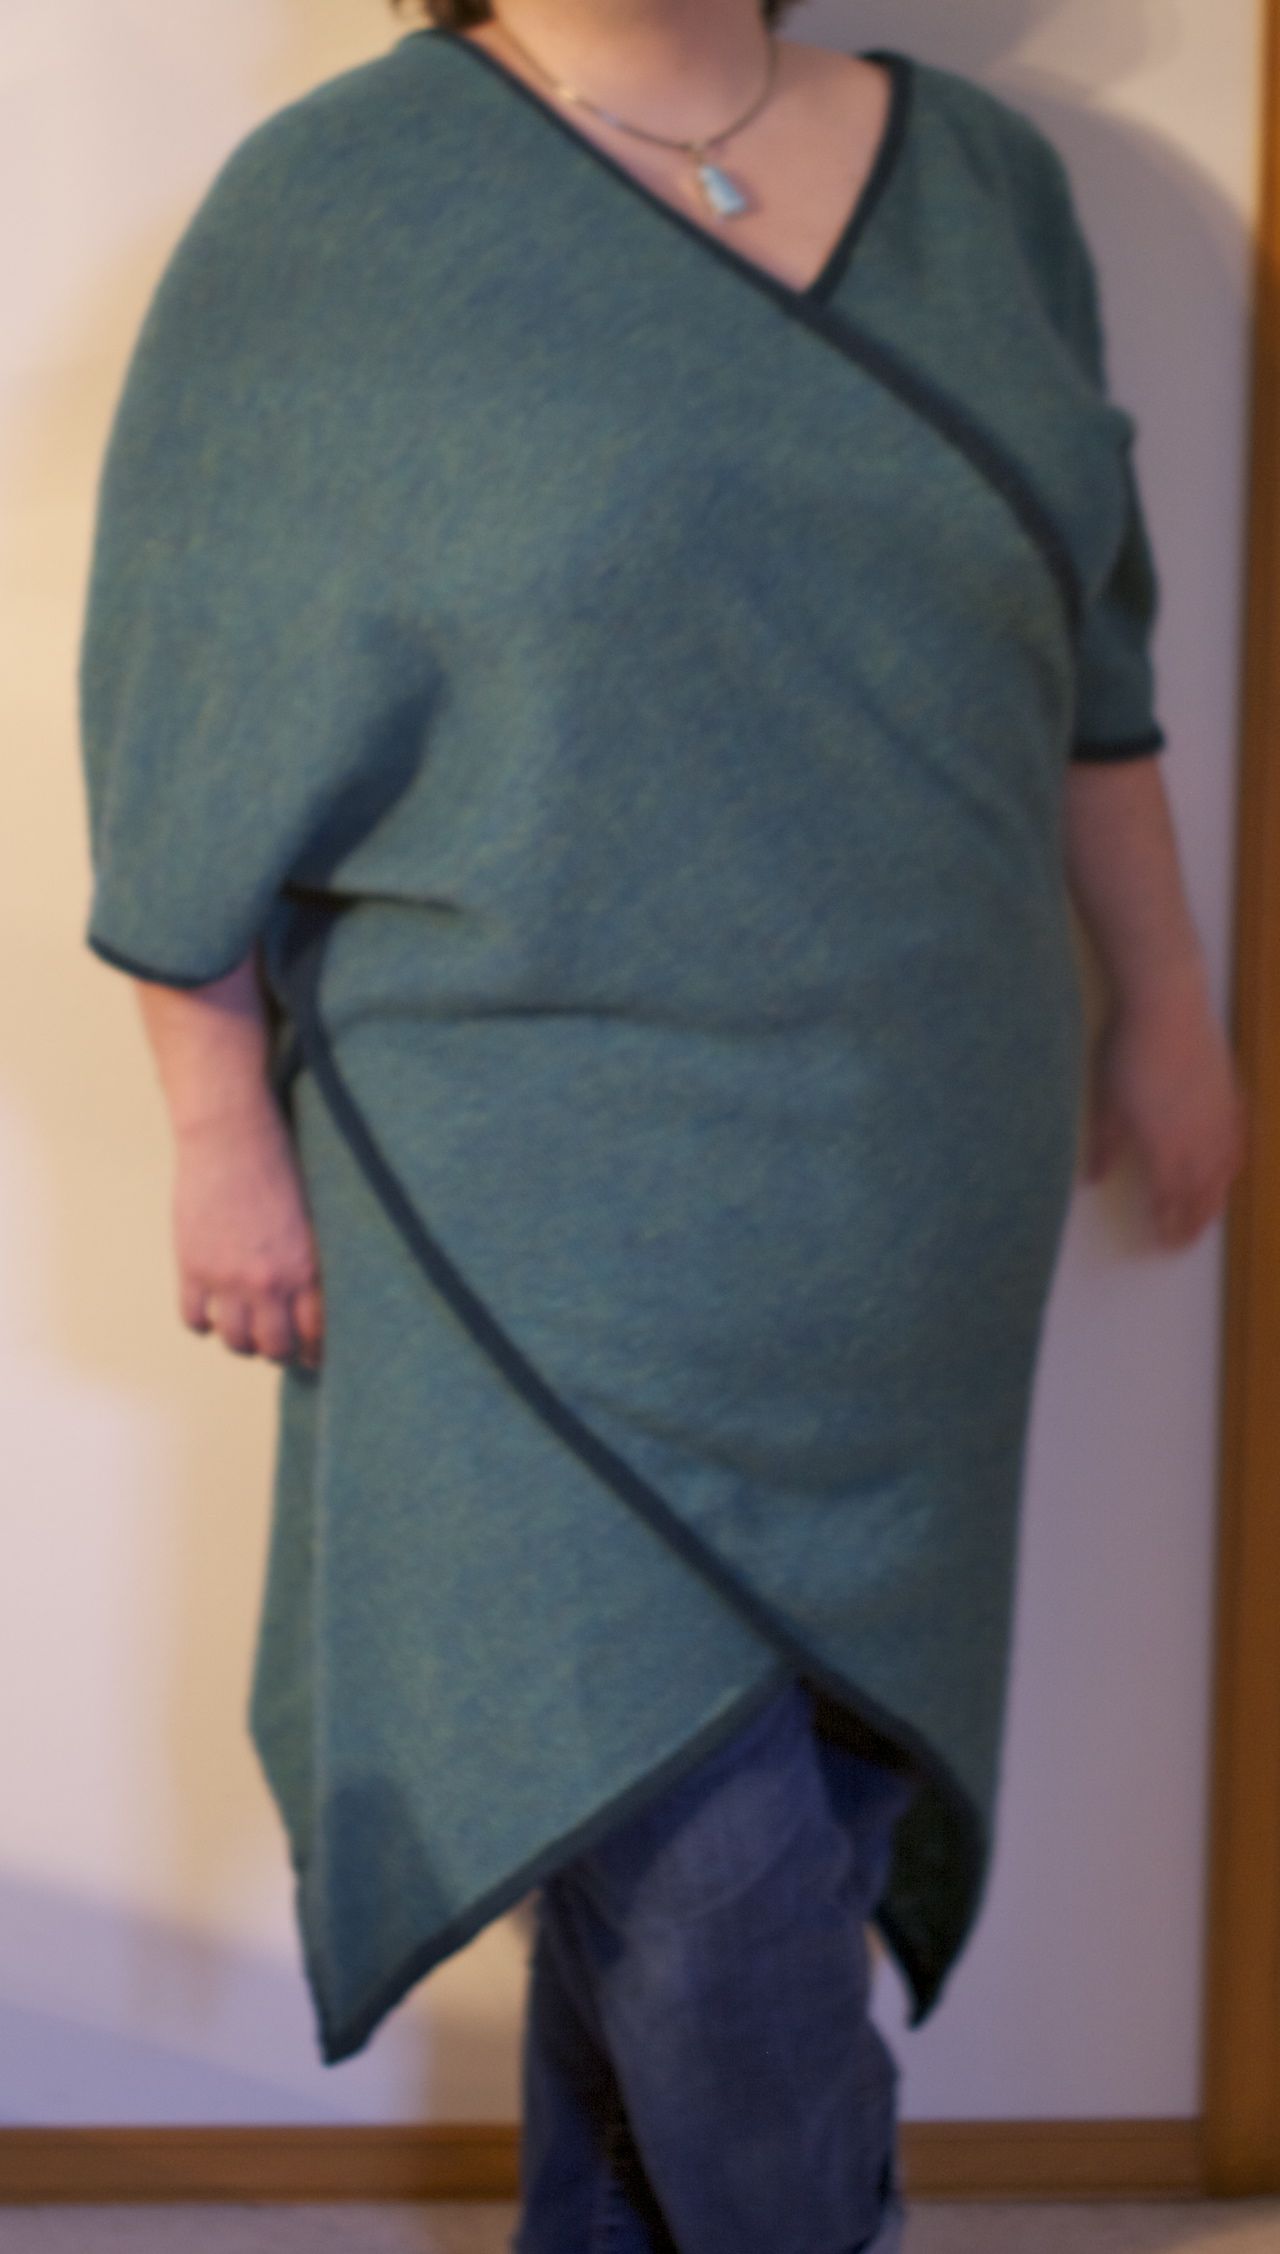
Now… I am a little bit uncertain how I feel about this sweater, but I’m not sure if that’s the taint of the earlier disappointment or something else. I’m wearing it today… and we shall see. Here’s some wearing photos so you can see the fit.

Show in standard Misscarlotta not-quite-focus
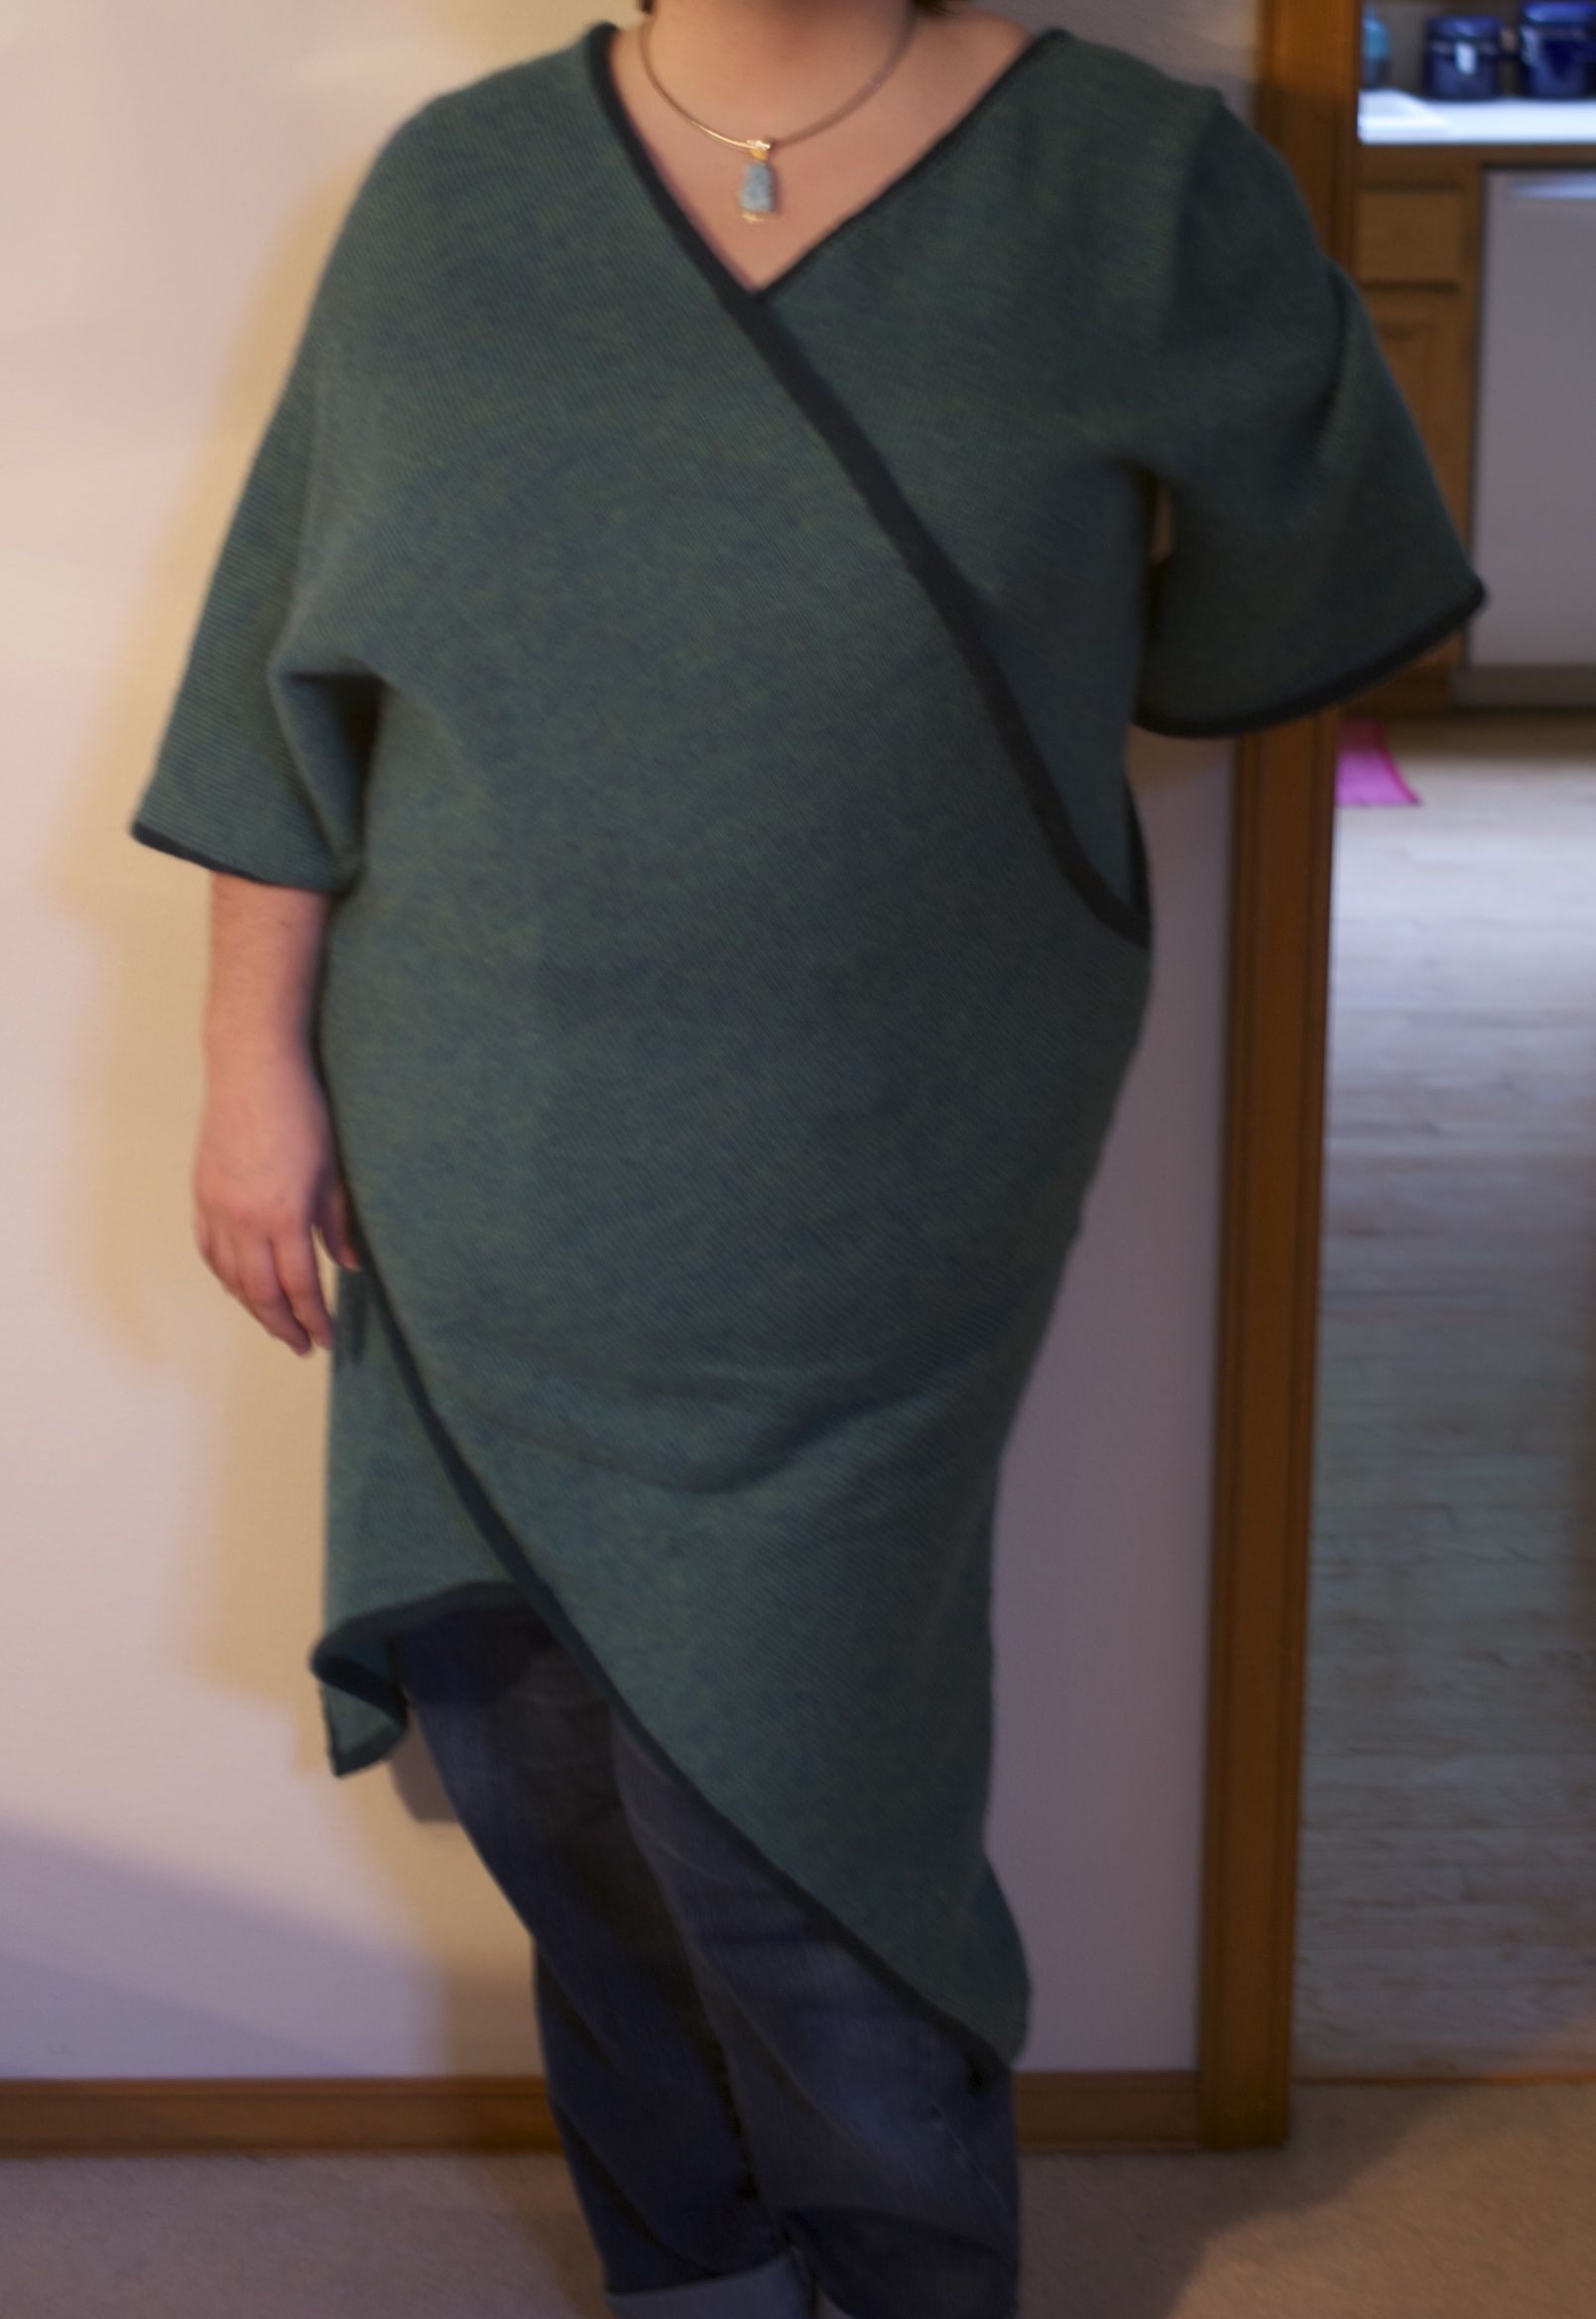
And the other side:

Front knee is slightly bent.
So there you have it… the final results of Doctah Knittah!
As a side note… I am so very glad this wasn’t my first sweater and that Ben’s Ben was so successful, because as I look at future knitting projects, prior results make a huge impact. I haven’t yet made a second pair of socks… because the first pair was so dang boring on sock #2.