Giving homemade gifts is one of those things that you either pull off with amazing confidence or immense trepidation. For me its usually trepidation. I’m very aware of the gold macaroni effect that some homemade gifts carry with them. So braving all that and casting into the ether of “well if they don’t like it they can use it as oil rags!” I present some Christmasy Kitchen gifts (I’ve already gifted these, so its safe to share!):
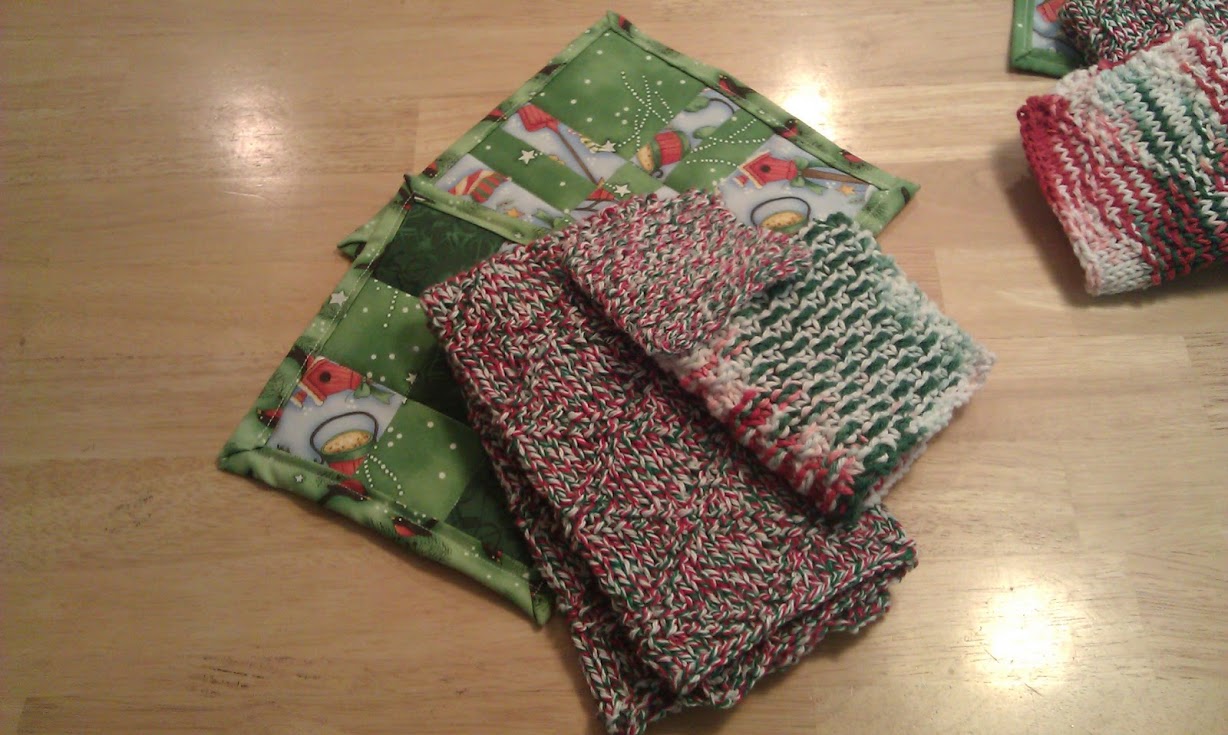
One set consisted of 2 quilted Hot Pads, A knit dishtowel, dishcloth and scrubby
Every item was different, and the knit items are simple knits done in Christmas colored cotton yarn. I used King Charles Brocade , Double Seed Stitch, Basketweave Stitch, Grandmother’s Favorite Dishcloth, and just a pure garter stitch for patterns. To make the scrubbies, cut a roughly 1 inch strip of tulle (and just eyeball it…. you won’t notice any imperfections. My strips always turn out looking like they were cut by a 5 year old hopped up on espresso.) and knit as a second strand with your regular knit pattern.
My hot pads were all test quilt blocks, a 6 inch block and an 8 inch block. In the photo above the smaller is a traditional 9 patch and a disappearing 4 patch block, both of these I just used stitch in the ditch method.
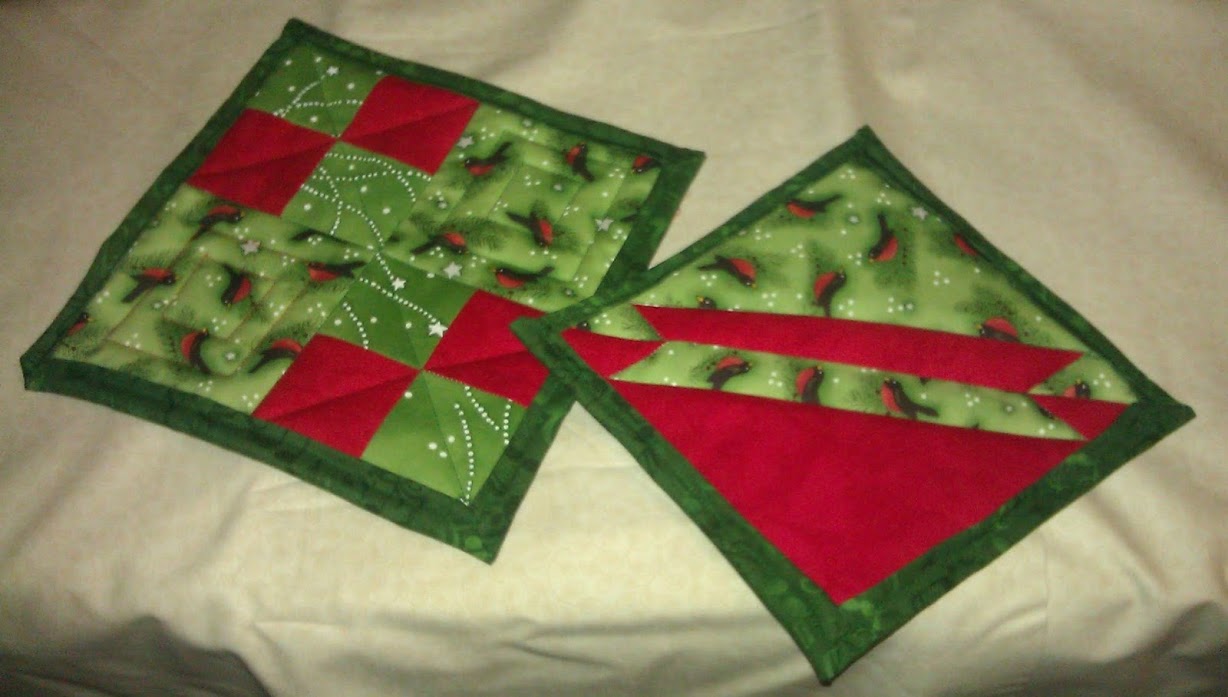
An Old Maids Rambler and a more traditional Four Patch Set. The Rambler is just stitch in the ditch, the Four Patch has echo quilting on the larger bird solids, and diagonal on the smaller four patches.
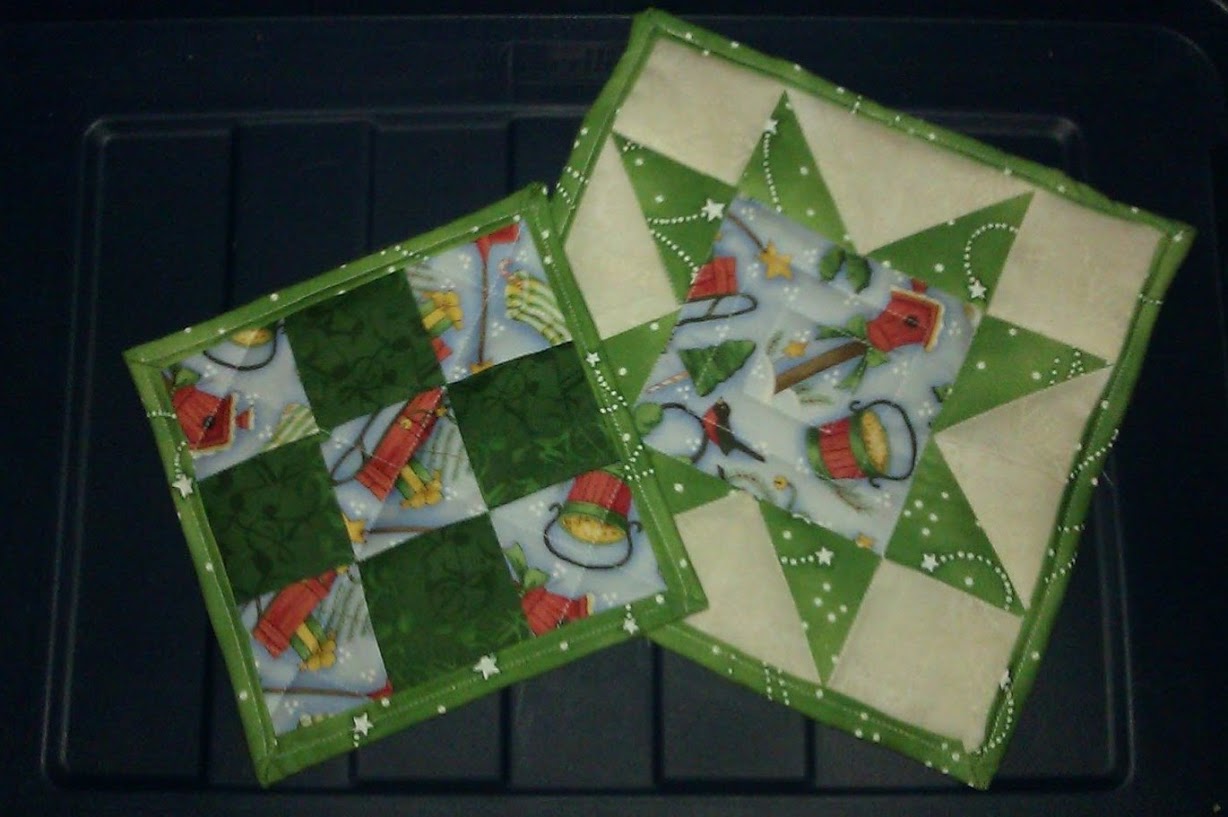
A9 patch with just 2 fabric colors, and a Variable Star. I used echo quilting on the interior of the star, and quilted through the diagonals of the lighter fabric on the smaller square.
Each of my sets were joined by identical fabric choices for the backs. I used two layers of batting and bound them by folding the larger backing material twice over to the front. To get the mitered style corners, fold the corner in at a 90 degree angle before you fold in the sides.
Now I also included several batches of cookies, and tied my gift bags with some ornament seed cakes. I got the seedcake recipe from this instructable that was designed for making a seed wreath.
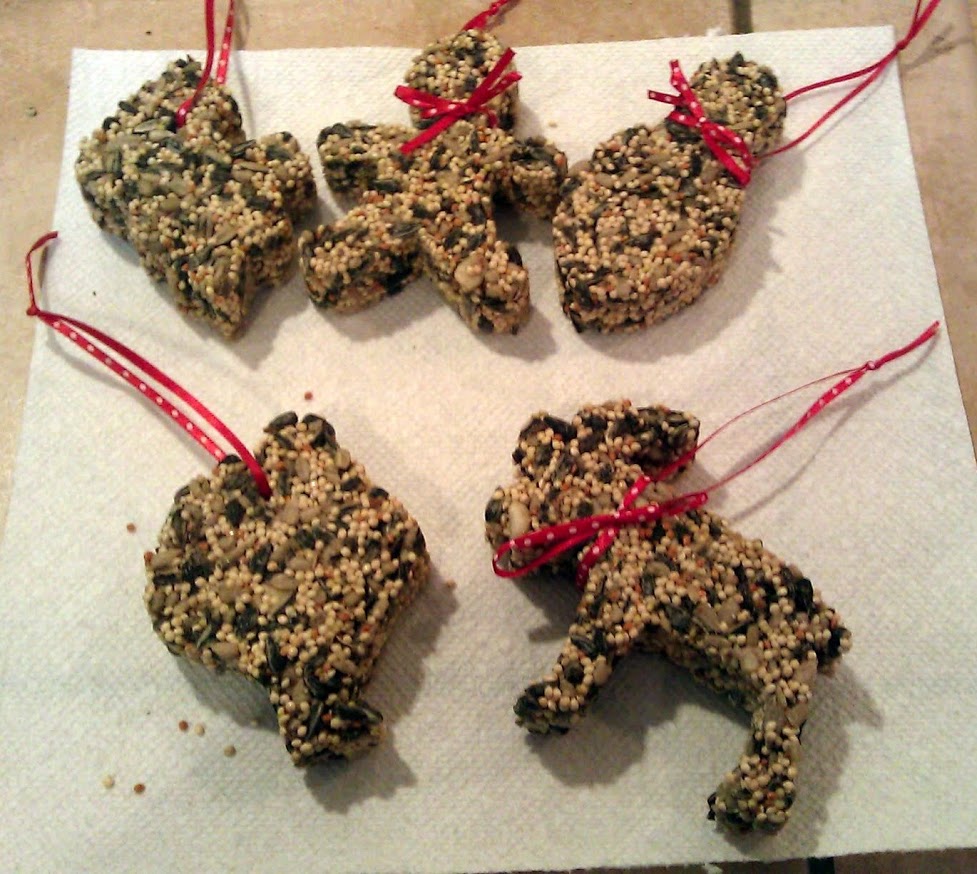
My seed cake ornaments with their hanging loops.
What I did differently is that I used my cookie cutters, covered on one end with tinfoil as my molds. I actually had a few more than these, specifically some snowflakes, but they were a bit fragile and didn’t make it, either from the removal from the cutters or from my attempts to add hanging holes. So I’d suggest either pre-stringing your cakes, OR use a heavy nail as a hole making form within your seedcakes when you are forming them. They are safe for feeding the birds, or you can use them on your tree!