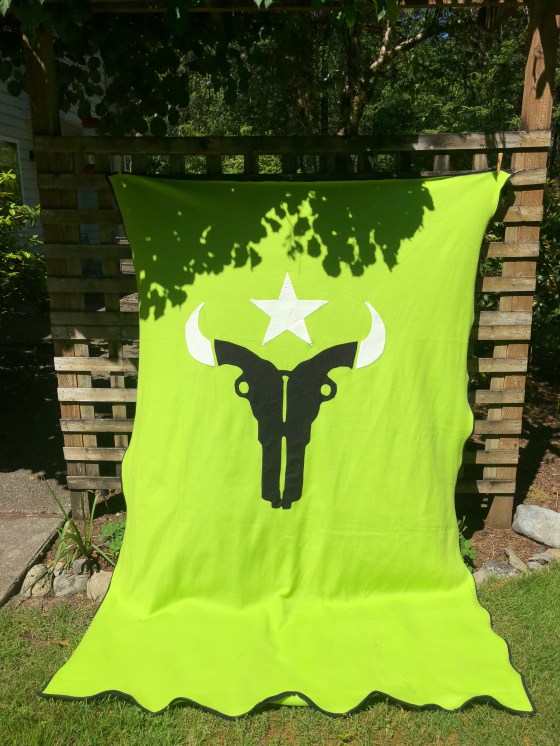
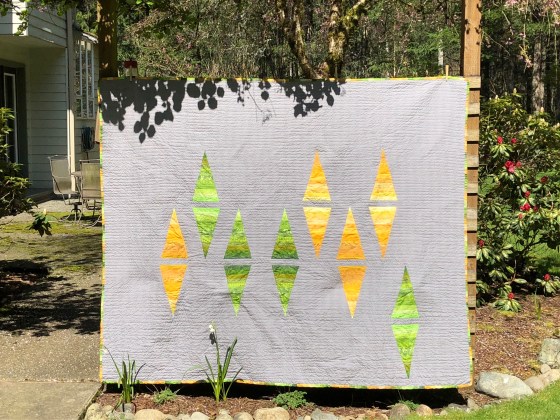
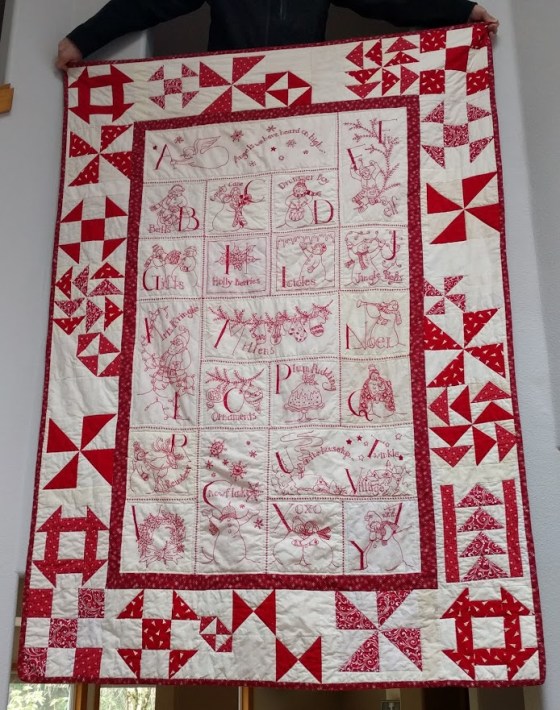
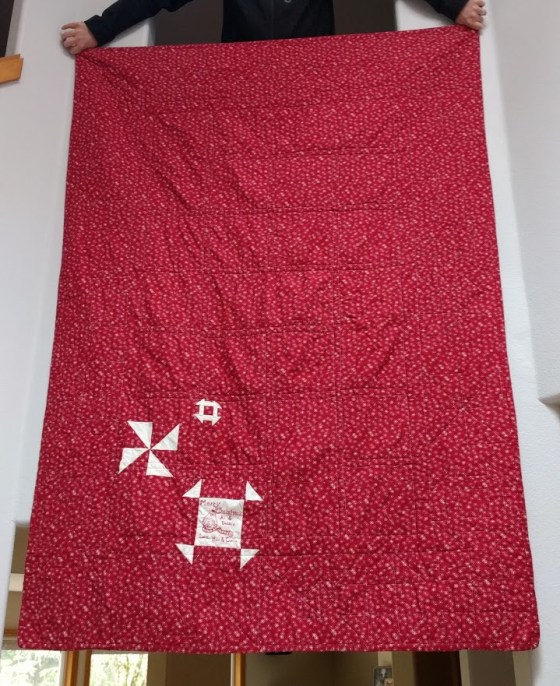
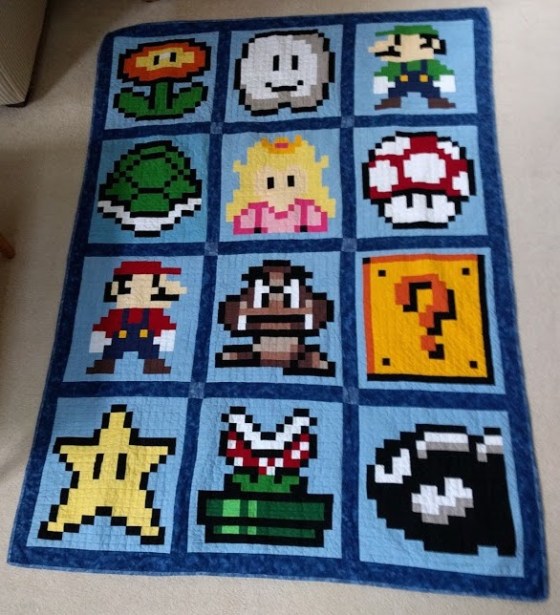
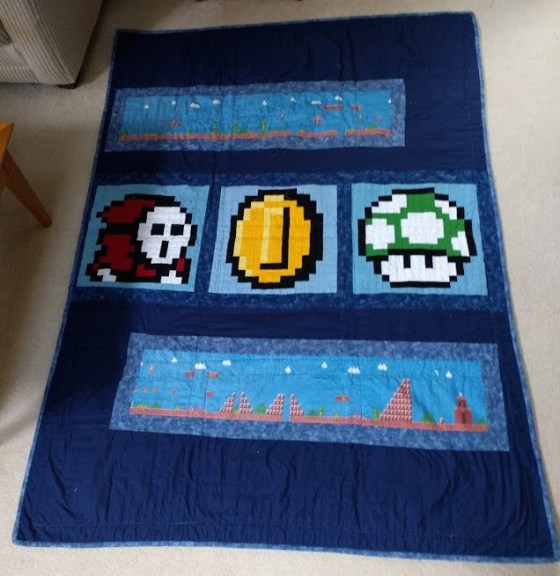
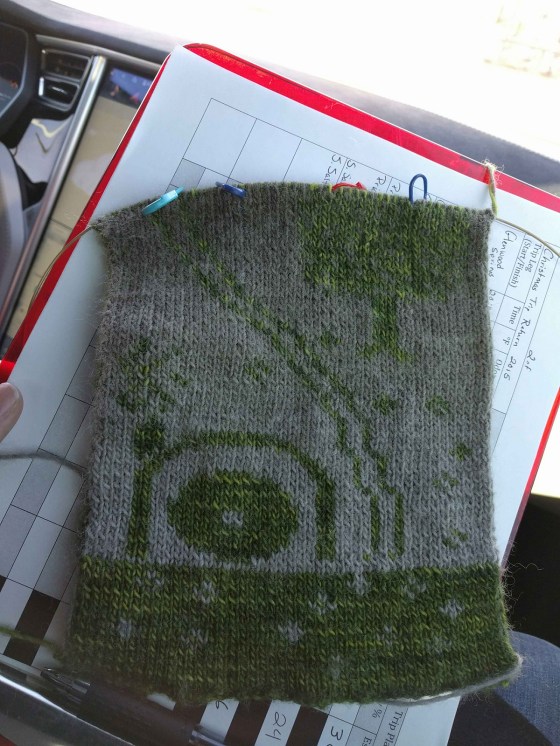
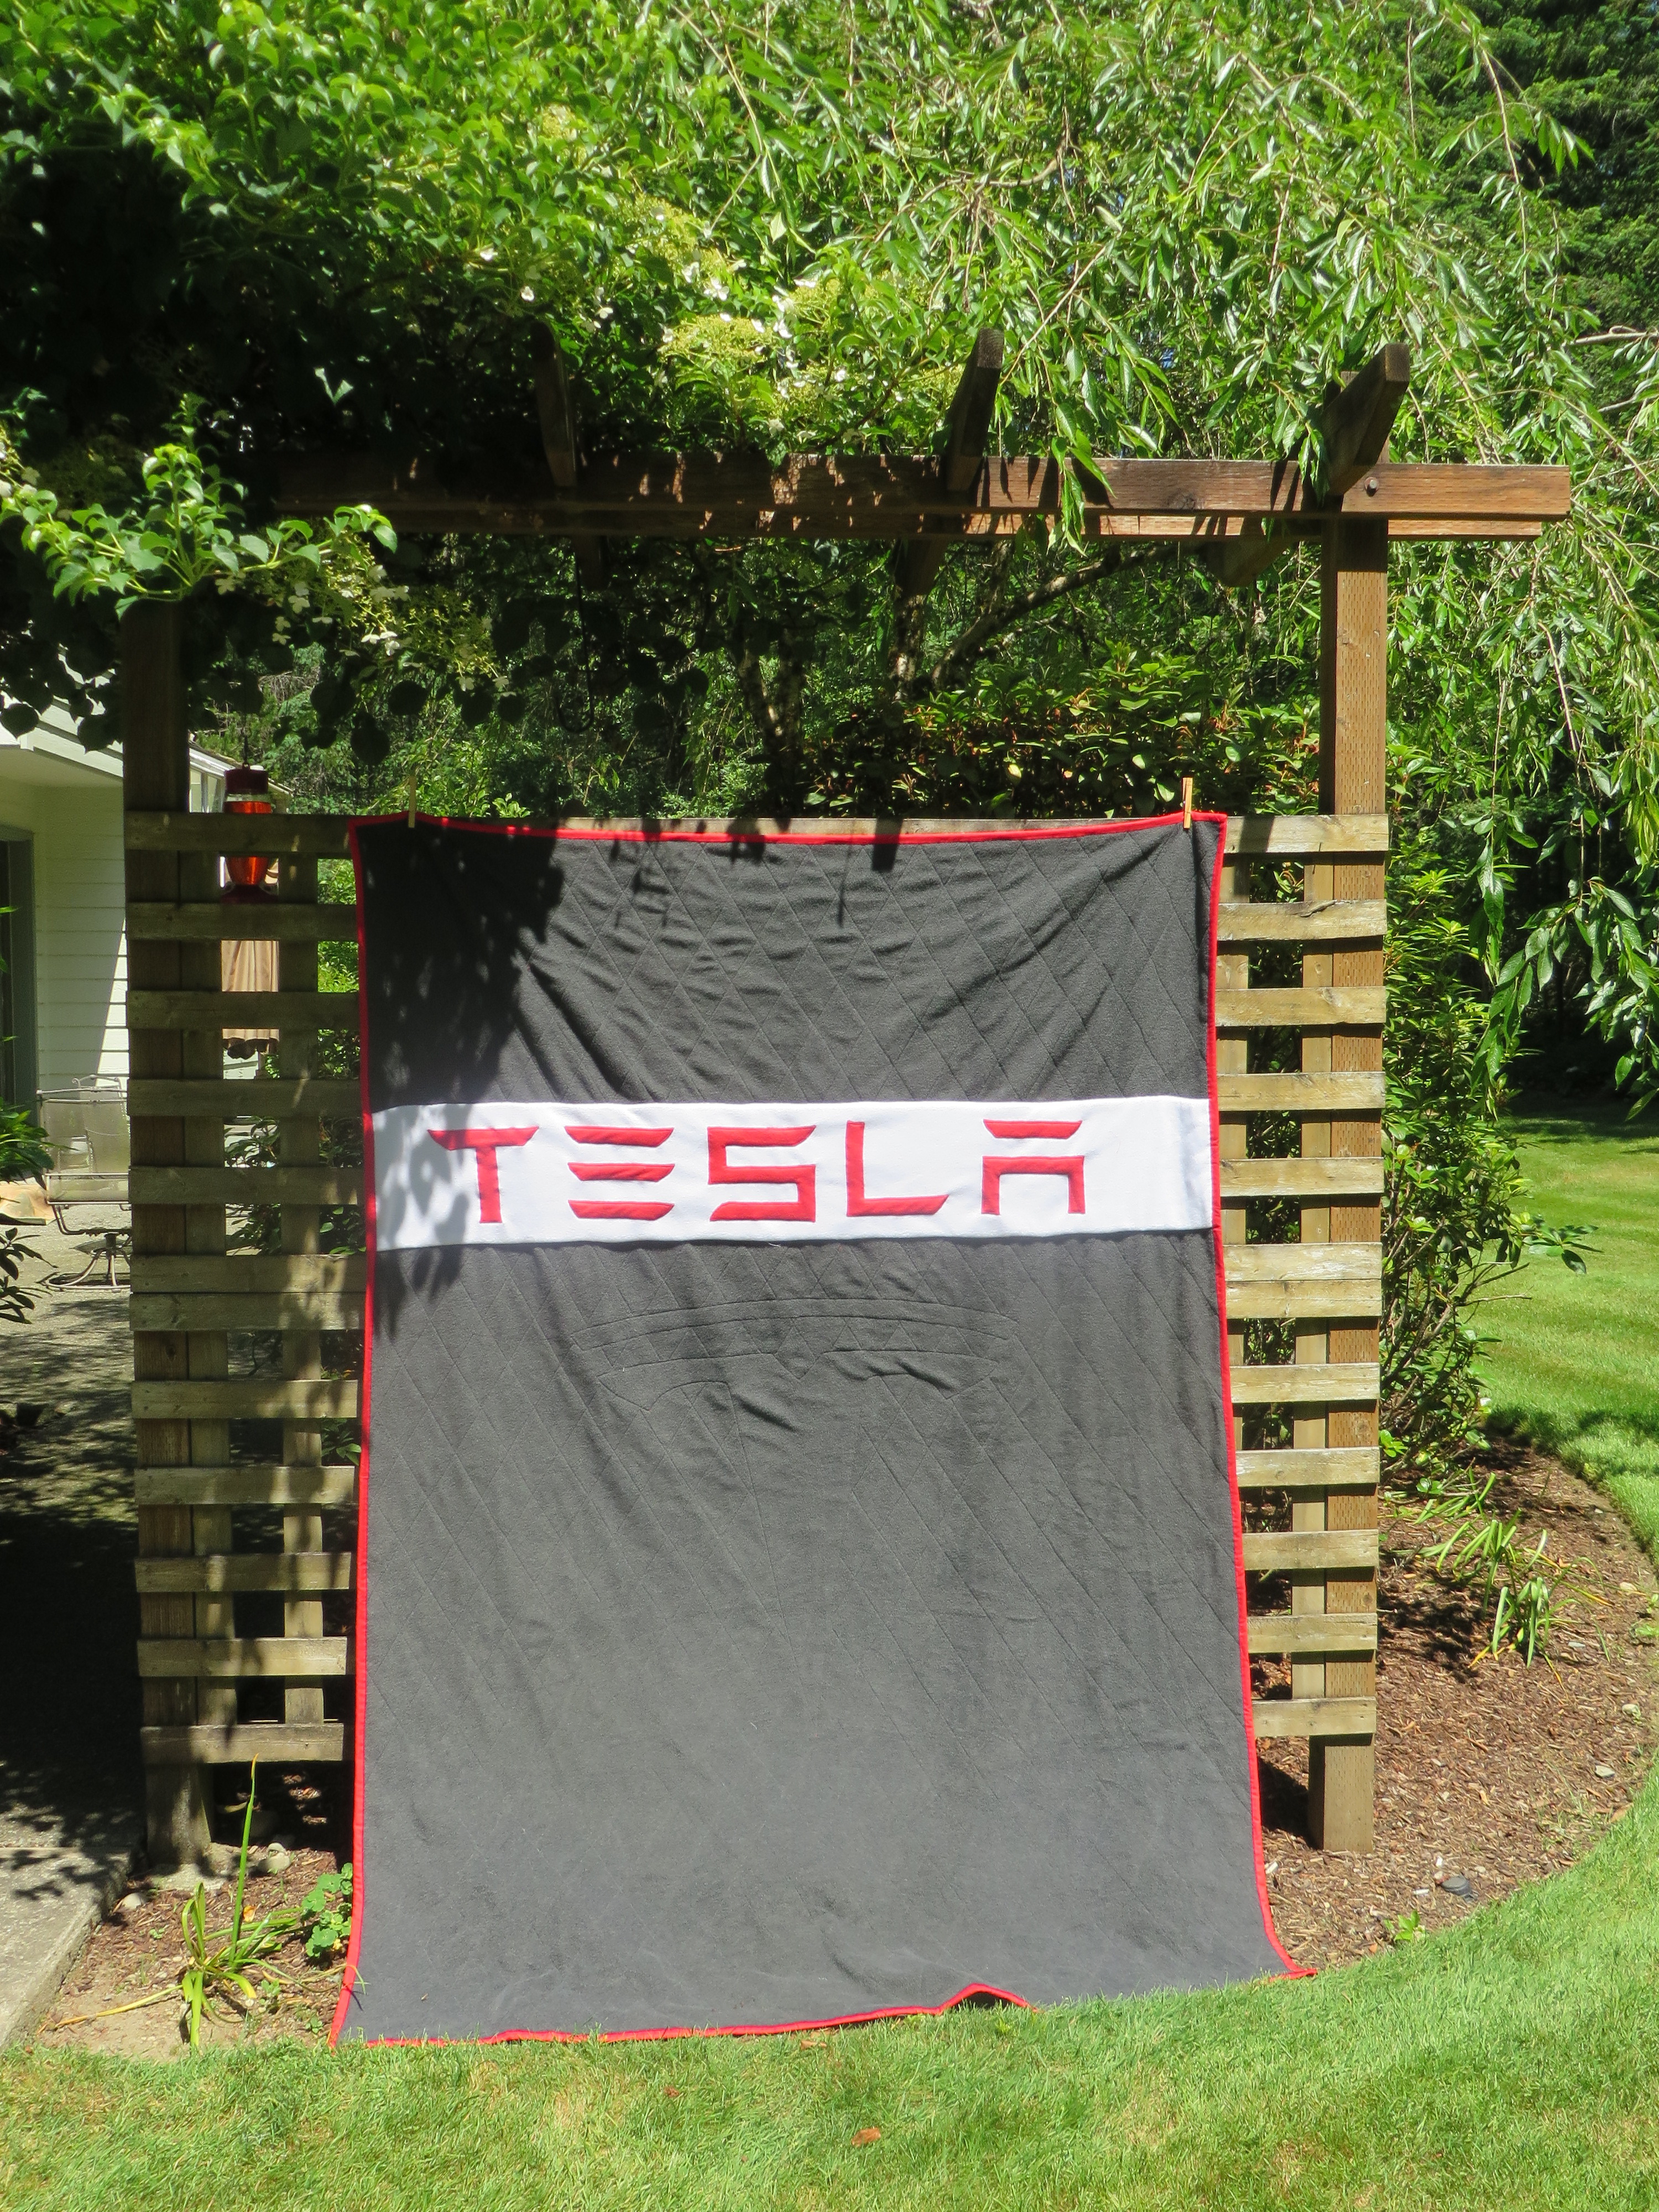
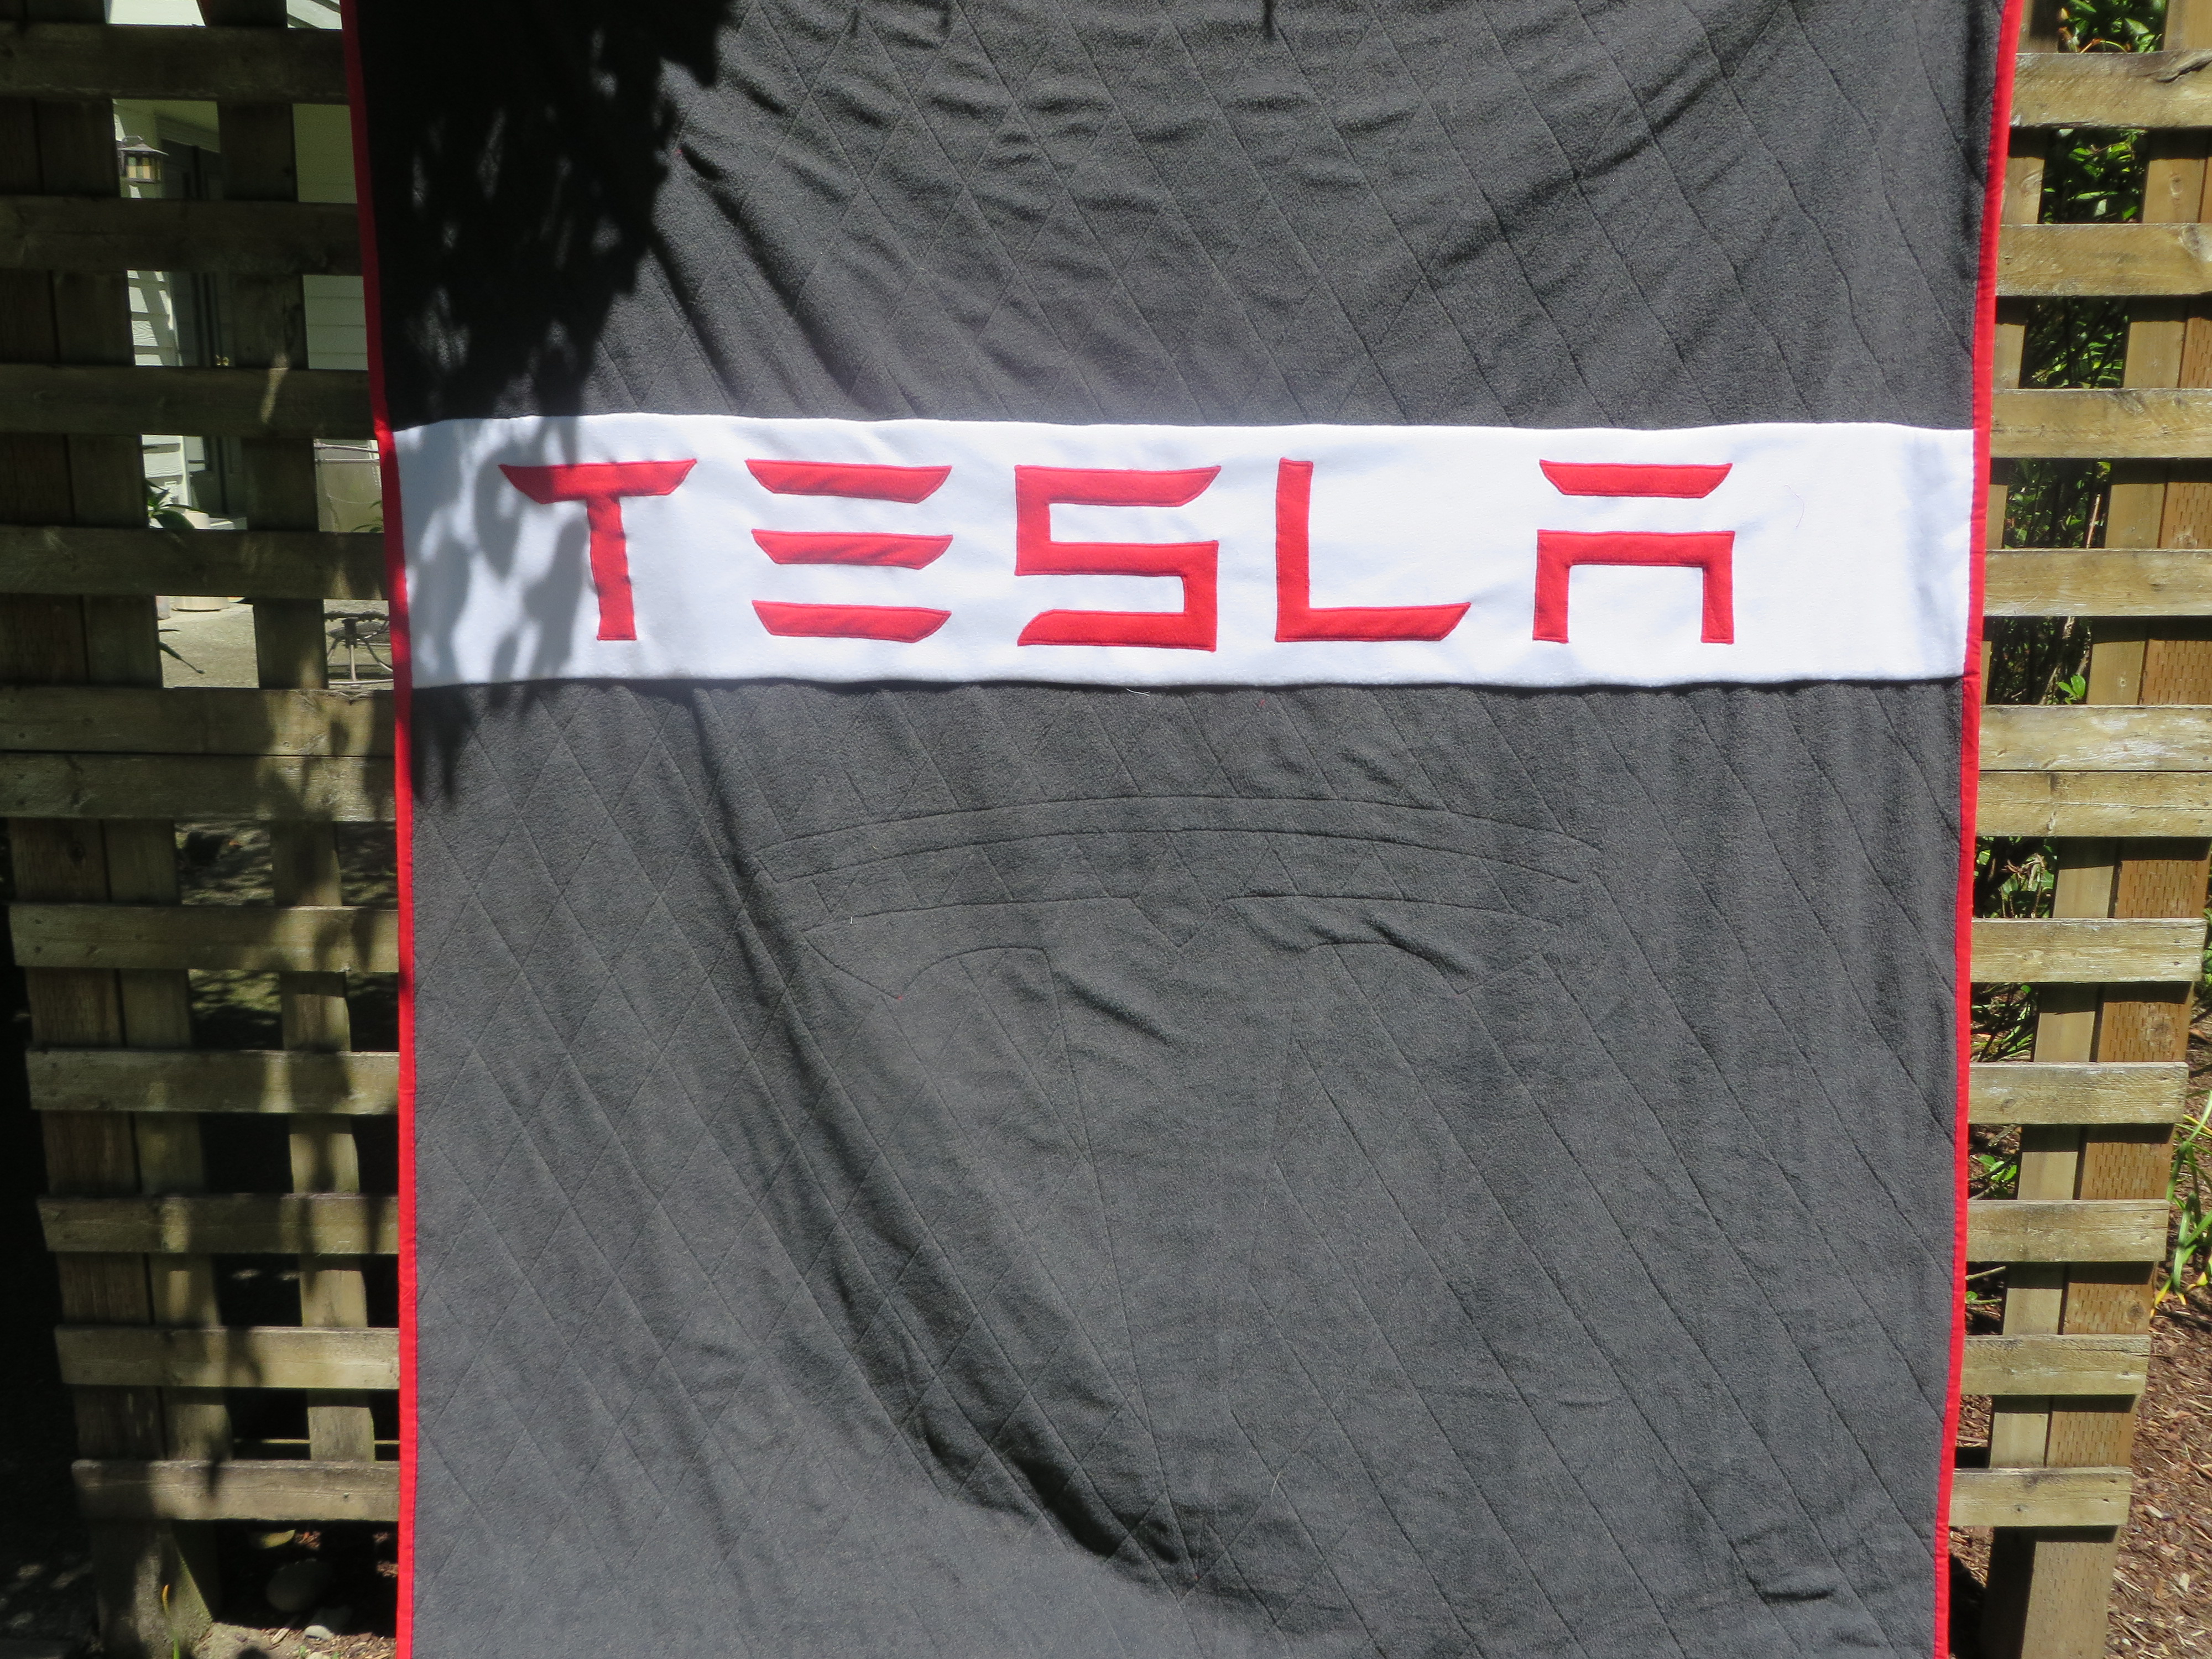
In 2019 I managed to finish 2 quilts (3rd is ready for quilting and a fourth has the top done), as well as 3 sweaters and 2 shawls. Seen here for the first time is the late finish on my NakniSweMo (National Knit a Sweater Month) Anne of Cleves sweater joined by my other large projects of the year.


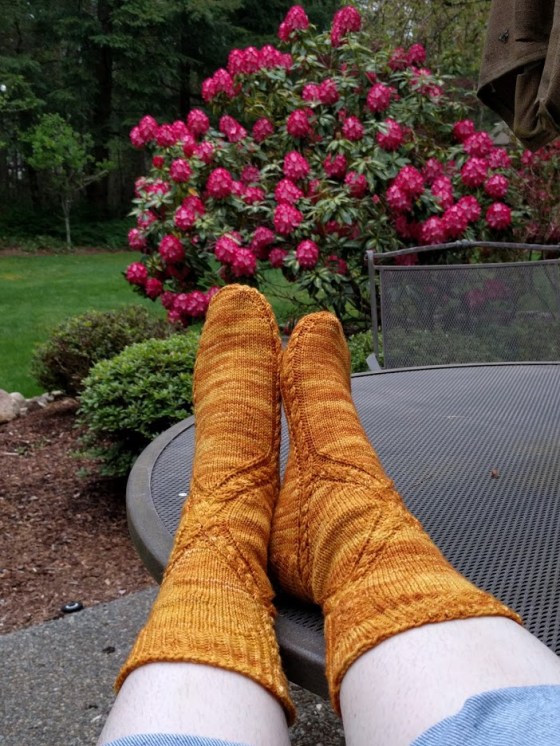
Back before 2014 I swore I’d never be a sock knitter because the second sock every was just sooooo boring. Well… I finished 11 pair last year. ¬.¬


There were a few other notable projects worth mentioning also… I tackled one of my oldest stashed yarns (recorded in Ravelry during the great yarn stash recording of 2013) by knitting it into a drop leaf scarf! I made my first yarn bowl and my first tea cozy.


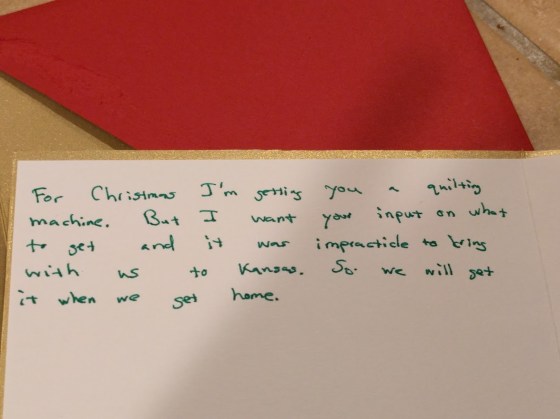
There was quite a bit of travel for me this year and one larger unfinished gift that ate into my craft time, so overall I am rather pleased with how it all sorted out.